What should be the wiring in the kitchen?
Preparatory work
The first step is to prepare for the installation process and perform the following steps:
- Check the existing wiring (if the installation will be carried out after repair in a new building or with a complete replacement of the wiring in the house, this item is missing).
- Independently calculate the power of all kitchen appliances.
- Select the appropriate elements for the new power grid: wires and cables, sockets, switches.
- Create a typical scheme according to your own conditions.
We will briefly consider each of the stages so that you know what the correct wiring in the kitchen should be.
Checking the old mains
At this stage, you must determine which network in your apartment (or house) is single-phase or three-phase. In addition, you need to make sure that the wiring has a ground loop (three-wire wire). The plugs of powerful household appliances are equipped with a grounding contact, which means that there must be grounding for their use. In houses built and reconstructed after 1997, according to PUE grounding is mandatory, so if you live in a new building you most likely have it. Well, the last thing you need to do is determine cable cross-sectionto know what loads your home network is designed for.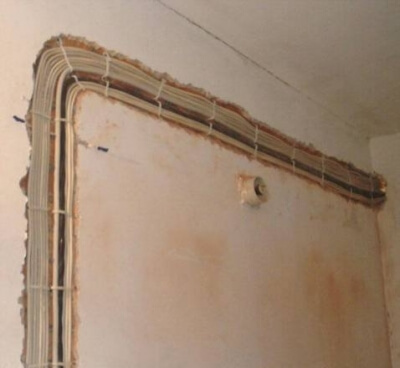
As for the last moment, we should go ahead and note that today the load on the kitchen wiring can reach 10 kW, so the cross-section of the copper wires going from the junction box to the appliances must be selected individually.
Settlement part
After you figure out the old wiring in the kitchen, you will need to calculate the total current load from household appliances yourself. Everything is simple here and the calculation is as follows: you need to write down the power of each electrical appliance and summarize all the values. In a modern kitchen, the total power of household appliances can reach 10 kW, which is a great indicator for a single-phase 220 Volt network. Based on this value, you will need to correctly choose cable section and rated current load of sockets.
According to SP 256.1325800.2016 “Electrical installations of residential and public buildings, the rules of design and installation” (since May 2017 replaced SP 31.110-2003, while the latter has not been canceled and is valid in a number of points that do not contradict SP 256.1325800) in paragraph 10.2 it is said that to power the electric stove there should be a separate line, and for connecting a single-phase electric stove, you need to use a cable with a cross section of at least 6 square mm.
Selection of components
First of all, you need to choose the right section of the cable, which will be displayed from the apartment distribution panel to the distribution box in the kitchen. For powerful household appliances, it is recommended to independently remove a separate cable from the shield (for example, for connecting oven) When calculating work, we recommend using this table: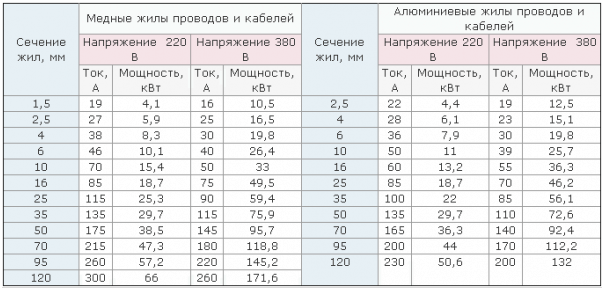
* more precisely, the values are given in the tables of permissible continuous currents of PUE chapters 1.3.
When you have decided on the choice of the cross-section of the wiring, you need to figure out how to install the sockets and how many should be more. This issue is considered in more detail in the article: https://our.electricianexp.com/en/rozetki-na-kuxne.html.
According to SP 256.1325800.2016 of clause 15.28: at least one outlet for 10 (16) A current must be installed in the living rooms of apartments and hostels for each full and incomplete 3 m of the room’s perimeter, at least one outlet for every full and incomplete 10 m2 of corridor area. For the electric stove and oven, as mentioned above, we lay a separate cable from the electrical panel and connect it to a separate machine of the corresponding rating and an RCD with a tripping current of 30 mA. In this case, the electric stove or oven can be connected through a power outlet (for example, three-phase with a current of 32A) or the cable is connected directly to the terminals. In this case, you need to check the degree of tightening of the screw terminals once every six months, for a maximum of a year.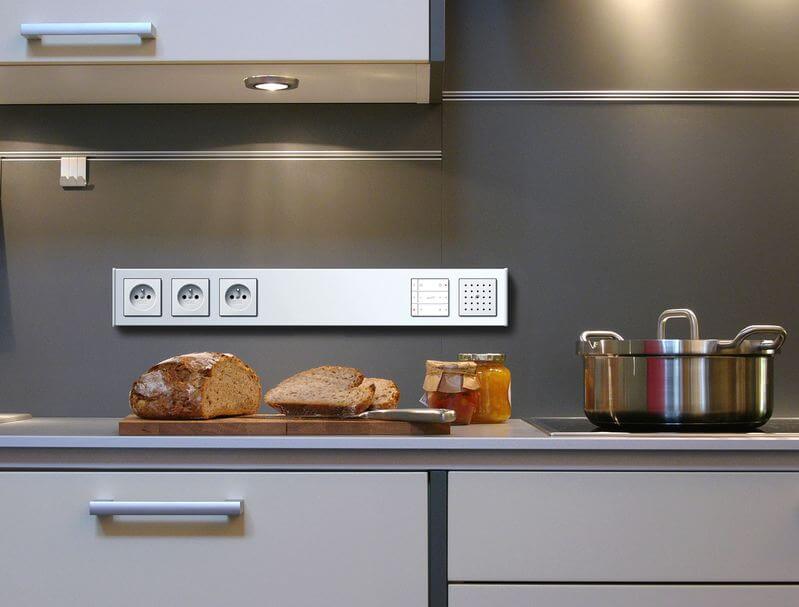
As for the circuit breakers, there are no special requirements. It is only important to note that all sockets and switches should be installed at a distance of at least 0.6 m from the sink (sink). Also, do not allow heat from the stove to fall on the switches and cable lines (if the wiring is laid in an open way).
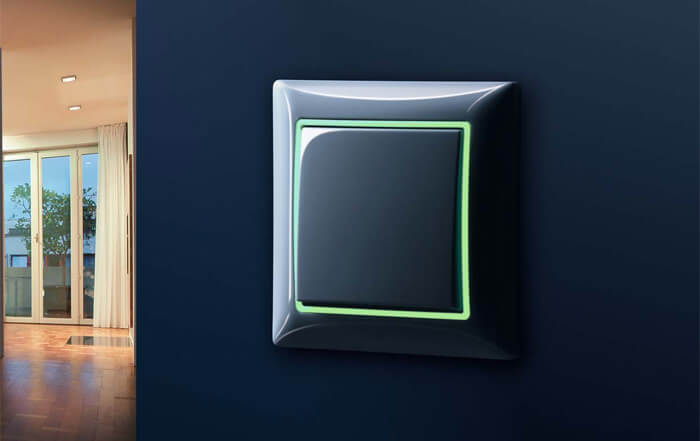
When choosing switches, use those that have the least relief patterns. Ideally, sockets and switches should have a flat body that is easier to wipe away from grease and dirt. In order not to disturb the interior of the kitchen, it can make hidden wiringby installing designer switches and sockets, the color "wood" or something like the option provided in the photo below.
Schema creation
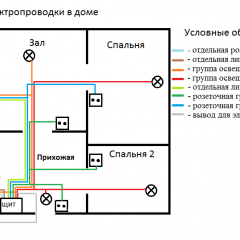
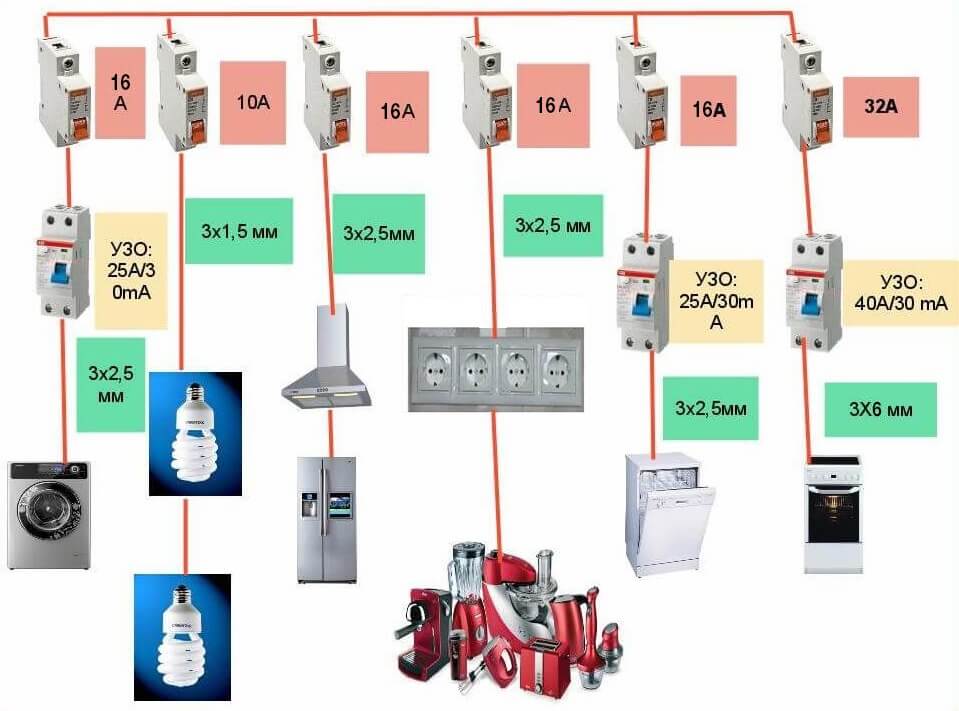
Well, the last thing to do at the stage of preparatory work is to draw a wiring diagram in the kitchen. To do this, we recommend taking into account the tips that we have already talked about and about which we will talk further. A typical kitchen wiring diagram looks something like this: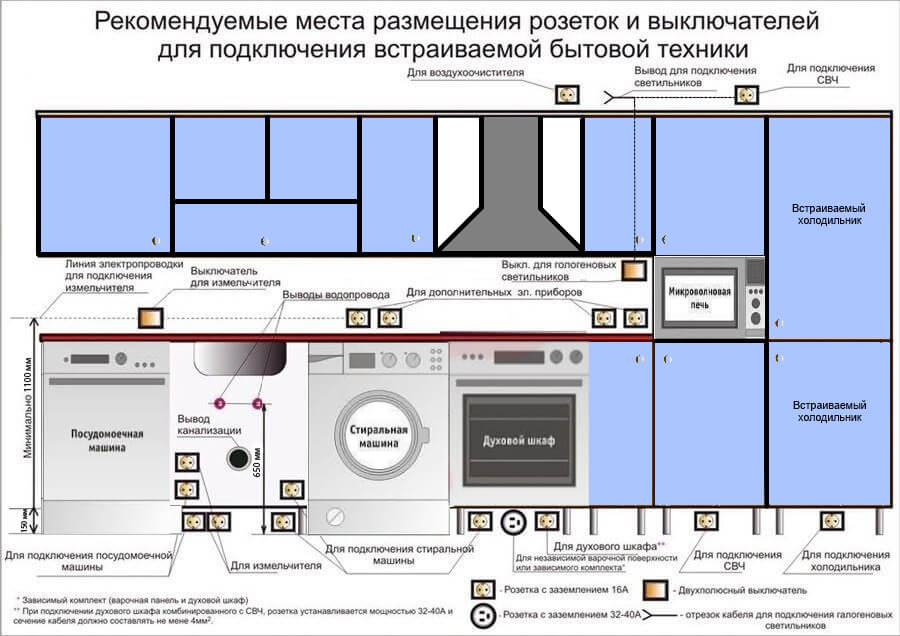
After you have prepared all the necessary materials, you can proceed to the installation of electrical wiring in the kitchen with your own hands. About how to properly draw a line, now we will tell.
Main process
We will provide installation instructions step by step, so that readers our.electricianexp it was easier to perceive the material:
- According to the scheme, you need to do wall marking for wiring in the kitchen on their own. To do this, we recommend making homemade laser level, which allows you to quickly and with minimal error to carry out horizontal marking for the strobes.
- By marking up wall chipping for wiringand then lay the cable in the finished grooves and putty the entire network of grooves in the wall. Please note that gating of load-bearing walls in prefabricated houses is prohibited in accordance with Decree of the Government of Moscow of February 8, 2005 N 73-PP “On the Procedure for the Conversion of Premises in Residential Buildings in the City of Moscow”. As well as Government Decision No. 508 (Clauses 11.3 and 11.11 of Appendix No. 1).
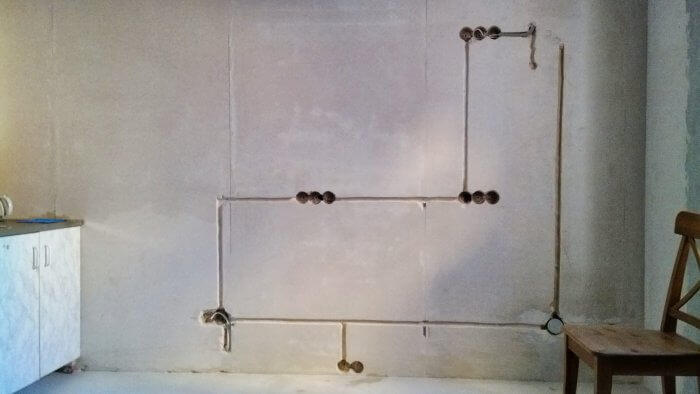
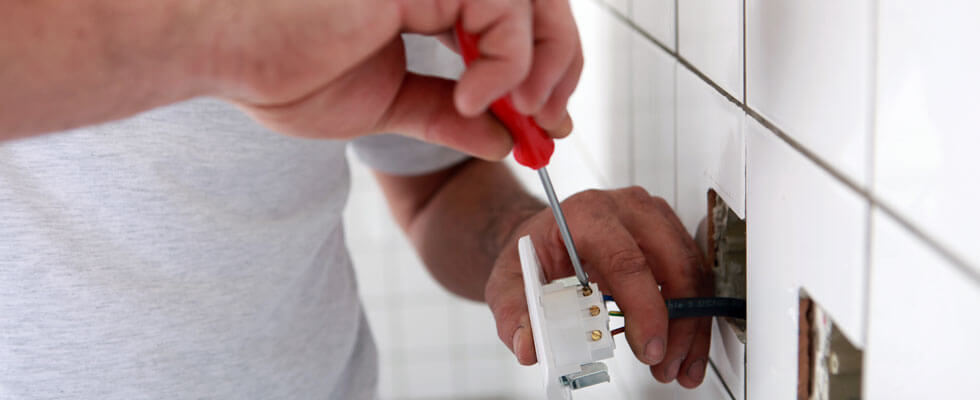
- In prepared seats, light switches, sockets and junction boxes must be connected.
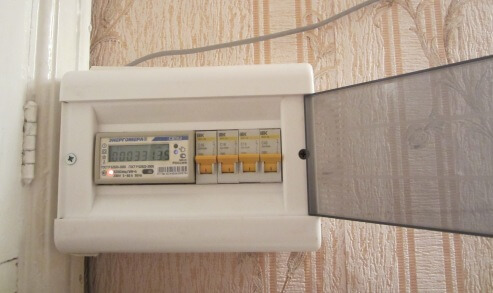
- Protective automation for kitchen appliances and electrical wiring is installed on the dashboard.
- Ready-made wiring in the kitchen is checked by the dial for short circuits, after which they turn on the electricity. If nothing sparks, does not make noise and does not smoke, and at the same time, all the equipment functions normally - you did everything right!
That's the whole manual for installing electrical wiring in the kitchen with your own hands. As you can see, there is nothing particularly complicated, however, there are many incomprehensible moments, such as which automation should be installed, where it is best to conduct the cable, etc. We’ll talk about this right now, providing useful tips for wiring in a panel house and apartment!
Useful Tips
To make the wiring in the kitchen correctly, we recommend that you consider the following recommendations:
- The switch should be installed at the entrance to the room, at a distance of 20-30 cm from the doorway, while at the height of the lowered hand, so that it is possible to conveniently control the lighting even for a child.
- Socket height in the kitchen should be different. One block of "electrical points" should be above the countertop, the second above, for convenient connection of the hood. For a refrigerator, washing machine and dishwasher, the height can be 20 cm from the floor, but no less. Convenient location of all outlets we provided in the diagram above, and navigate on it.
- On a powerful technique you need choose an RCD with a nominal value of at least 40 A (leakage current 30 mA), the rating of the machine is calculated separately (it can be 25 or 32A). On the other sockets, it will be enough to connect a 16-amp circuit breaker with your own hands.
- It is not recommended to conduct electrical wiring in the kitchen in an open way for security reasons (near a sink, stove, etc.). In addition, cable channels will be negatively displayed on the interior of the room. If you have a suspended ceiling, you need to extend the cable in the corrugation behind the plasterboard sheets.
- Never install sockets above or below the sink. Try to get them out of the water.
- Avoid connecting devices through an extension cord. “Carrying” is an unreliable electrical point that, at high loads, can melt and cause a short circuit.
On this, the instruction on how electrical wiring in the kitchen can be organized with your own hands ends. Follow all the nuances and recommendations provided so that the wiring is safe, convenient and durable!
It will be useful to read:

