A simple way to install an electric oven
Step 1 - Decide on the installation method
The first thing to determine is the following points:
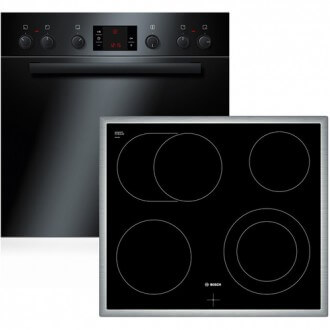
- Is the oven model dependent on the hob or independent (connected or not connected to the hob)? In the first case, you need to connect the panel and the oven to one power cable, while both devices must be interconnected according to the manufacturer's recommendations. An independent electric oven can be installed separately, and put on it a gas hob (it is more economical).
- What is the power of technology? If the power is not higher than 3.5 kW, it is allowed to use a connection to an outlet. Otherwise, it is recommended to remove a separate power wire from the junction box, with which it is necessary to connect the electric oven.
- Will the wiring in the house withstand such loads? We continue the question of the power of the electric oven and determine how suitable wiring is routed around the house. If you live in Khrushchev, while replacement of wiring in the apartment not produced, of course, the cable will not withstand current loads of more than 3.5 kW and will have to completely change the wiring path. If you have recently made repairs and are confident that the cable cores can withstand currents within 16A, you can not worry and proceed to installation work. It should also be noted that the wiring must necessarily be grounded. Do not connect an electric oven with a plug without grounding.
Having solved all these issues and created favorable conditions for the installation of equipment, you can proceed further - directly to the installation!
Step 2 - Install the housing in place
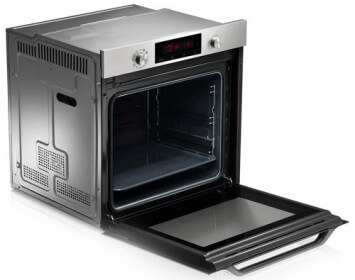
Most often they use the case of equipment built into the kitchen, which allows you to save the interior of the kitchen and save the free area of the room. Modern manufacturers of furniture and appliances have created a single standard so that the case fits perfectly into the headset section specially designed for this purpose. All you need is to carefully install the electric oven in its place under the countertop (as shown in the photo) and level it strictly.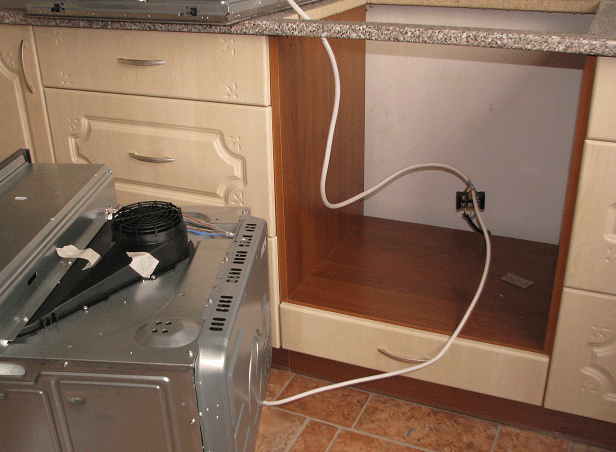
We draw your attention to the fact that any bias will negatively affect the heating efficiency.Moreover, improper installation in 80% of cases is the cause of equipment failure!
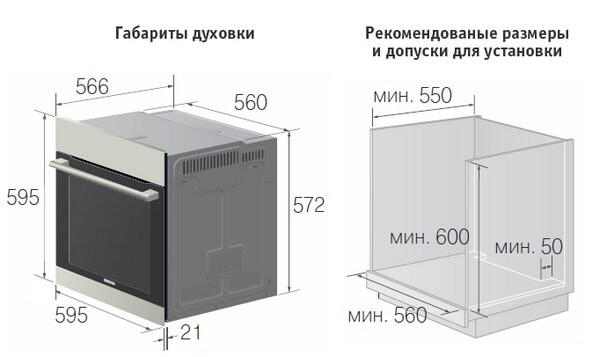
Using the building level, adjust the housing so that it is level in both horizontal and vertical plane. Alignment is performed by unscrewing the legs, in fact, as with dishwasher installation. So that the oven does not overheat during operation and does not break prematurely, we recommend that you consider the following requirements, which will allow you to correctly install an electric oven with your own hands:
- The distance from the bottom of the case to the floor should be at least 5 cm, better than 8.
- The air gap between the kitchen unit and the side walls of the oven should be 5 cm.
- The distance from the back wall should be at least 4 cm.
- Make sure that a socket is installed next to the equipment (if the power does not exceed 3.5 kW). It is extremely forbidden to connect through an extension cord, unless of course you made extension cord do it yourself!
That's all the requirements for installing an electric oven in the kitchen. The last thing left is to connect to the mains. If you are confused by the paragraph - indent from the bottom, we recommend watching a video that clearly shows the installation of the oven according to the manufacturer's requirements:
Step 3 - Wiring
So we come to the final part of the process, in which you need to connect the electric oven to the network yourself. We will not talk about how to connect to a conventional outlet, everything is already obvious. If you decide to withdraw the wire from the junction box, then things are a little more complicated.
First of all, it is necessary to disconnect electricity at the input in order to protect yourself from electric shock. If the cord for connecting to the network is not pulled out of the case, you need to find the terminal block on the back side and using PVA wire or VVG suitable section, lead the wires into the appropriate terminals. The other end of the conductor must be connected to the lead wires (from the junction box). Be sure to follow color marking wires: phase (brown) goes to terminal L, zero (blue) to "N", grounding (green) to "PE".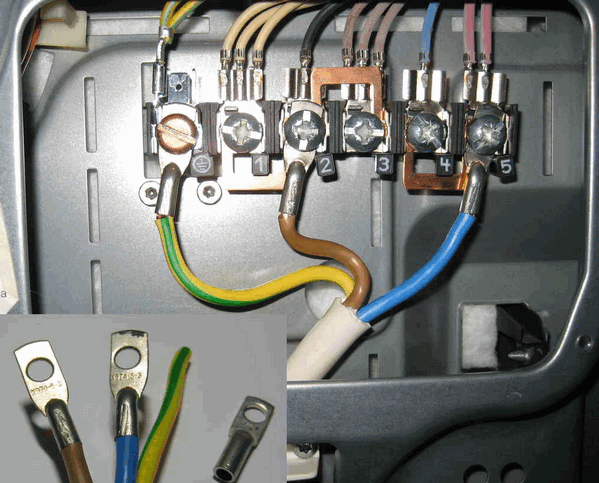
Before connecting the cable, make sure that it is able to withstand current loads. To do this, make calculation of cable cross-section by power and current. Typically, a three-core copper cable with a cross section of 2.5 mm2 is used to power an electric oven with a power of 3.5 kW. If the load is greater, it is recommended to use a conductor with conductors of 4 mm.kv.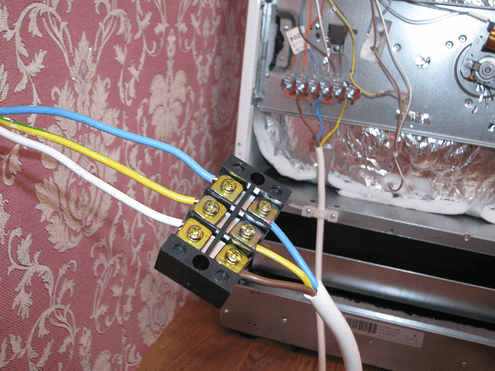
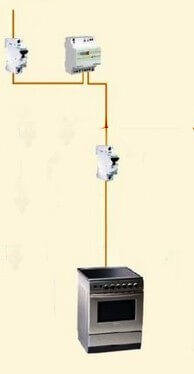
In addition, you must protect yourself from electric shock, as well as the equipment itself from short circuit and overload. For this it is necessary connect an RCD and circuit breaker as shown in the diagram below. About, how to choose an RCD and the circuit breaker, we have already said, with which we advise you to familiarize yourself!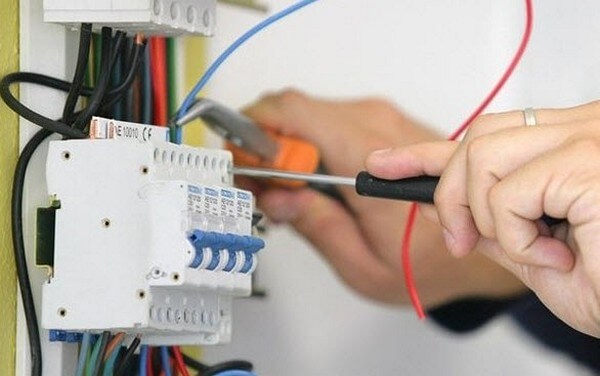
In the end, it is necessary to check the correct installation and connection of the electric oven and then turn on the electricity on the switchboard. If nothing sparks and the light indication works, it means that you managed to connect everything correctly with your own hands!
We also recommend watching the video instructions on which the connection process is shown in more detail:
We hope that now you know how to connect the electric oven to the network with your own hands.




I was confused by the fact that there should be a gap for ventilation on the bottom for the cabinet, but everywhere the cabinet is placed right on the shelf, there is a gap on the sides on the back, there is on top but the bottom is always close to the shelf or the bottom of the furniture, how can I make the installation correctly?