How to close the strobes for wiring - step by step instructions
Tools and building materials
Before completing the plug-in for the wiring, it is necessary to determine and have the following tools in your arsenal, as well as building materials:
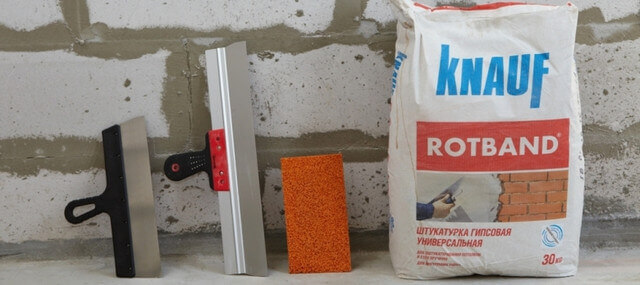
- A pair of spatulas, one about 10-15 cm, and the other wider, about 120 cm. To whom it is more convenient, you can use a trowel.
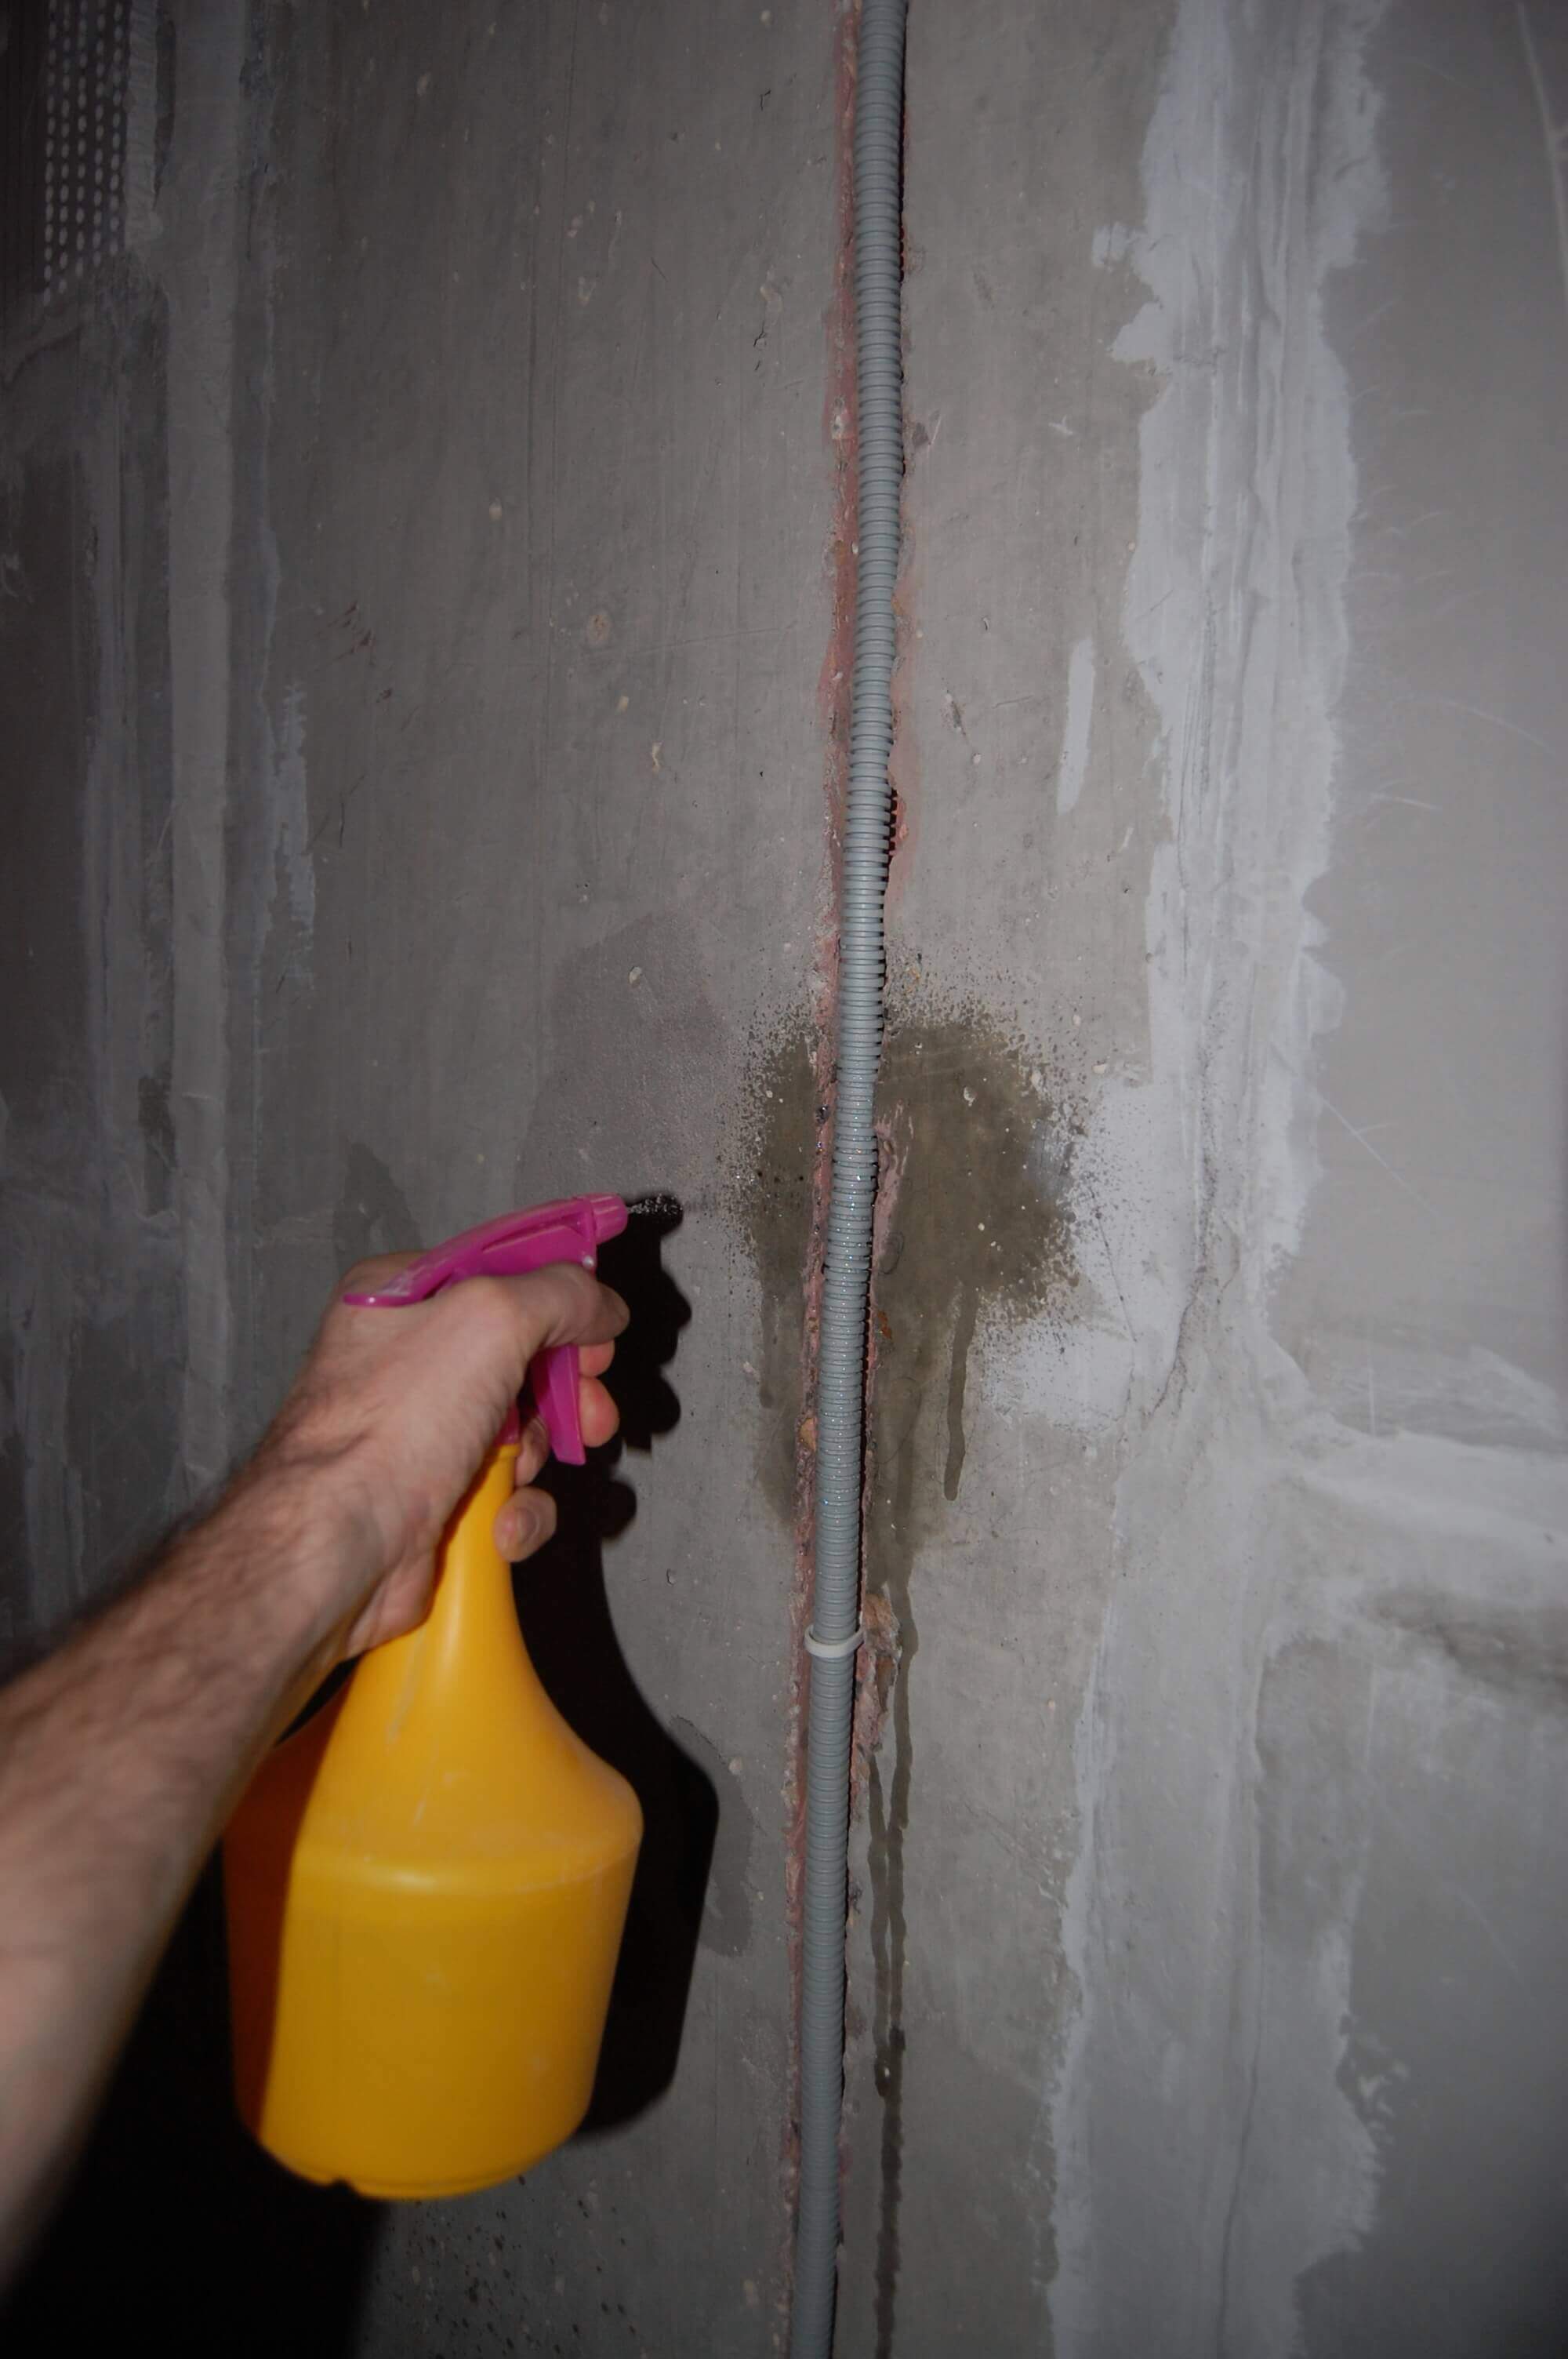
- Primer deep penetration. It is used to prevent cracking of the plaster and its lagging behind the surface, as there can be a lot of concrete or brick dust in the strob. Dust will prevent the plaster from adhering securely.
- Brush Almost any will do, depending on the width of the groove.
- Building plaster or, in extreme cases, alabaster for fixing the wire.
- Gypsum plaster "Rotband". If the rooms have a characteristic high humidity, it is recommended to use a cement mortar.
- Capacity for mixing solutions.
What solution to close the strobes
There is no single solution used by the craftsmen to seal the chambers in which the wiring is located. Here is a list of building mixes that they prefer:
- Gypsum plaster. It is used in damp rooms in order to close up very deep and medium grooves. The time of complete drying is about a day.
- Among ready-made mixtures, Rotband, Founder and Volma are widely used. However, in comparison, the first of them at a lower price has excellent quality.
- Glue plaster type Perlfiks.
- If the wall is prepared for facing tiles, then you can close it with the same tile glue or cement mortar.
- Cement-sand based plaster mortar.
The main thing is that the wiring should be with complete insulation and without insulated twists. It is not recommended to seal the strob with sealant and polyurethane foam. It covers the cracks and holes in the walls, and when the cable is heated, the foam can catch fire or melt, and the sealant serves only to seal the elements.
Preparatory work
These types of work include pre-shutdown of power supply and checking for lack of voltage. Then you need to remove as much dust as possible from the grooves for the electrician and treat them with a primer. To do this, use the brush and go through it all, even the most inaccessible places. These works must be carried out with safety glasses so that the chemical mixture and dust do not get into the eyes.The strobes must be primed carefully and abundantly, while this procedure can be carried out both before and after laying the cable.
Alternative primer:
Main process
After carrying out preparatory work, you need to check that the cable does not protrude above the surface, that is, it is recessed along its entire length. In places where it is not recessed enough, you will have to use the grinder or punch to make the groove deeper. Inspection is best done with a spatula by conducting along the wall.
Termination of the plug for electrical wiring is performed according to the following technology:
- Dilute alabaster or building gypsum as indicated on the package. Remember that this fixing mixture hardens very quickly, therefore it is better to breed in small portions and quickly apply a spot fixation with a small spatula. Fasteners in this way should be done on the walls and on the floor, at a distance of about 1 meter, and it is recommended to apply every 50, or even 30 cm on the stream. The better the cable products are fixed by the alabaster in the wall, the easier it is to carry out further work on filling the gate.
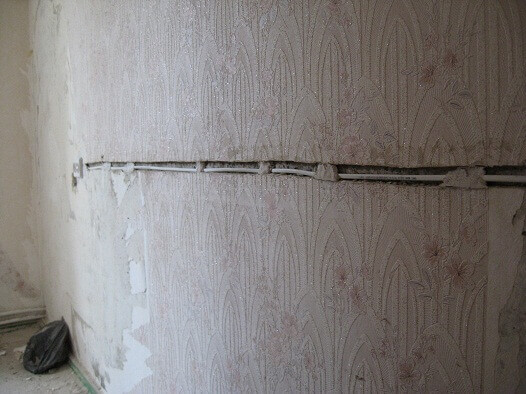
- After the gypsum has seized and already reliably holds the wires, the main plaster is mixed. Each of its types has its own layer thickness limits. When closing the grooves with the Rotband, this thickness should be no more than 50 mm. If you need to apply a thicker layer, then you need to do this in several stages.
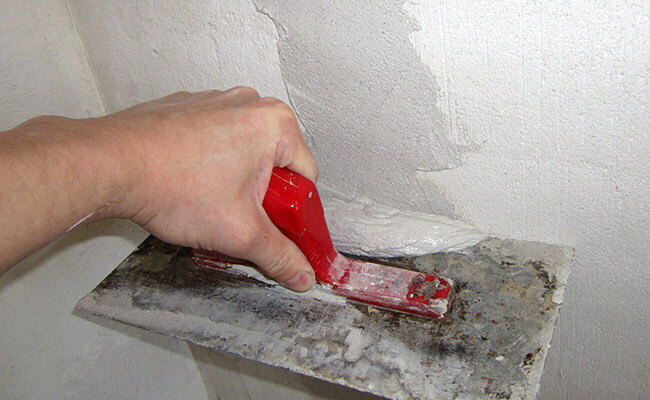
- A thick stucco mixture is applied immediately with a small spatula perpendicular to the cable and the strobes in which it is embedded, and then evened out with a wide one until the level of the entire surface matches the embedded groove. All excess unnecessary is removed.
- If the wall is then painted, then one of the materials is used: reinforcing tape, sickle, construction bandage, strips of fiberglass. It is applied when there is still no absolutely flat surface, since another layer of plaster will be applied on top of it.
- After the fixed and leveled surface, where the groove with the cable was, is completely dry, the primer process is repeated. Sometimes it may happen that the plaster gives a little shrinkage, it's okay - this is normal, you need to apply an additional layer of putty. If convex places appeared on the contrary, you need to wipe such places with large emery paper or a special grater.
- The last stage is finishing puttying to level the walls. If ceramic tile is applied after termination, then these finishing works are optional.
In the end, we recommend watching a video that clearly shows how to fix the strobes in a wall with electrical wiring:
Now you know how to seal the strobes with your own hands. We hope that the provided advice was useful for you and helped you to do all the work yourself!
It will be useful to read:

