How to make retro-style wiring?
Decorative wiring device
Like a regular cable, twisted wires consist of two or three cores, depending on whether there is a grounding system in a wooden house or apartment. As for the external insulation of the wires, it has a decorative appearance, which, in fact, creates the effect of a retro style. Most often, silk impregnated with a non-combustible composition is used as the outer shell. In addition, the conductors are additionally protected by PVC insulation, the color of which complies with the standards color marking wires. Retro conductors made of copper, cross section from 0.75 to 2.5 mm2.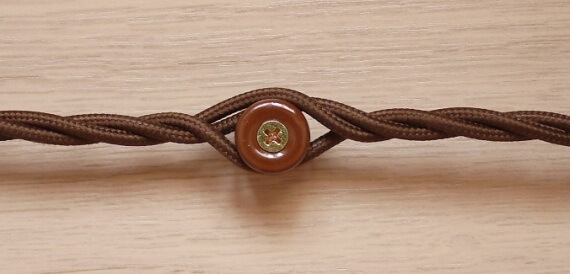
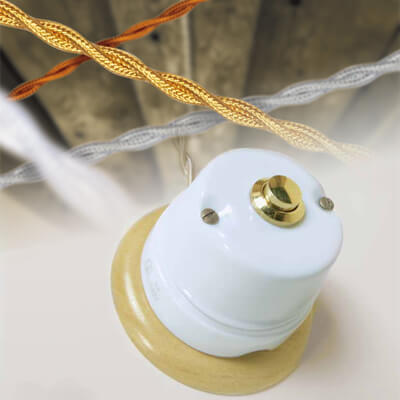
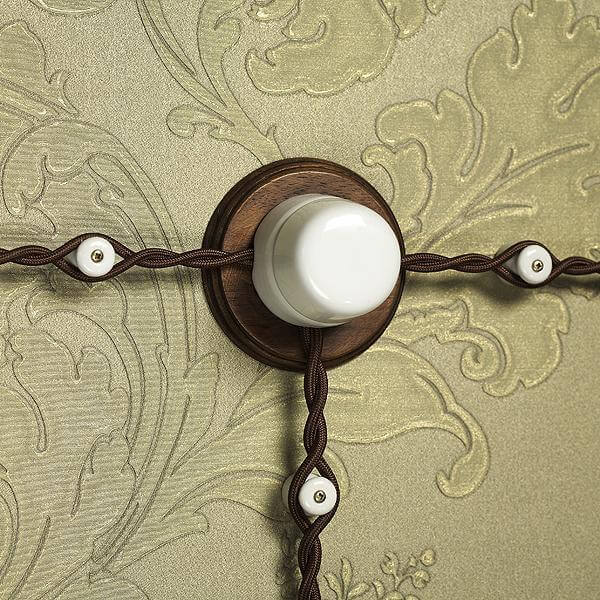
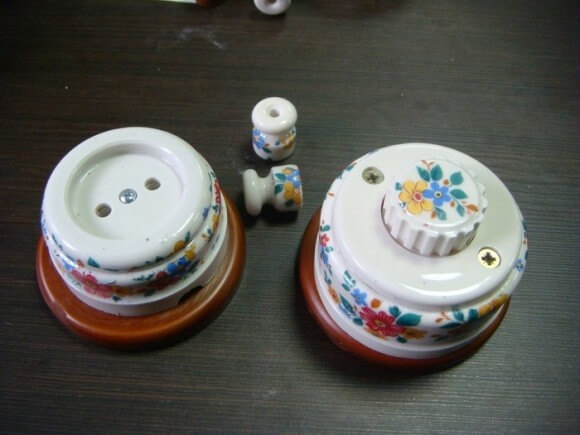
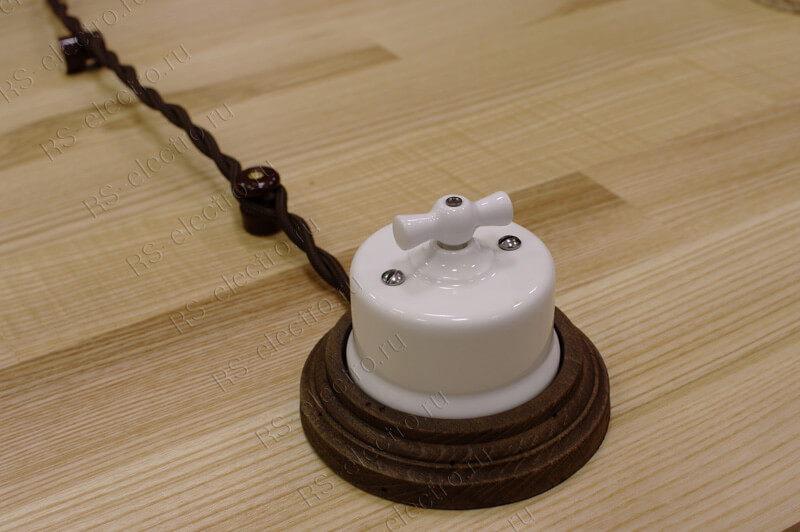
In addition, designer sockets, switches, junction boxes and, of course, porcelain insulators can be attributed to an antique wiring set in a wooden house. All of them have a corresponding appearance, characteristic of a retro style, which can be seen in the photo and video below.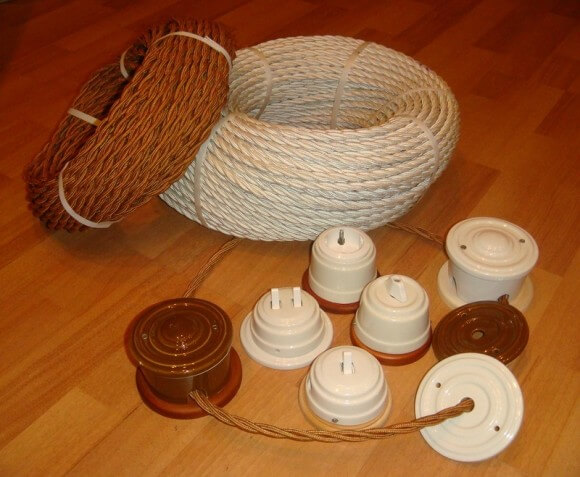
Weigh the pros and cons
Before proceeding to the installation instructions for retro wiring in a wooden house with your own hands, you need to find out whether it is needed at all, having weighed all the advantages and disadvantages of this option.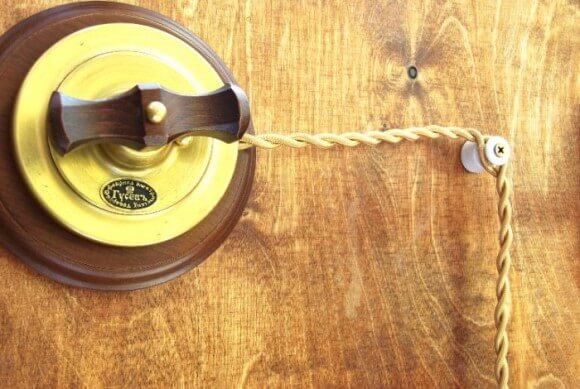
As for the positive aspects, this, of course, is the original appearance that will complement the interior of the room with antique wooden walls. The disadvantages are much greater. The main disadvantages are the significantly increased cost of retro wiring (especially if the manufacturer is the leading company - Fontini or Bironi) and limited application conditions. Regarding the latter, it should be noted that since the wire cross section does not exceed 2.5 mm2use such wiring for hob connection or other powerful electrical appliances is prohibited, because the cores cannot withstand high current loads.
To summarize, I would like to note that if you can spend money on a more expensive set of wires, sockets and switches and at the same time the wiring will not be used for powerful household appliances, this option will be very original and reasonable.Otherwise, you can use cable channels "under the tree", which are also used for installation of electrical wiring in a wooden house.
You can see an overview of the finished version of an old-fashioned electric line in this video example:
Mounting Features
So we got to the most interesting question for you - how to independently conduct retro wiring in a wooden house. In fact, there is nothing complicated, the main thing is to take into account the recommendations provided below and act according to the following step-by-step instructions:
- Determine where all the switches, sockets, lamps will be installed and based on this, draw a wiring diagram of antique. For example, we recommend viewing wiring diagram in a studio apartment.
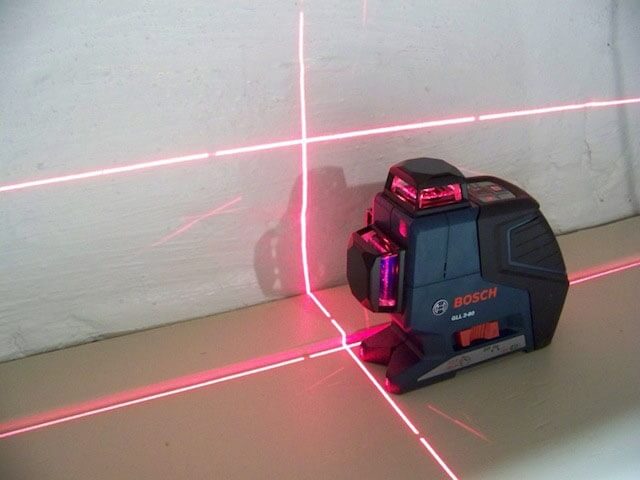
- Transfer the sketches to the walls in accordance with the prepared scheme. To keep all lines horizontal, we recommend using homemade laser level Or buy a special device from the manufacturer, as shown in the photo below.
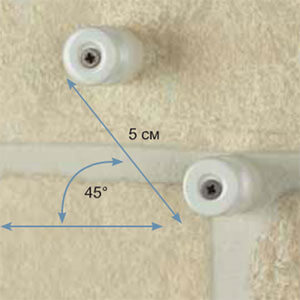
- Install porcelain rollers along the marked track. The distance between the insulators during installation should be the same throughout the length of the wiring in retro style. Typically, the distance is 50 cm between the rollers and 5 cm between the outlet / switch and the first insulator. Porcelain rollers are fastened with wood screws.
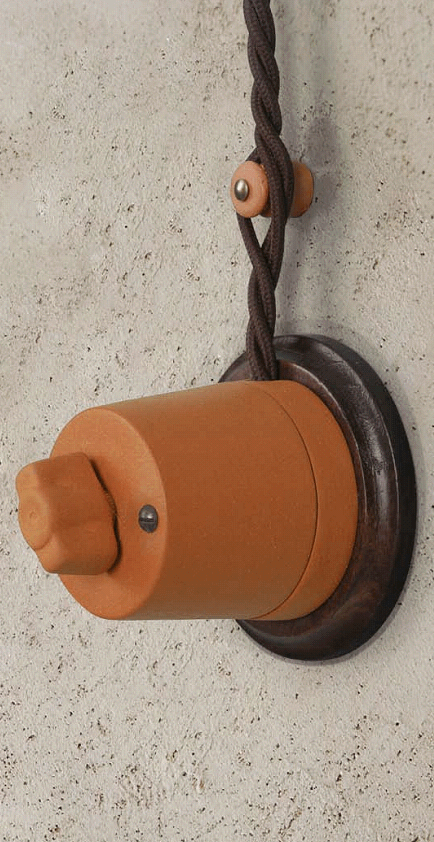
- Install overhead sockets, switches and junction boxes antique in the appropriate places according to the diagram.
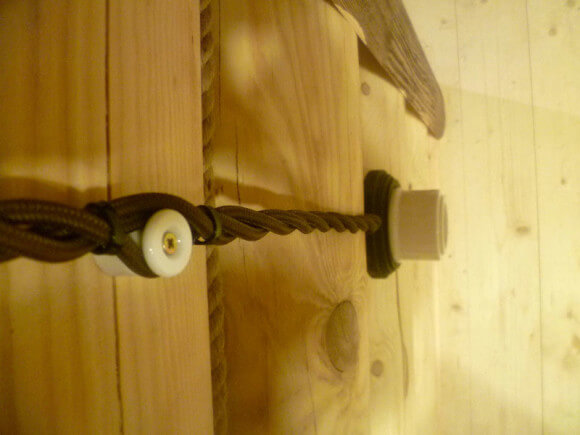
- Route the retro wiring between the insulators. Electrical wire connection must be carried out either by soldering or by the terminals of the car. The use of twisted wires in wooden houses should not be for fire safety reasons. Tension the conductor so that the minimum distance between the wall and the wiring is at least 1 cm (according to the rules of the electrical code). Installation on the ceiling must be based on the same requirement.
- After completing the electrical work, check the correctness of the work done by visual inspection and measuring the resistance with a multimeter. If everything is in order, you can turn on circuit breakers and use electricity in a bathhouse or a wooden house.
Here on this technology, do-it-yourself retro wiring is carried out. As you can see, there is nothing complicated, the main thing is to be careful and adhere to the simplest rules that we have provided. We draw your attention to the fact that you should not stretch the wiring for antique on the street, because this requires special sockets and switches with a high degree of external protection against moisture and dust. The only place where you can install retro wires in an external way is in a closed wooden gazebo, and then, if all electrical safety measures are followed.
In the video, the master clearly explains how to conduct electrical wiring on insulators:
How to save on material
As we said above, antique wiring at a price significantly exceeds even a special non-combustible VVGng cablewhich is also used in installation of wiring in the bath and a tree house. To save on the purchase of a decorative twisted wire, you can draw a group of ordinary cables from the switchboard in the pipe or corrugation under the floor, or in a special electrical plinth, and in the places of branching the wires to outlets and switches, use antique wiring. Thus, you need to buy quite a bit of expensive material and at the same time preserve all the sophistication of the retro style.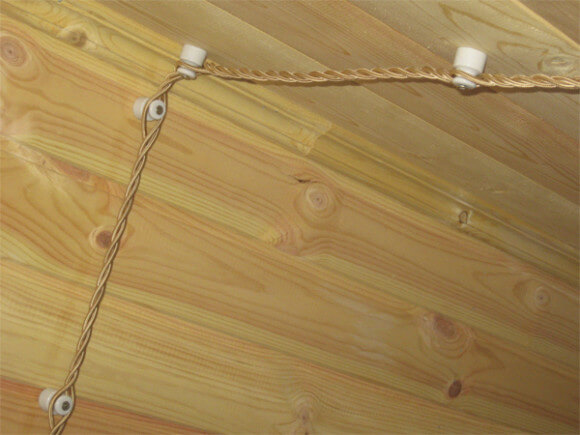
On this we will end the review of retro wiring in a wooden house. We hope that now you know what it is and how to carry out the installation of wiring for antique yourself. Finally, we recommend that you look at a photo of the idea of using a decorative "grandfather" version of the wire in the interior.
Original photo ideas
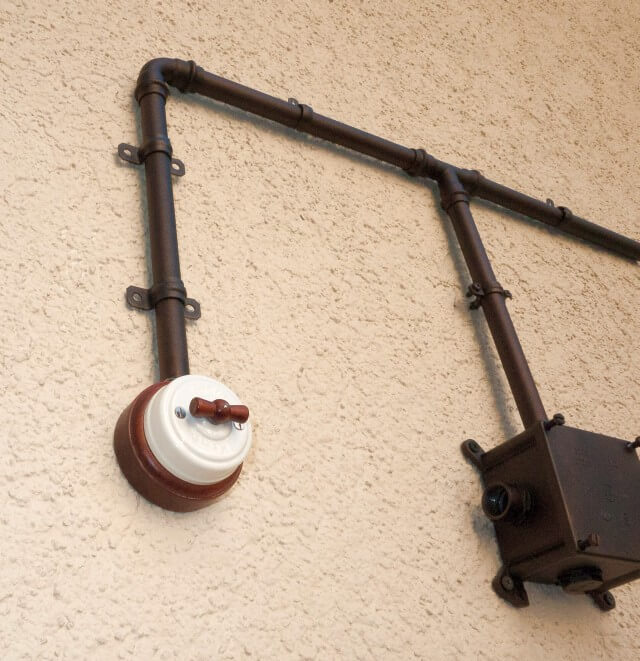
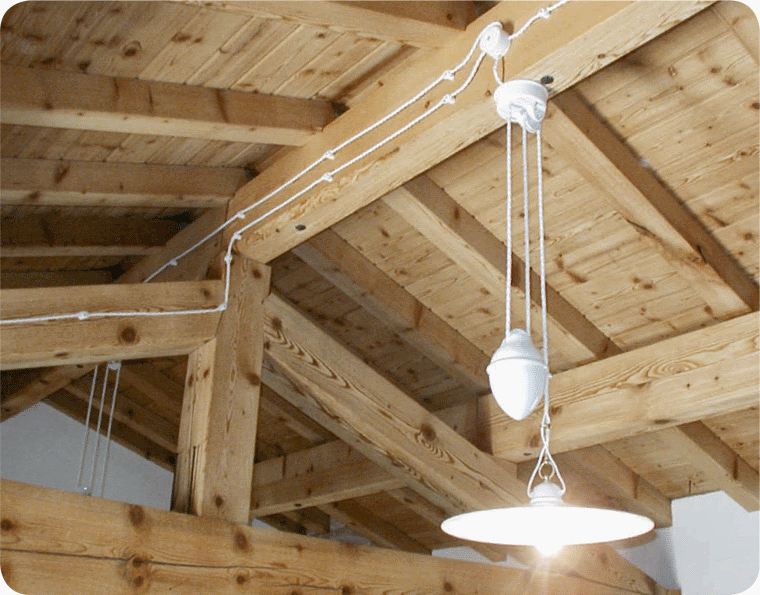
The pictures below show how you can make an unusual antique interior in a bathhouse and wooden house, using not only retro wires, but also painted pipes. Here are some ideas we found on the Internet: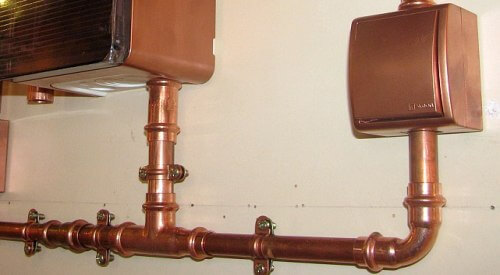





Never hear never contact Bironi !!! They have designer perverts who never mounted their products. Such a g * vna never met! Switches do not hold the wire, sockets, too. And the installation of two and three outlets on a socket is generally indescribable! I think I was not the only one tormented with the installation of their products!
Eh Sergey Petrovich. You just need to be creative. Everything is holding there perfectly. It is only necessary to tin the ends of the retro wire, he recently ran into the production of beroni. It was decided by the above method
I would also like to add Lindas products analogue of Bironi, but the quality is many times better. The installer himself and work with different brands in this direction. In my opinion, I would single out Salvador, Lindas, Mezonini and Bironi. Of course, there are other brands, but the data is most often used.
If you look in detail at the retro-style switches of the Loft Luxury series, overhead sockets and other well-known components, you can clearly see that you have real copper with patina, glazed, brass switches, which, when touched, feel good metal and durable reliability and installation lightweight and comfortable.
The best sockets and switches from Europe are Fontini, Fide. But they stand like an airplane wing. The rest is like Bironi, Salvador, Mezzanine - a crumbling China with terrible fixtures.
Although now our good brands have begun to appear - brass will be light, Romatti, ceramics - Leanza
Pipe wiring - a great solution for interiors in the style of "Loft Luxury" and "Retro". With success, wiring in steel and brass pipes can be used in wooden and brick houses by open wiring in metal pipes in a combination of the same series of copper sockets and loft lux switches