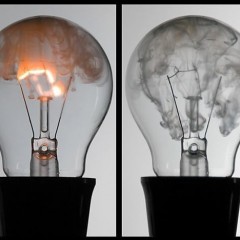
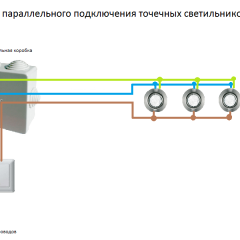
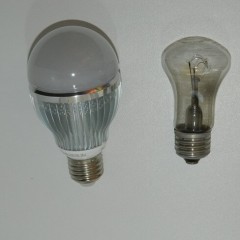
We assemble the LED lamp at home
Idea # 1 - Upgrading a Halogen Light Bulb
The easiest way is to make the LED lamp yourself from a blown halogen bulb with base type - GU4. 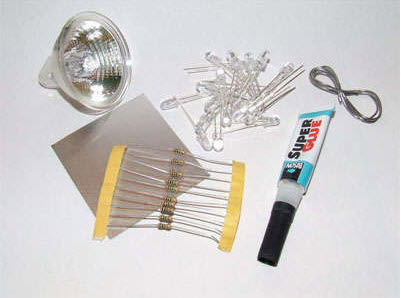 In this case, you will need the following materials and tools:
- LEDs Choose their number yourself, depending on how bright the LED lighting should be. Immediately draw your attention to the fact that you should not choose more than 22 diodes (this will complicate the assembly process and also make the bulb too bright).
- Super-glue (regular one will do, but it will harden longer, which will not allow you to make an LED lamp quickly).
- A small piece of copper wire.
- Resistors Their quantity and power will be calculated by an online calculator.
- A small piece of sheet aluminum (an alternative is a regular can of beer or a carbonated drink).
- Internet access. You will need to open a special online calculator to calculate the circuit of the LED lamp.
- Hammer, soldering iron and hole punch.
Having prepared all the materials, you can proceed directly to the assembly of the diode bulb. Instructions for creating a homemade light source we will provide you step by step, with photo examples of each stage, so that you can clearly see the installation process.
So, to make a 12-volt LED lamp, you need to follow these steps:
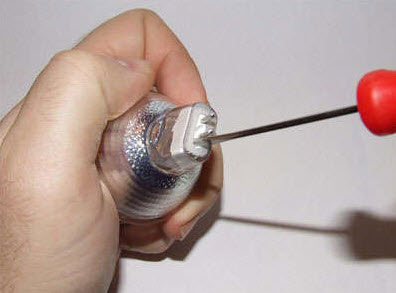
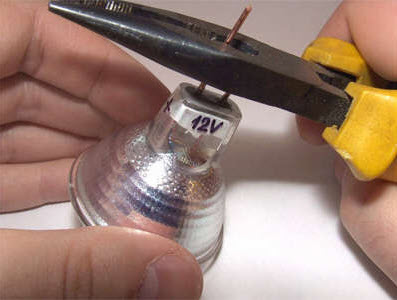
- Remove the top glass from the old halogen bulb, as well as the white putty near the pin base (as shown in the photo below). To do this, it is best to use a screwdriver.
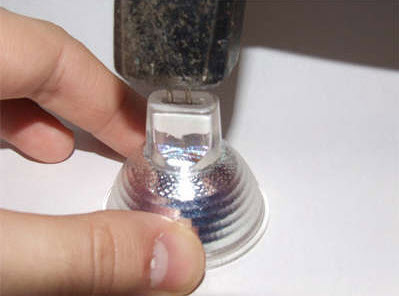
- Turn the lamp upside down and carefully use a hammer to knock the pins out of the seat. The old halogen bulb should fall out.
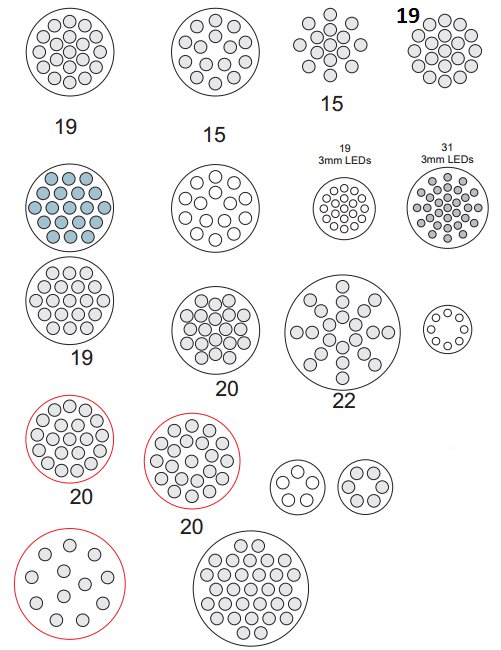
- According to the number of LEDs you have chosen, come up with a layout for their location, on the basis of which make a paper stencil. You can use the existing workpiece and print one of the ready-made schemes, which are provided in the picture:
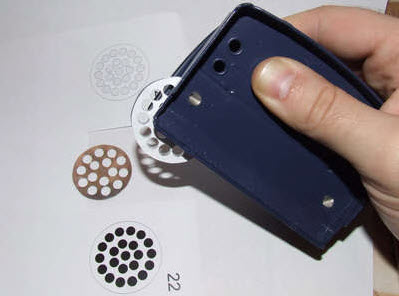
- Glue the stencil to the aluminum sheet with super-glue, cut the sheet to the shape of the stencil, and then make a hole with the hole punch for LEDs.
- Generate on the Internet a drawing of the assembly of the LED lamp for your conditions. In our case, to create an LED bulb at home from 22 diodes, you need to assemble the following circuit:
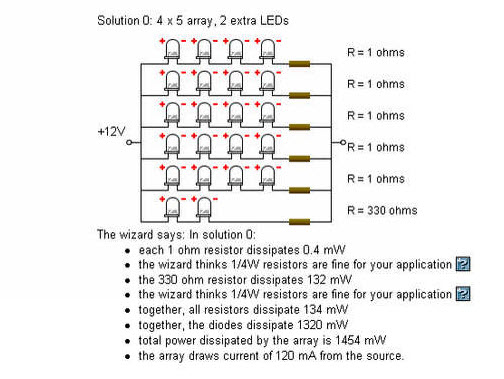
- Put the aluminum disk on a convenient stand and insert the LEDs into the seats as shown in the photo. To simplify the soldering process, bend the cathode leg of one diode to the leg of the anode of another.
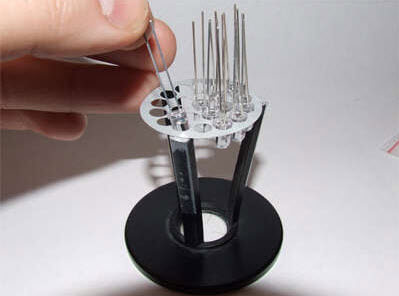
- Carefully glue all the LEDs, making them a single design. An important point - the glue should not get on the legs of the diodes, because When soldering, extremely unpleasant smoke will be emitted.
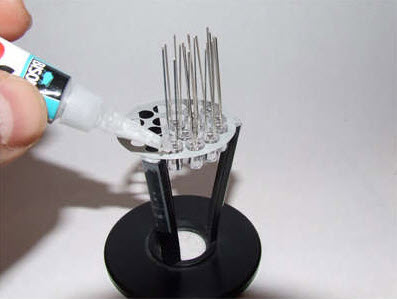
- When the glue hardens, proceed to solder the legs. By the way, we recommend that you DIY soldering ironthat also does not take much time. According to the scheme, solder the LED diodes of the lamp, leaving only one plus leg and one minus to connect the power. The “-” leg is recommended to be cut in half so that subsequently not to confuse the polarity of the contacts of a home-made LED bulb.
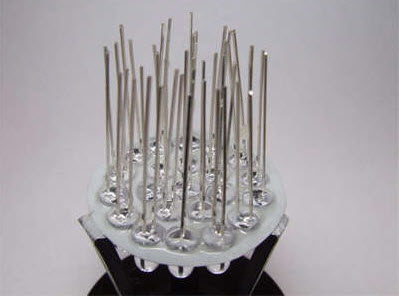
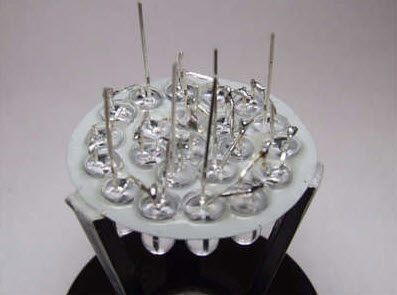
- According to the scheme, solder the resistors to the negative contacts. As a result, according to our example, 6 positive conclusions and 6 negative conclusions (with resistors) should turn out.
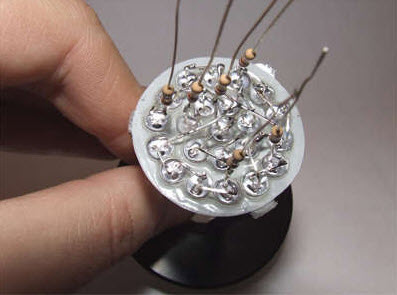
- Solder the resistors according to the generated circuit.
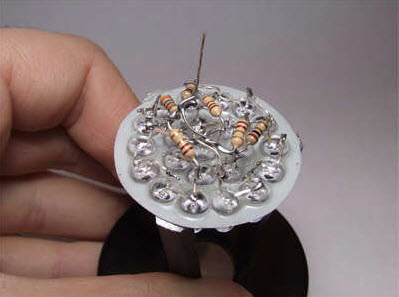
- Solder to the resulting two contacts the same piece of copper wire, which as a result will make the pin base of the LED lamp at home. By analogy with the previous advice, make one leg for a while shorter (minus), so that you do not mix anything up and connect correctly.
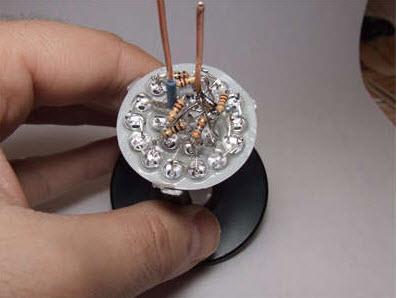
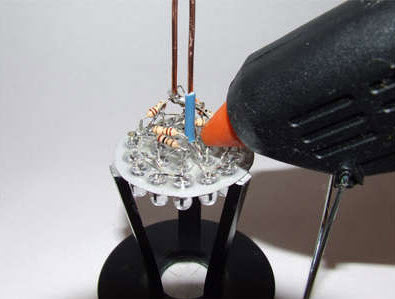
- That in the future did not happen short circuitcarefully glue the space between the raised legs.
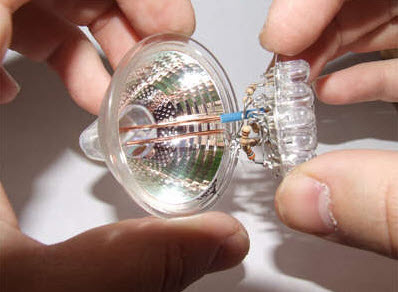
- Finish assembling the LED bulbs: place the disc on the reflector and carefully glue it.
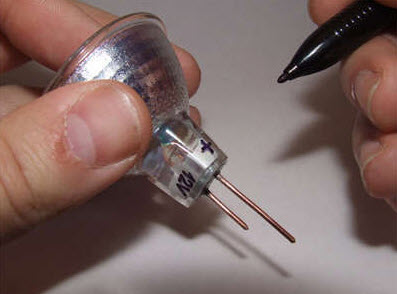
- With a marker, sign on the case of the assembled LED lamp where “+” and where “-”, also indicate that the home-made light source is designed to connect to a 12-volt power supply, not 220.
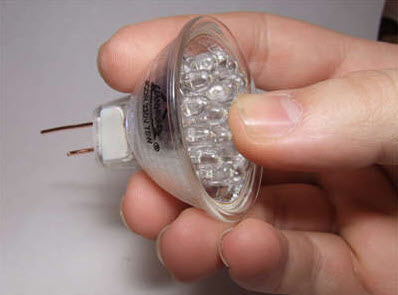
- Check the assembled homemade item. To do this, connect the LED light bulb to a car battery or a 220/12 Volt power supply.
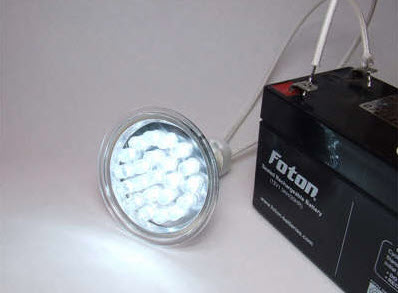
In such a simple way, you can make a LED lamp yourself from improvised tools. As you can see, nothing is difficult and you don’t need to spend a lot of time on the assembly! We recommend that you review some of the best ideas for creating light bulbs at home that we provided in the video gallery:
Idea No. 2 - "Housekeeper" in progress!
The second, no less interesting idea is to assemble a light bulb from an energy-saving lamp. There is also no particularly serious work and even a not very experienced electrician can cope with the assembly. 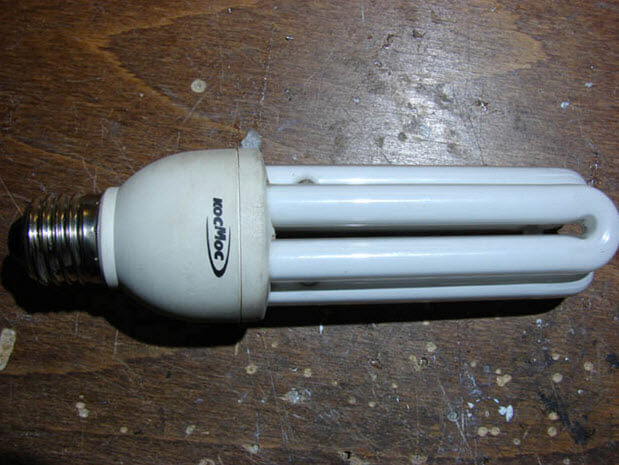 First you need to prepare the following materials and tools for assembling your LED lamp yourself:
- The failed "housekeeper".
- A piece of fiberglass.
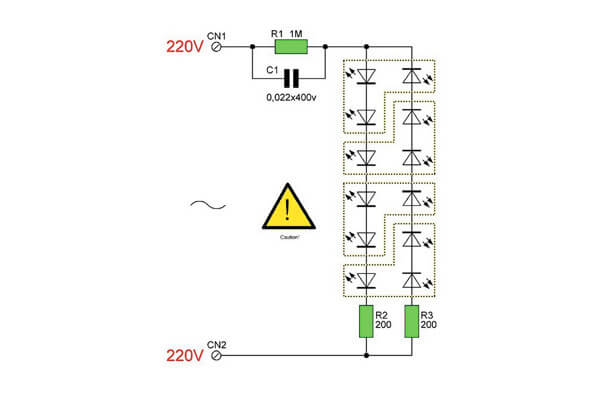
- According to the generated circuit (we talked about this above) the constituent elements: resistors, capacitor, LEDs. In our example, the circuit will be as follows:
- Drill for fiberglass drilling. In this case it’s better do-it-yourself mini drillwhich can be conveniently made holes.
- Soldering iron.
- Salt, copper sulfate and nail polish.
Having prepared all the materials, you can proceed to the assembly. This manual is more creative, so if you decide to make a diode bulb from a burnt housekeeper, carefully look at photo examples.
Stages of work:
- Cut a fiberglass circle with a diameter of 3 cm.
- Using varnish, draw the tracks on the board according to this example:

- Make a solution of 1 tablespoon of copper sulfate and 2 tablespoons of salt. Stir it all in warm water.
- When the varnish hardens, lower the board into the solution for a day. As a result, only the copper paths that you varnished remain, the rest of the copper will disappear during the reaction.
- Acetone, remove the remaining varnish from fiberglass and poured clean tracks.
- According to the scheme, make holes with a mini drill.
- Solder all the elements of a makeshift driver.
- Carefully disassemble the old energy-saving lamp and remove everything from it except the wires coming from the base.
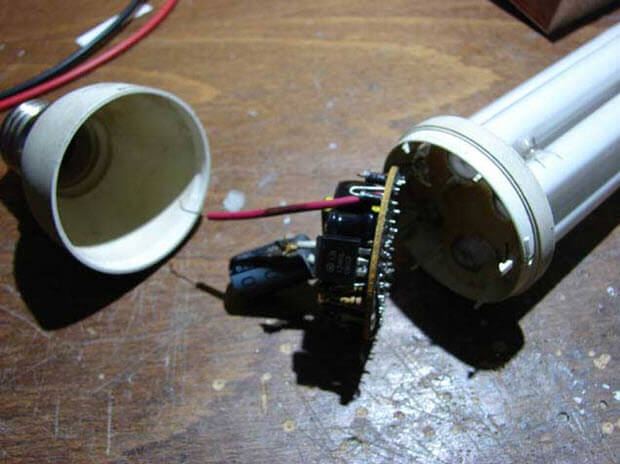
- Fix your version of the board with LEDs, solder the wires and seal. If you did everything correctly, the result should be as in the photo below.
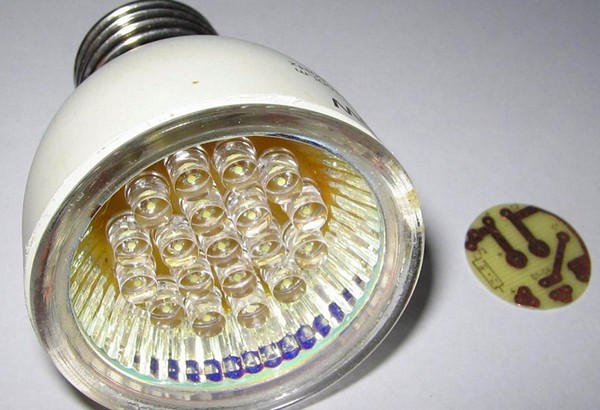
According to this instruction, you can easily make an LED lamp out of a fluorescent or halogen bulb!
Idea No. 3 - LED strip as a basis
If you do not know the soldering iron so well and at the same time have no idea how to assemble the circuit on fiberglass, it is better to make an LED lamp yourself from LED tape. In this case, instead of the driver, you can use a power supply that converts 220 Volts into a network of 12. The only significant drawback of this method is the large size of the power supply, so this option is recommended if you decide to make LED lighting in the room with spotlights. You can try to collect all the bulbs for them with your own hands and connect to a single power supply, which will hide without problems in the ceiling.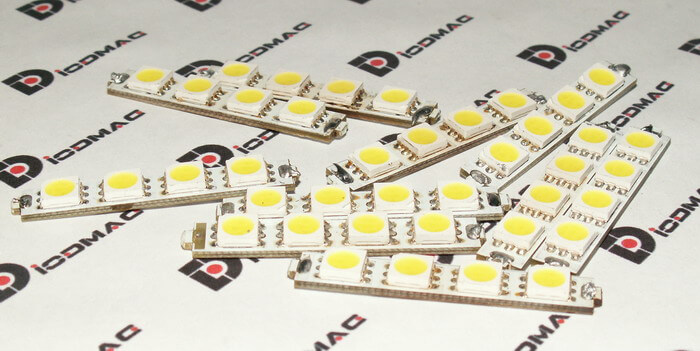
So all you have to do is:
- Make the frame of the future lamp. To do this, cut a small piece of plastic pipe.
- Glue a small section of the LED strip on each side of the pipe. Cut LED Strip it is necessary only in certain places that are indicated by the manufacturer (usually every 3-4 diodes).
- Connect all the segments in a parallel circuit using a soldering iron, and then solder a piece of copper wire to each bundle of wires (for easy connection to the power supply). If you decide to install a home-made diode bulb in the old energy-saving one, just solder the conclusions from the tape to the wires of the socle by analogy with the instructions above.
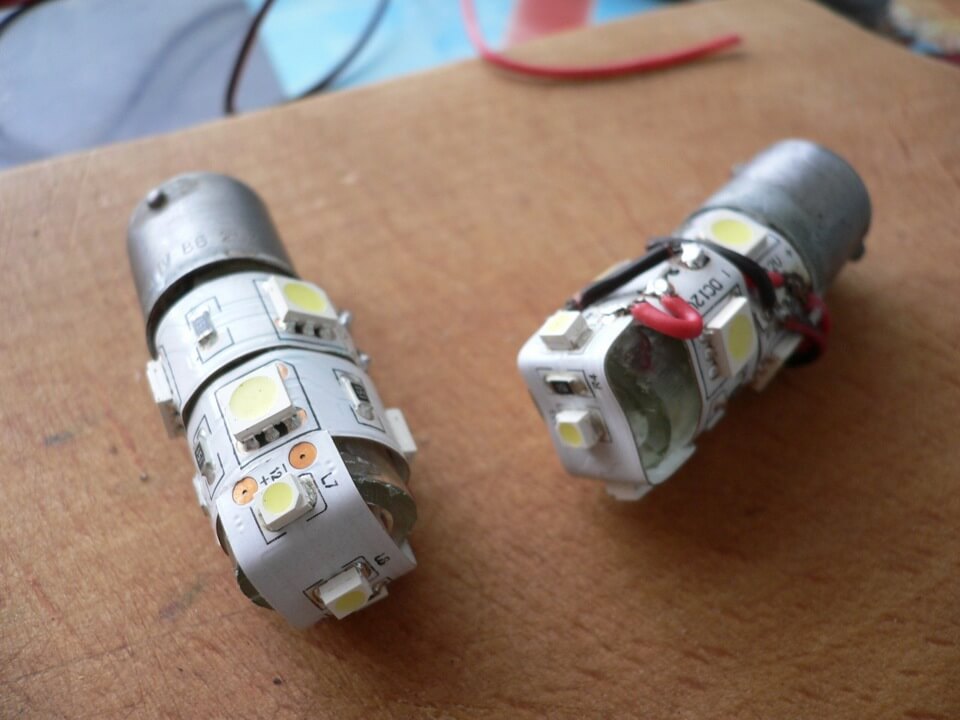
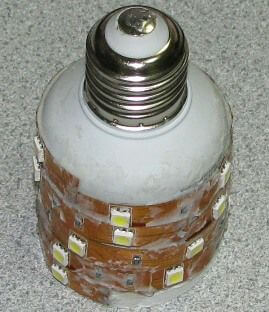
That's the whole assembly instruction for the LED lamp from the tape. As you can see, everything is much simpler than even making a light bulb according to the generated scheme. Our simple instructions end here, and now you know how to make an LED lamp with your own hands from an energy-saving light bulb, a diode strip and a halogen light source! We hope that the ideas provided were useful and understandable for you!
Similar materials:


