Assembly instructions for a homemade drill
Method number 1 - The second life of the old tape recorder
As you know, the first version of a homemade mini drill will be made from a time-lost CD recorder. All you need from a former bestseller is a motor that will rotate the chuck with the tool. Since the power of the device comes from 6 Volts, you will additionally have to find the appropriate power supply or several batteries. You can use the usb adapter, however, in this case, the power will decrease slightly. In addition, you need to buy a collet yourself (sold at any radio store or on the market, on the Internet on AliExpress, the price is small) and find a suitable housing for homemade, although this is not necessary, you can hold the tool directly by the motor.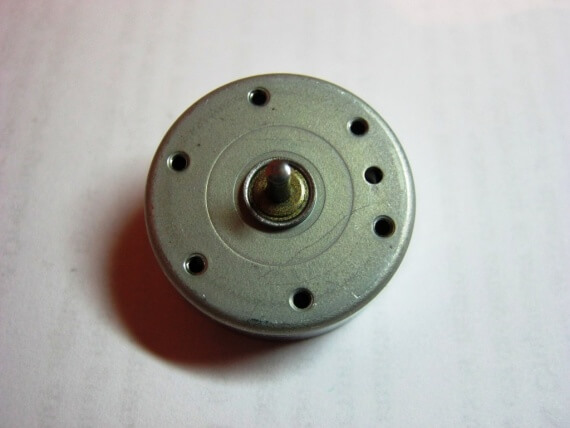
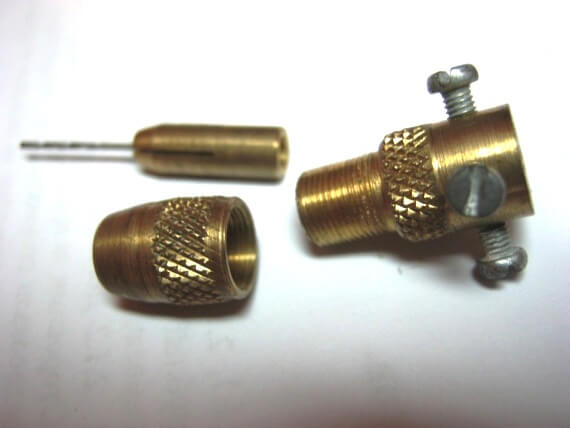
So, in order to independently make a mini drill from a motor at home, you must follow these steps:
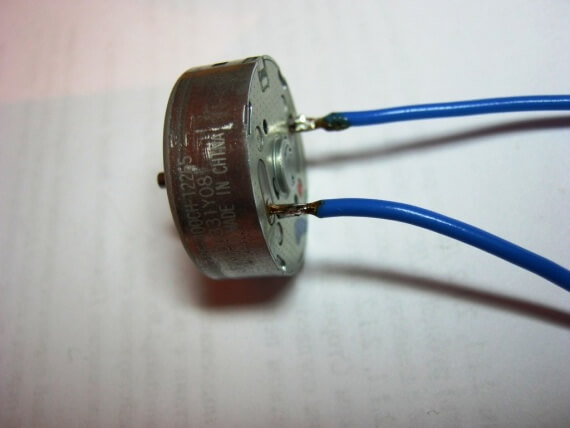
- Solder two flexible wiring to the device contacts, as shown in the photo.
- Install a drill bit of suitable size in the collet.
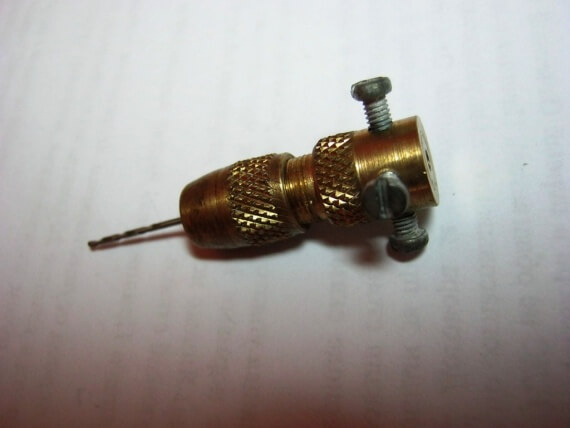
- 3. Put the finished nozzle on the motor shaft, and fasten the cartridge with screws. We draw your attention to the fact that the collet hole should ideally fit the shaft diameter, which is usually 1.5 or 2.3 mm. Otherwise, it will be difficult for you to remove the vibration when working with a homemade small drill. If the hole in the collet chuck turned out to be larger than the motor shaft, then you can try to rewind several layers of adhesive tape, thick paper, polyethylene or other material. This compensates for clearance and reduces vibrations.
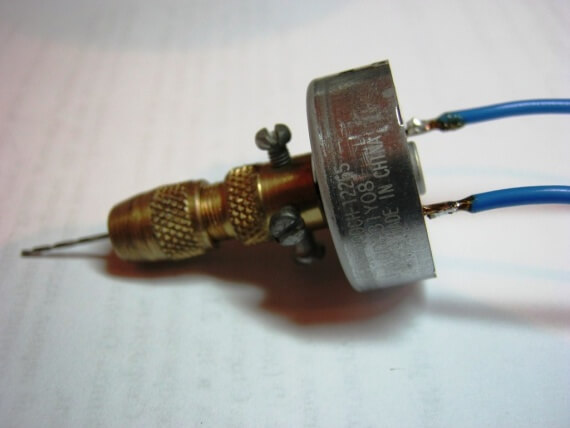
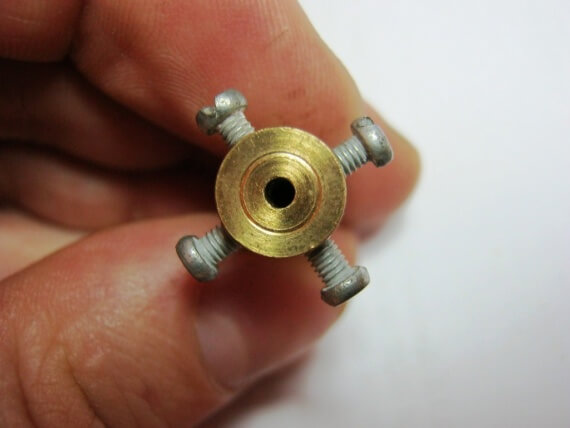
- Gently tighten all 4 bolts on the nozzle, then connect the wires to the power source and experience the finished home-made. For ease of use, it is advisable to add a button or switch to the power gap.
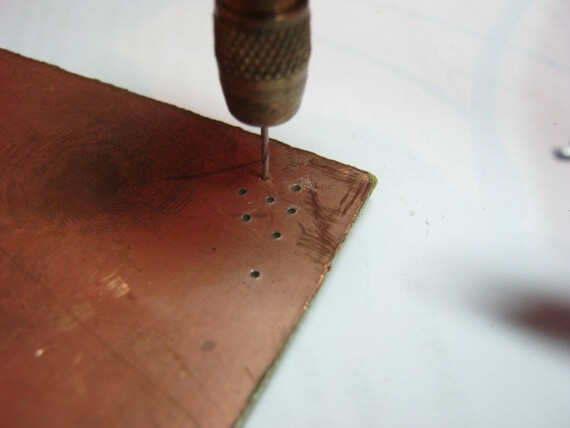
That's the whole do-it-yourself device assembly technology. As you can see, making a microdrill from a motor is not at all difficult, even for a novice electrician. The only drawback of such a device is the small strength of a thin drill. If you drill holes not at right angles, it will break immediately, so be careful and buy a few drills in reserve for training.
A very important point that you should be aware of is that in order for the drill to spin in the other direction, just swap the wires! An interesting video instruction on how to make a simple drill, you can see below:
Method number 2 - The coil in the course!
Another original way to make a mini drill at home is using a fishing reel. In this case, the assembly technology is quite simple, but the principle of operation will already be based on mechanical rotation, you will get a hand-held mini-drill
To make a device with your own hands, you will need:
- inertialess coil;
- a chuck from an old drill or a collet of a suitable size;
- hot melt or cold welding;
- a drill.
The assembly process is quite simple and consists of only two stages. The first step is to dismantle the spool with fishing line and cut off the remaining excess axis.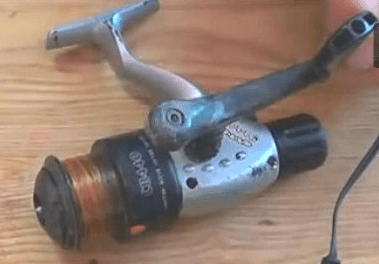
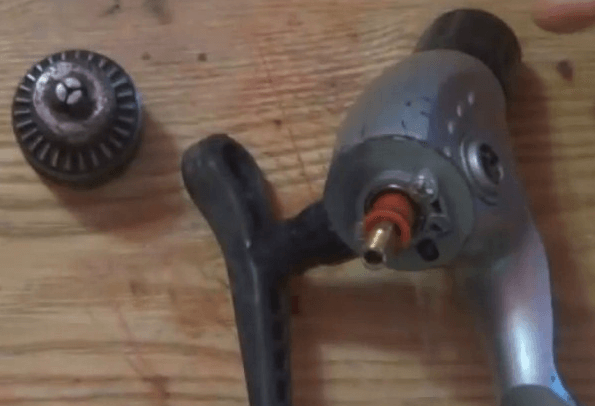 After that, the cartridge is glued to the remaining stem. You can do without a cartridge and install a collet instead.
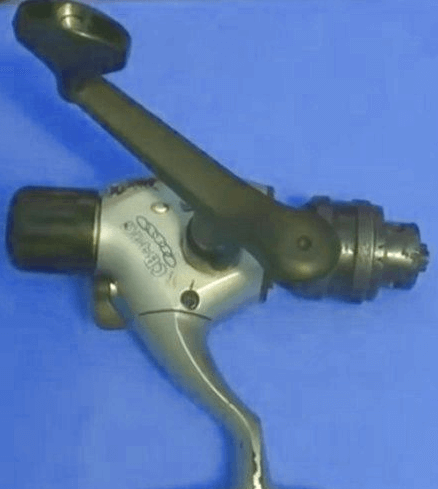 When the glue hardens, you can check the finished mini drill. You can see all the details of the assembly in this video example:
Method number 3 - The idea with an antiperspirant
Well, the last version of a homemade mini drill, which we would like to provide readers our.electricianexp - using a cassette motor and antiperspirant containers. The advantage of this model is that it is controlled by a separate on / off button and has a convenient housing. Such a homemade product will be powered by a conventional power supply, which must be selected based on the characteristics of the motor.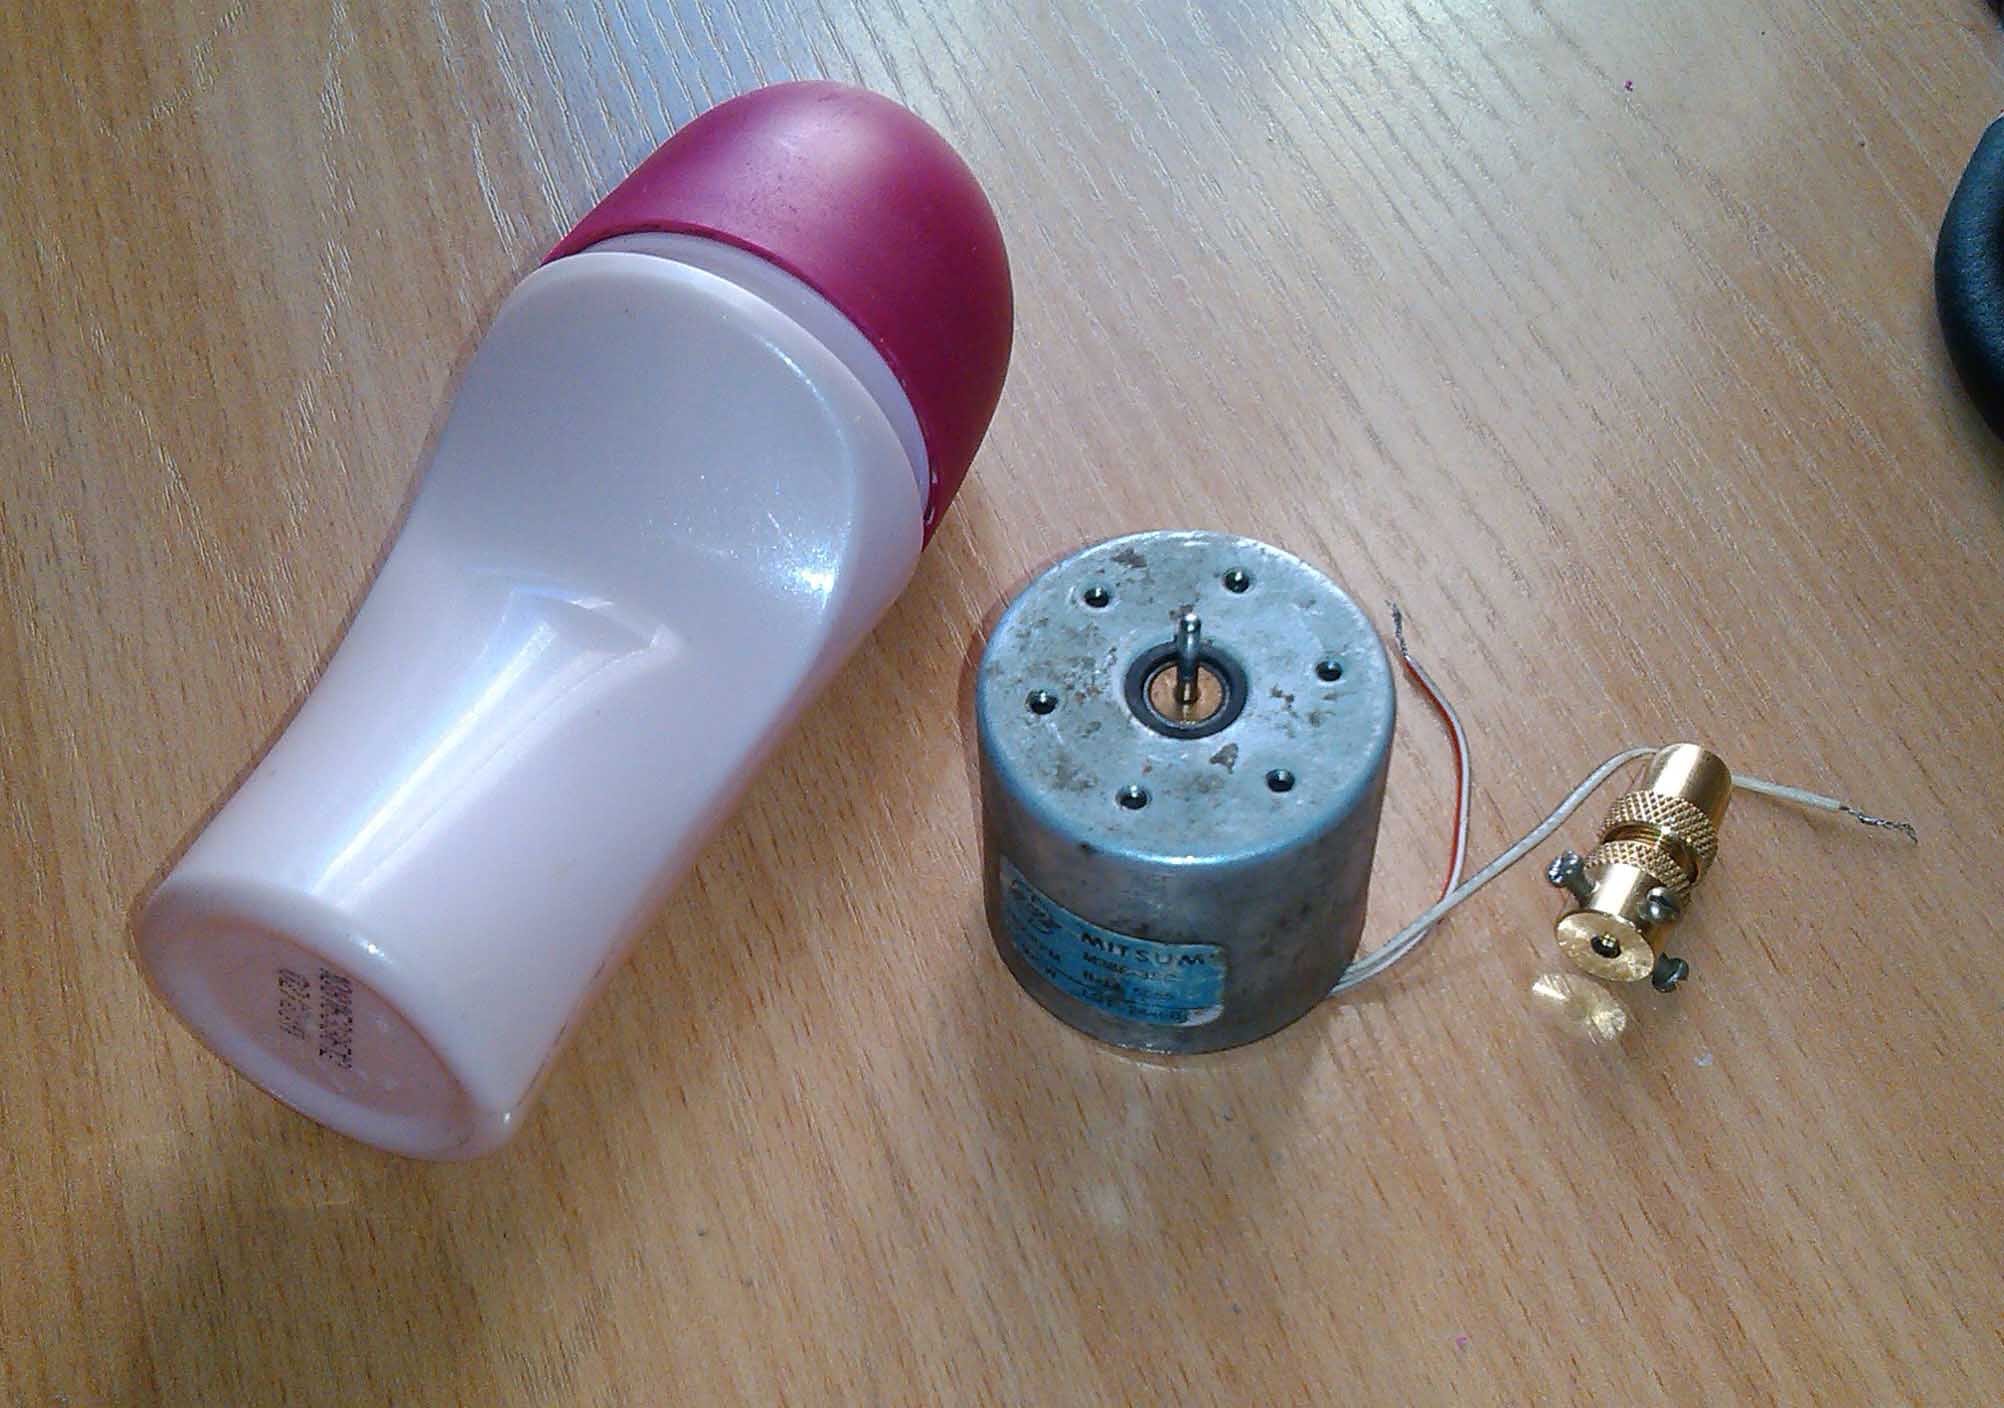
So, first you will need to prepare the following materials:
- motor from a tape recorder;
- suitable collet with a drill;
- used antiperspirant;
- RCA jack for power and a mate for it;
- Power Supply;
- switch from an old carry.
First of all, you need to make a mini drill according to the instructions provided at the very beginning: put the collet on the shaft and fasten it with bolts. Next, the motor housing is installed in an antiperspirant. As you can see from the photo, the dimensions were perfect for installing the part. If the motor has free running inside the housing, secure it with electrical tape and hot glue.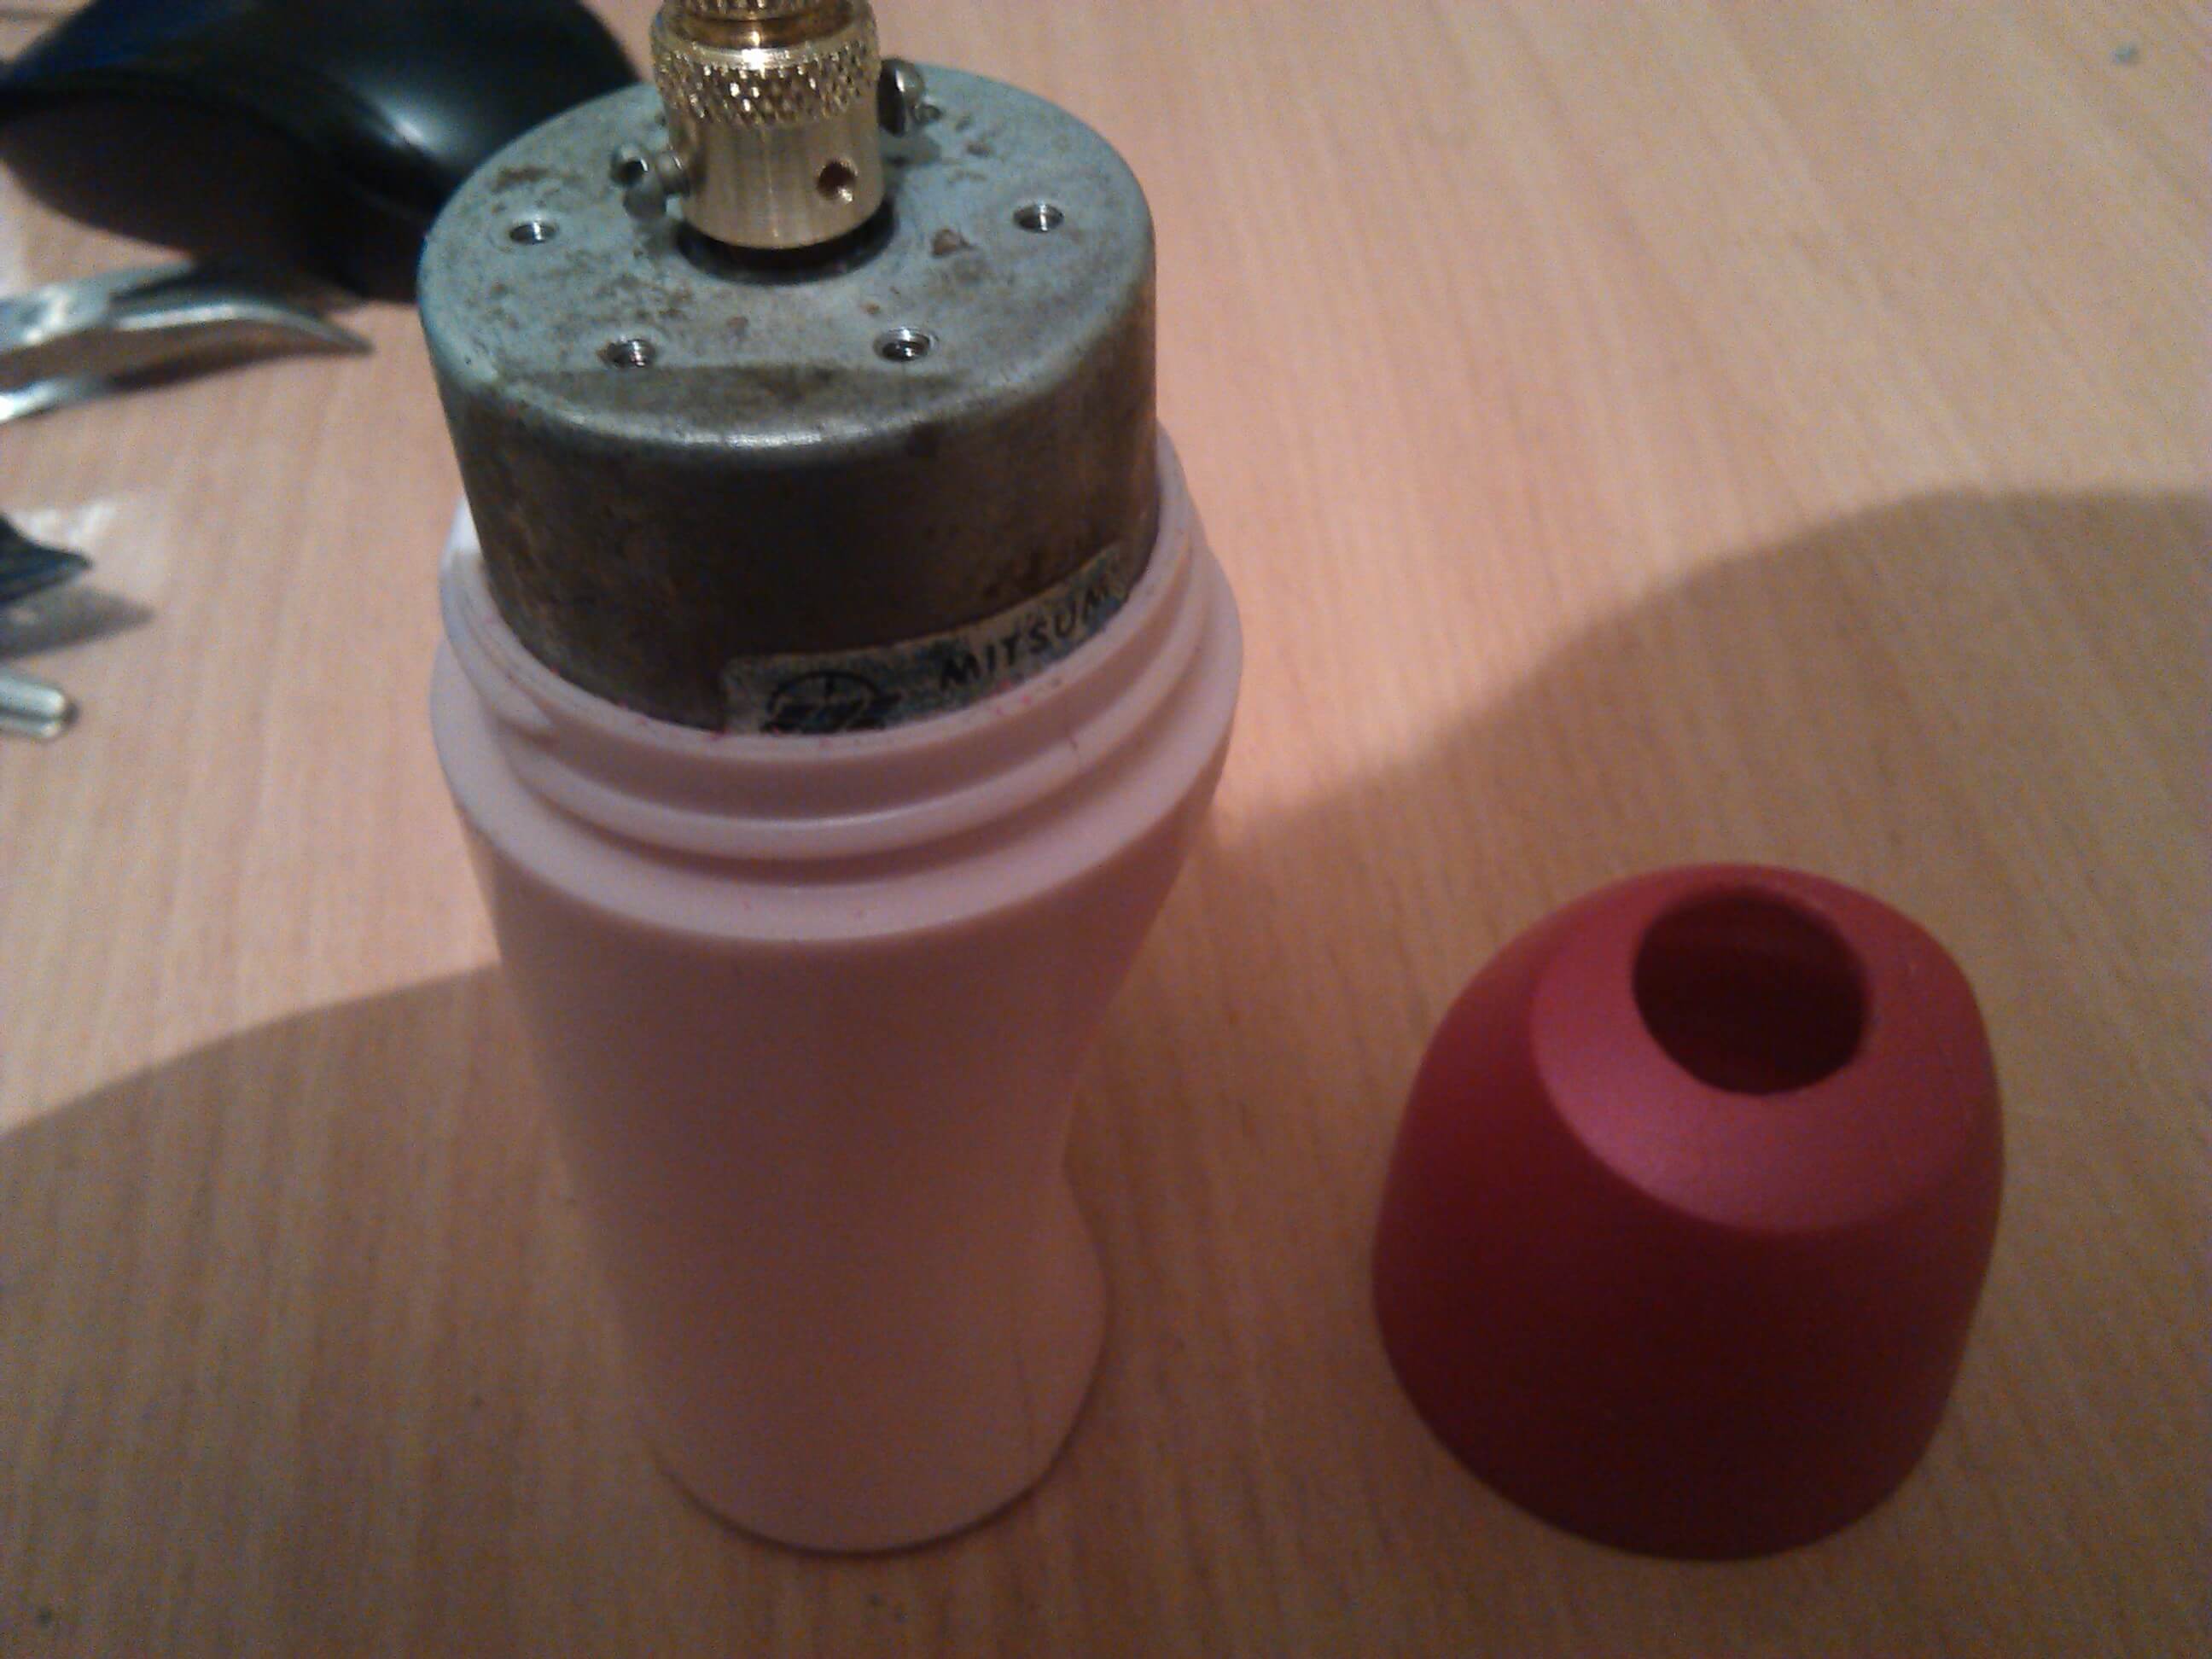
After that, in the top cover you need to drill a hole for the outlet of the collet or the drill itself. At the same time, in the bottom you need to make a hole for the power connector. Using a stationery knife, it is also necessary to cut a window under the switch, then solder all the elements of the chain in series and install them in a convenient place for you.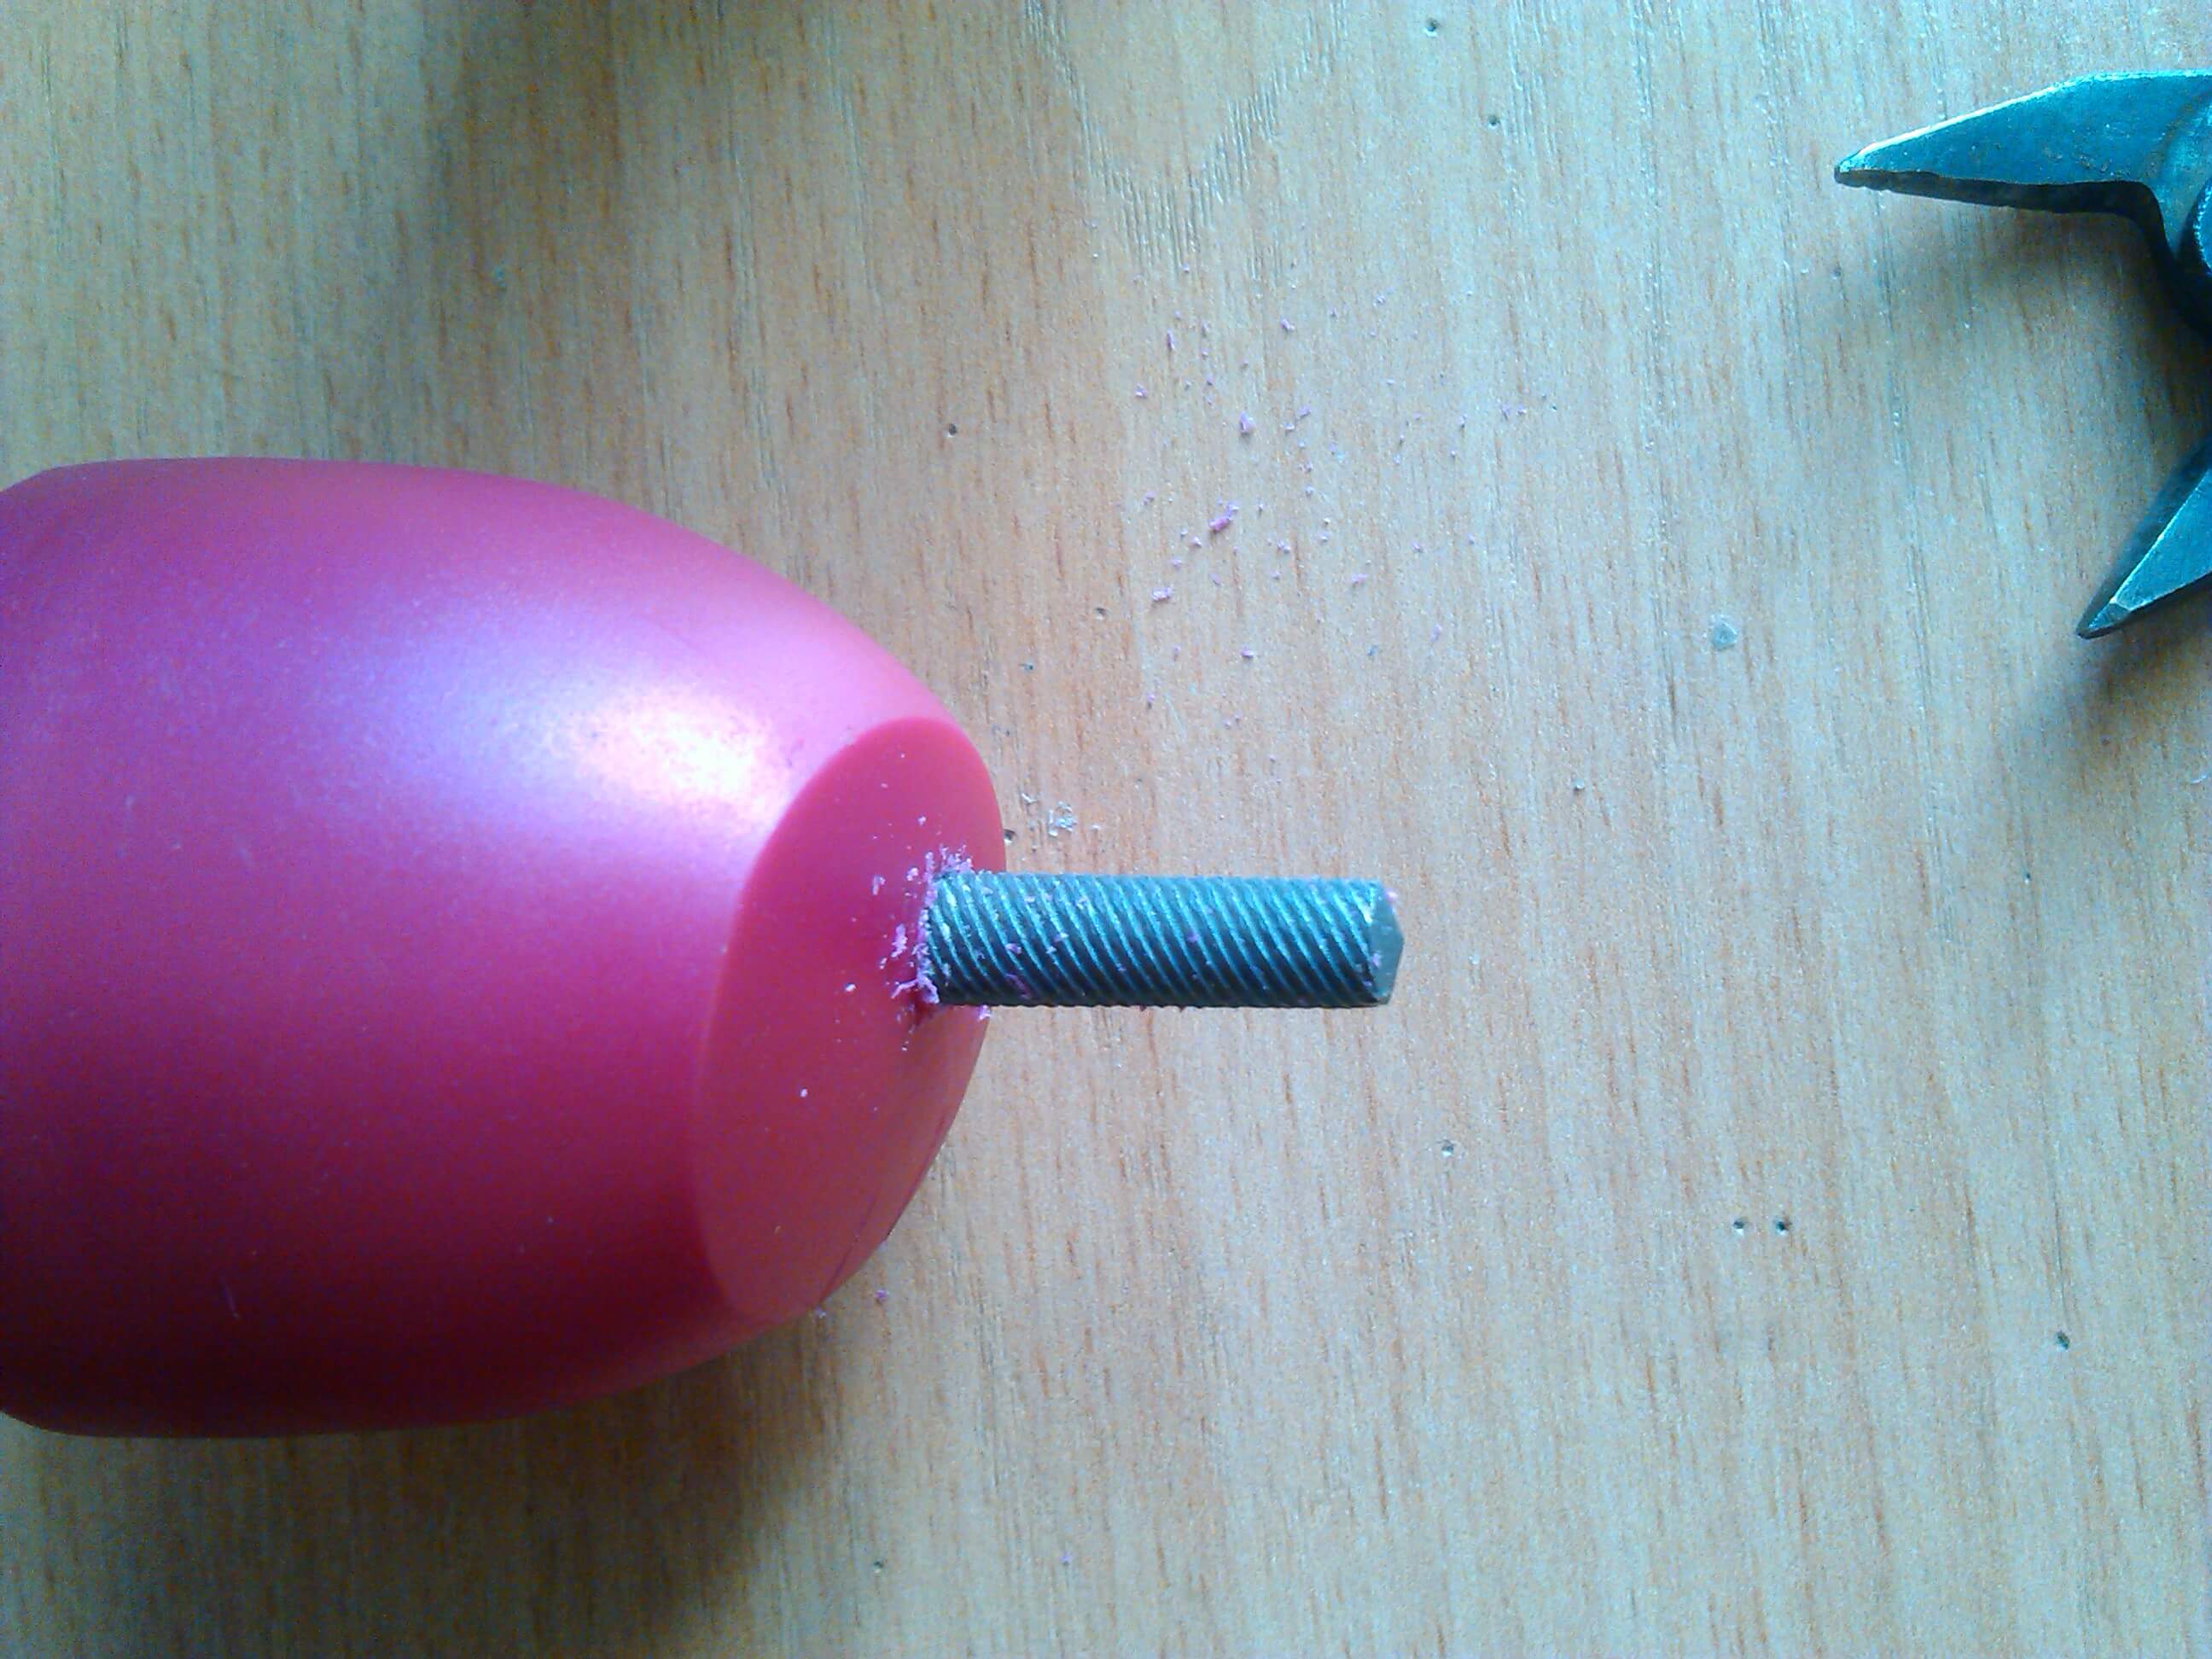
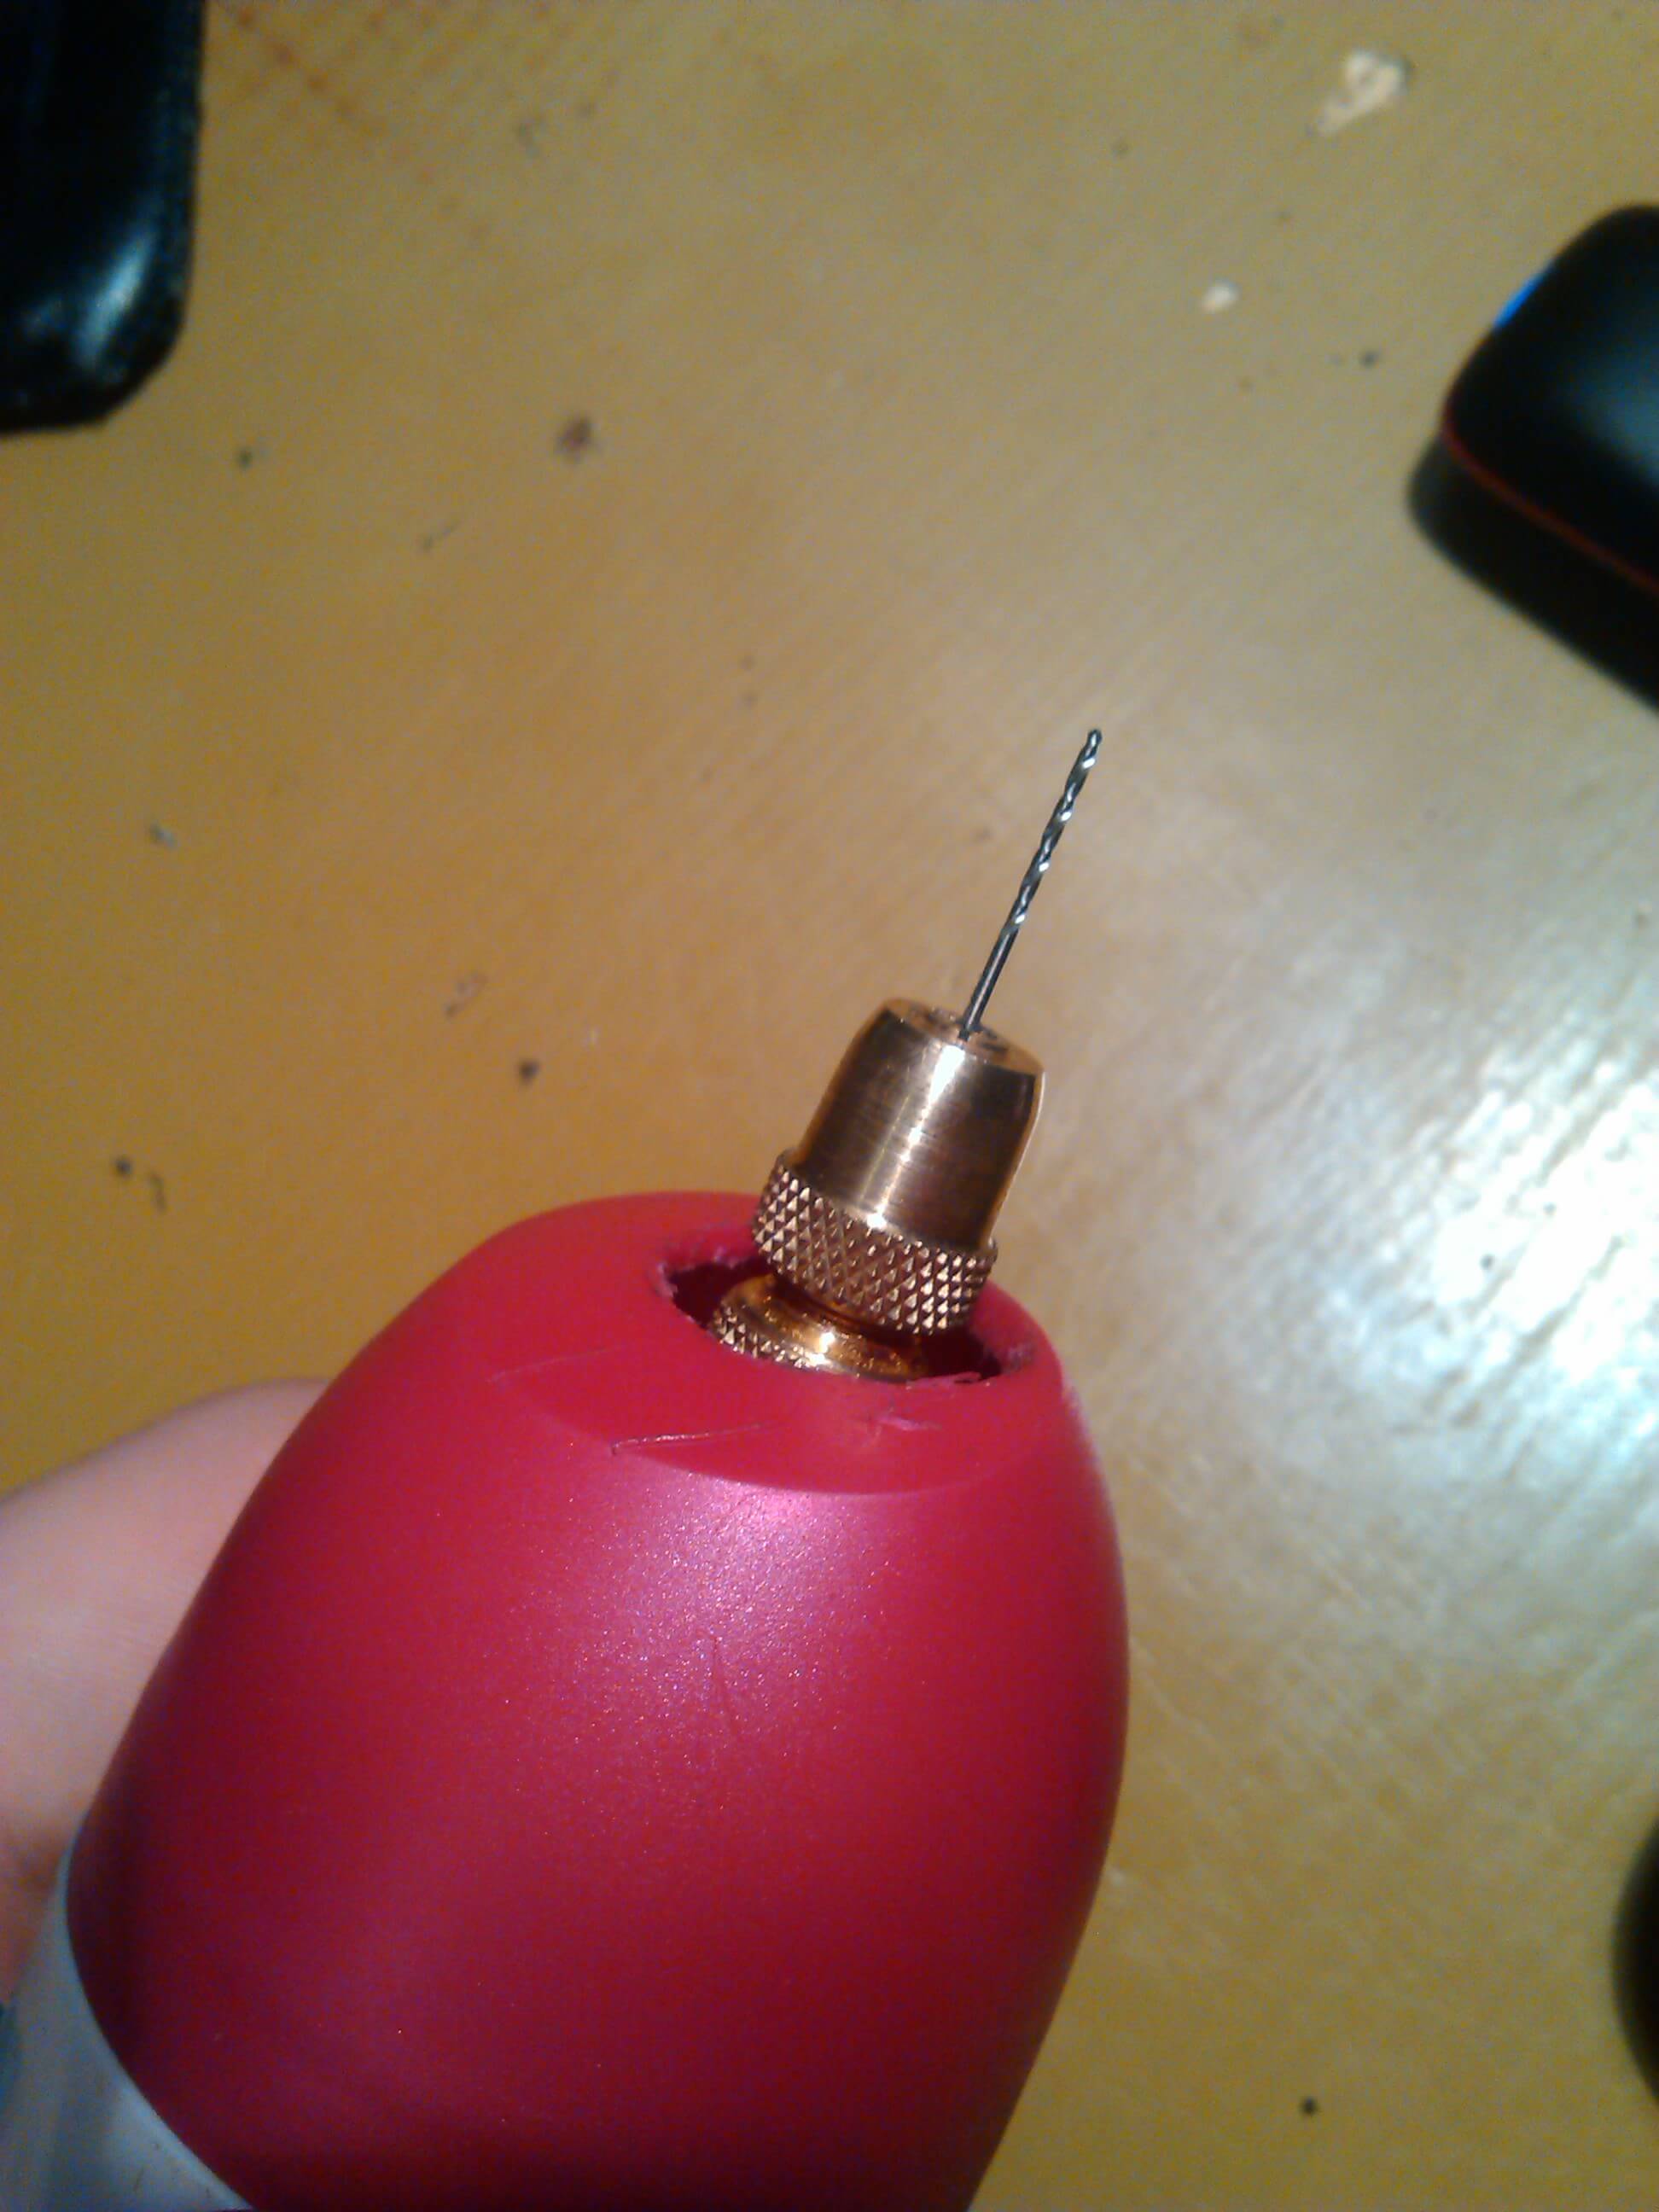
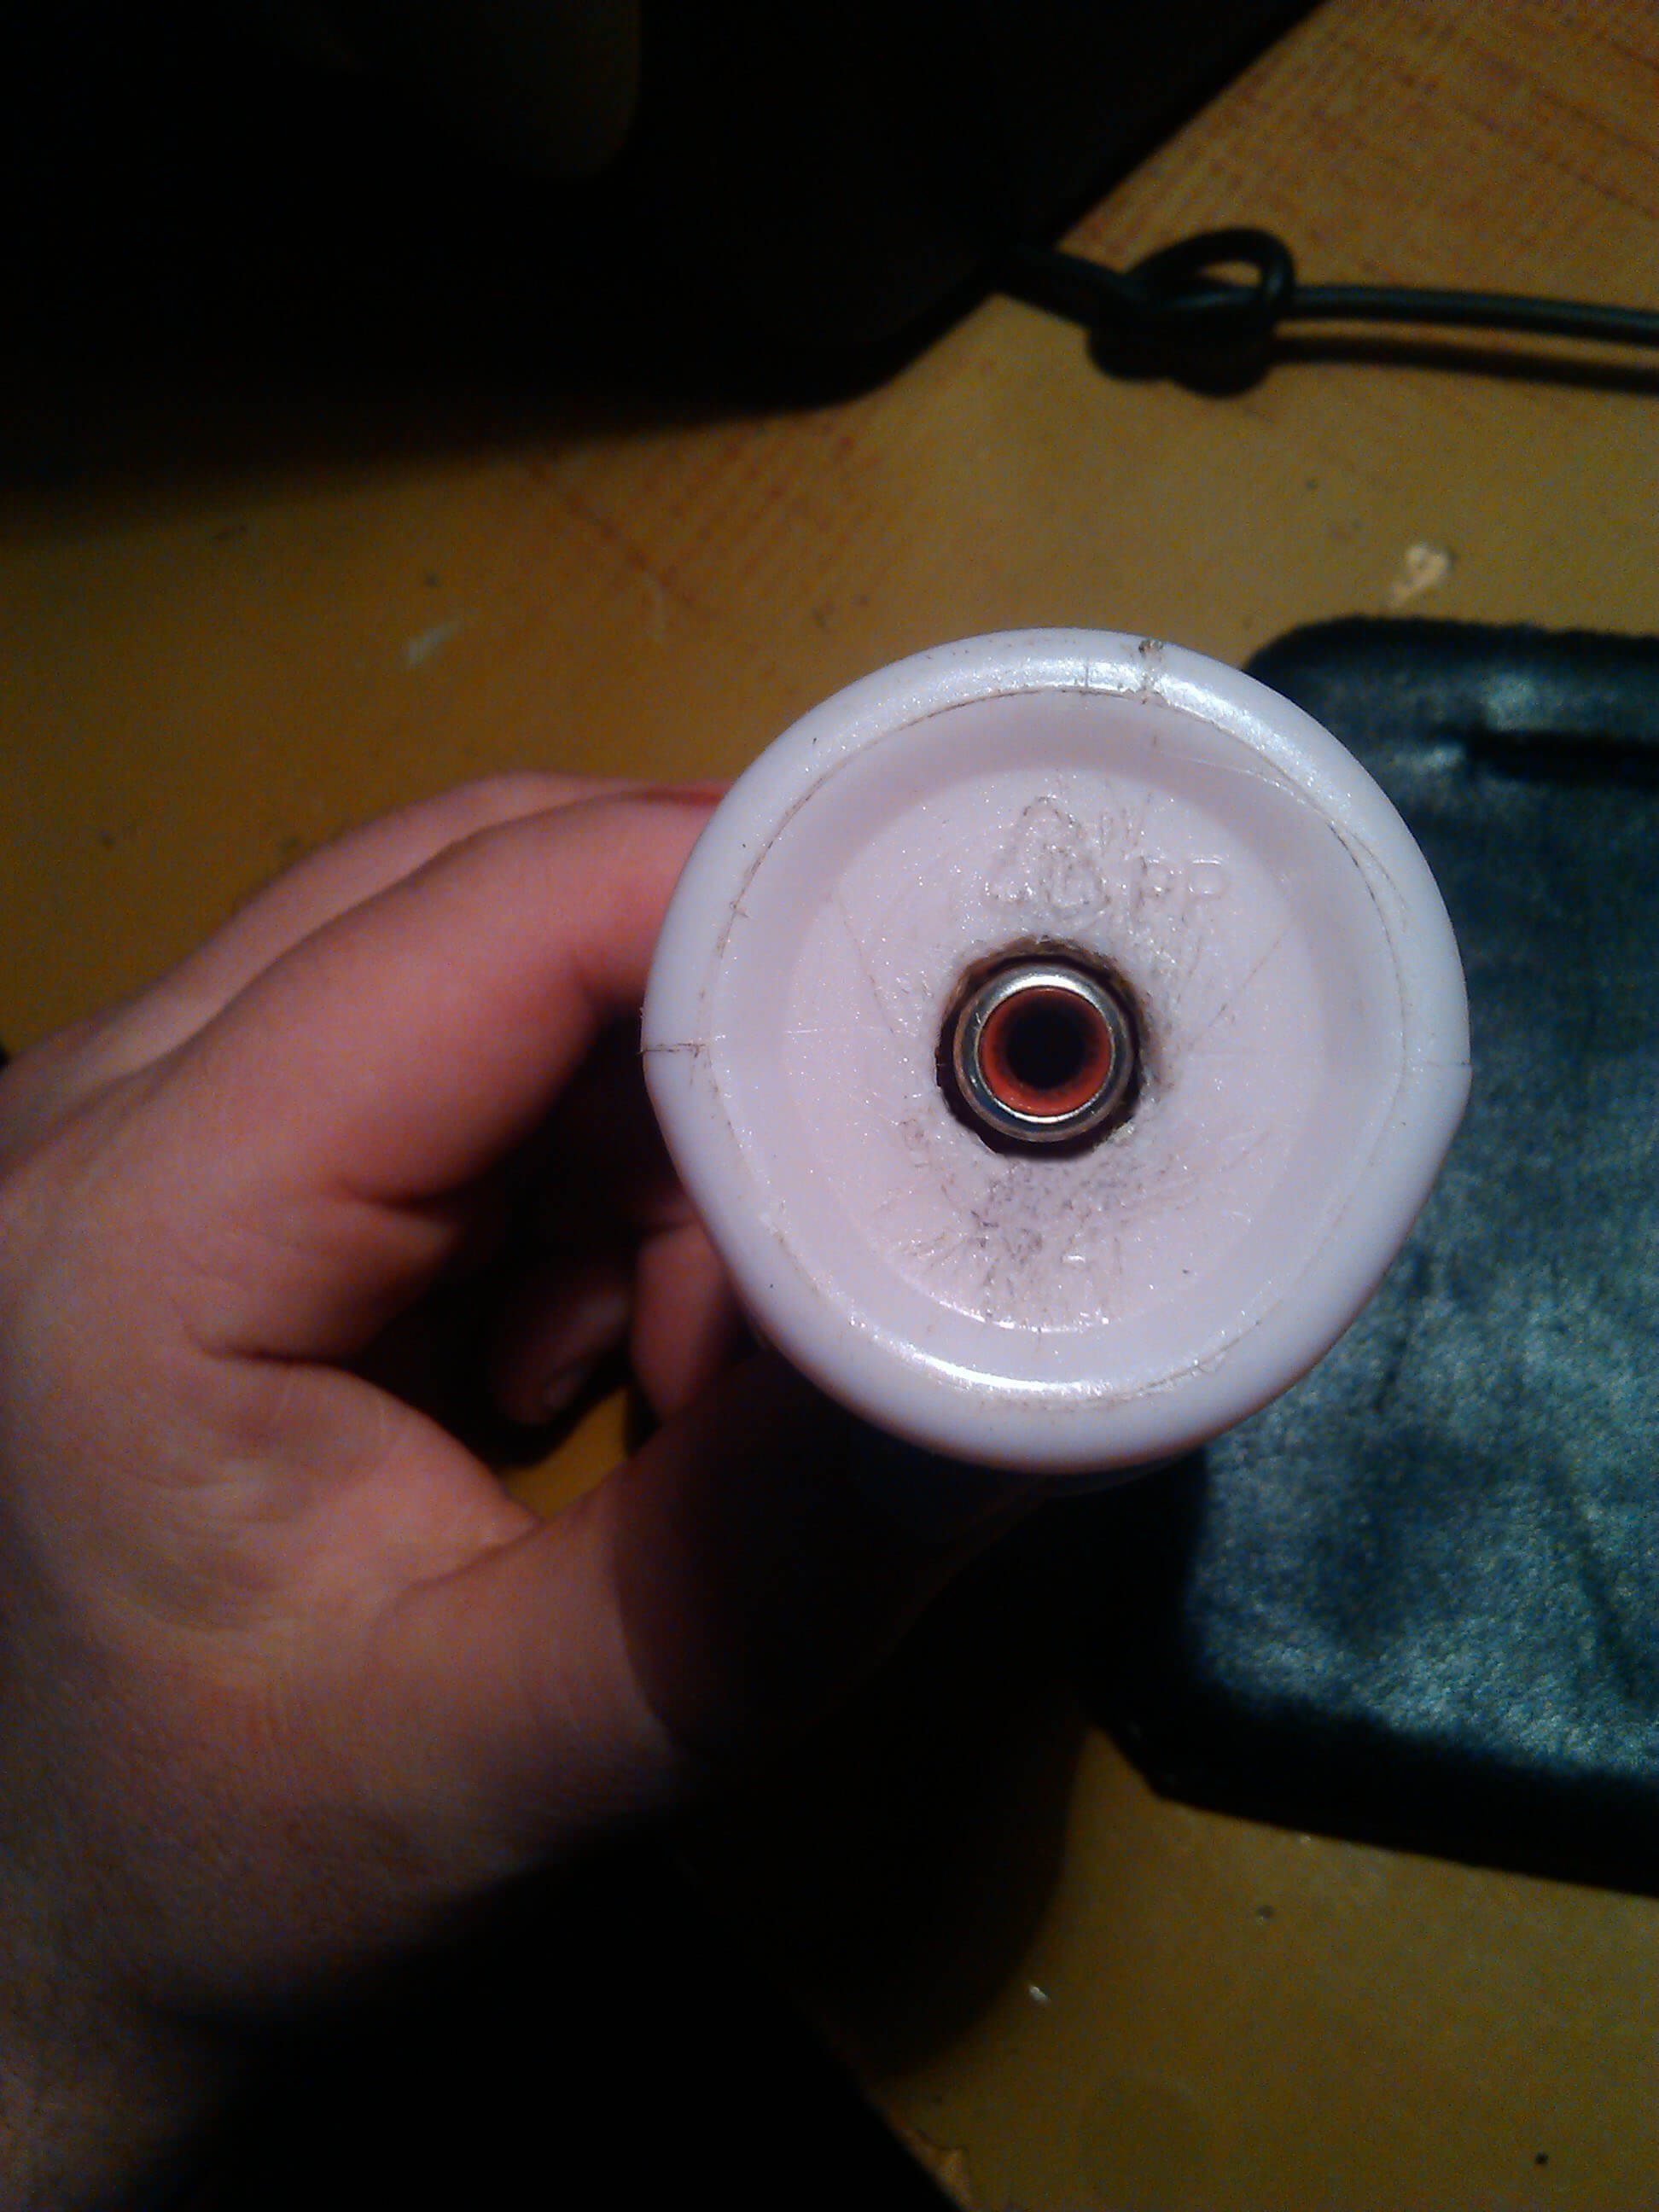
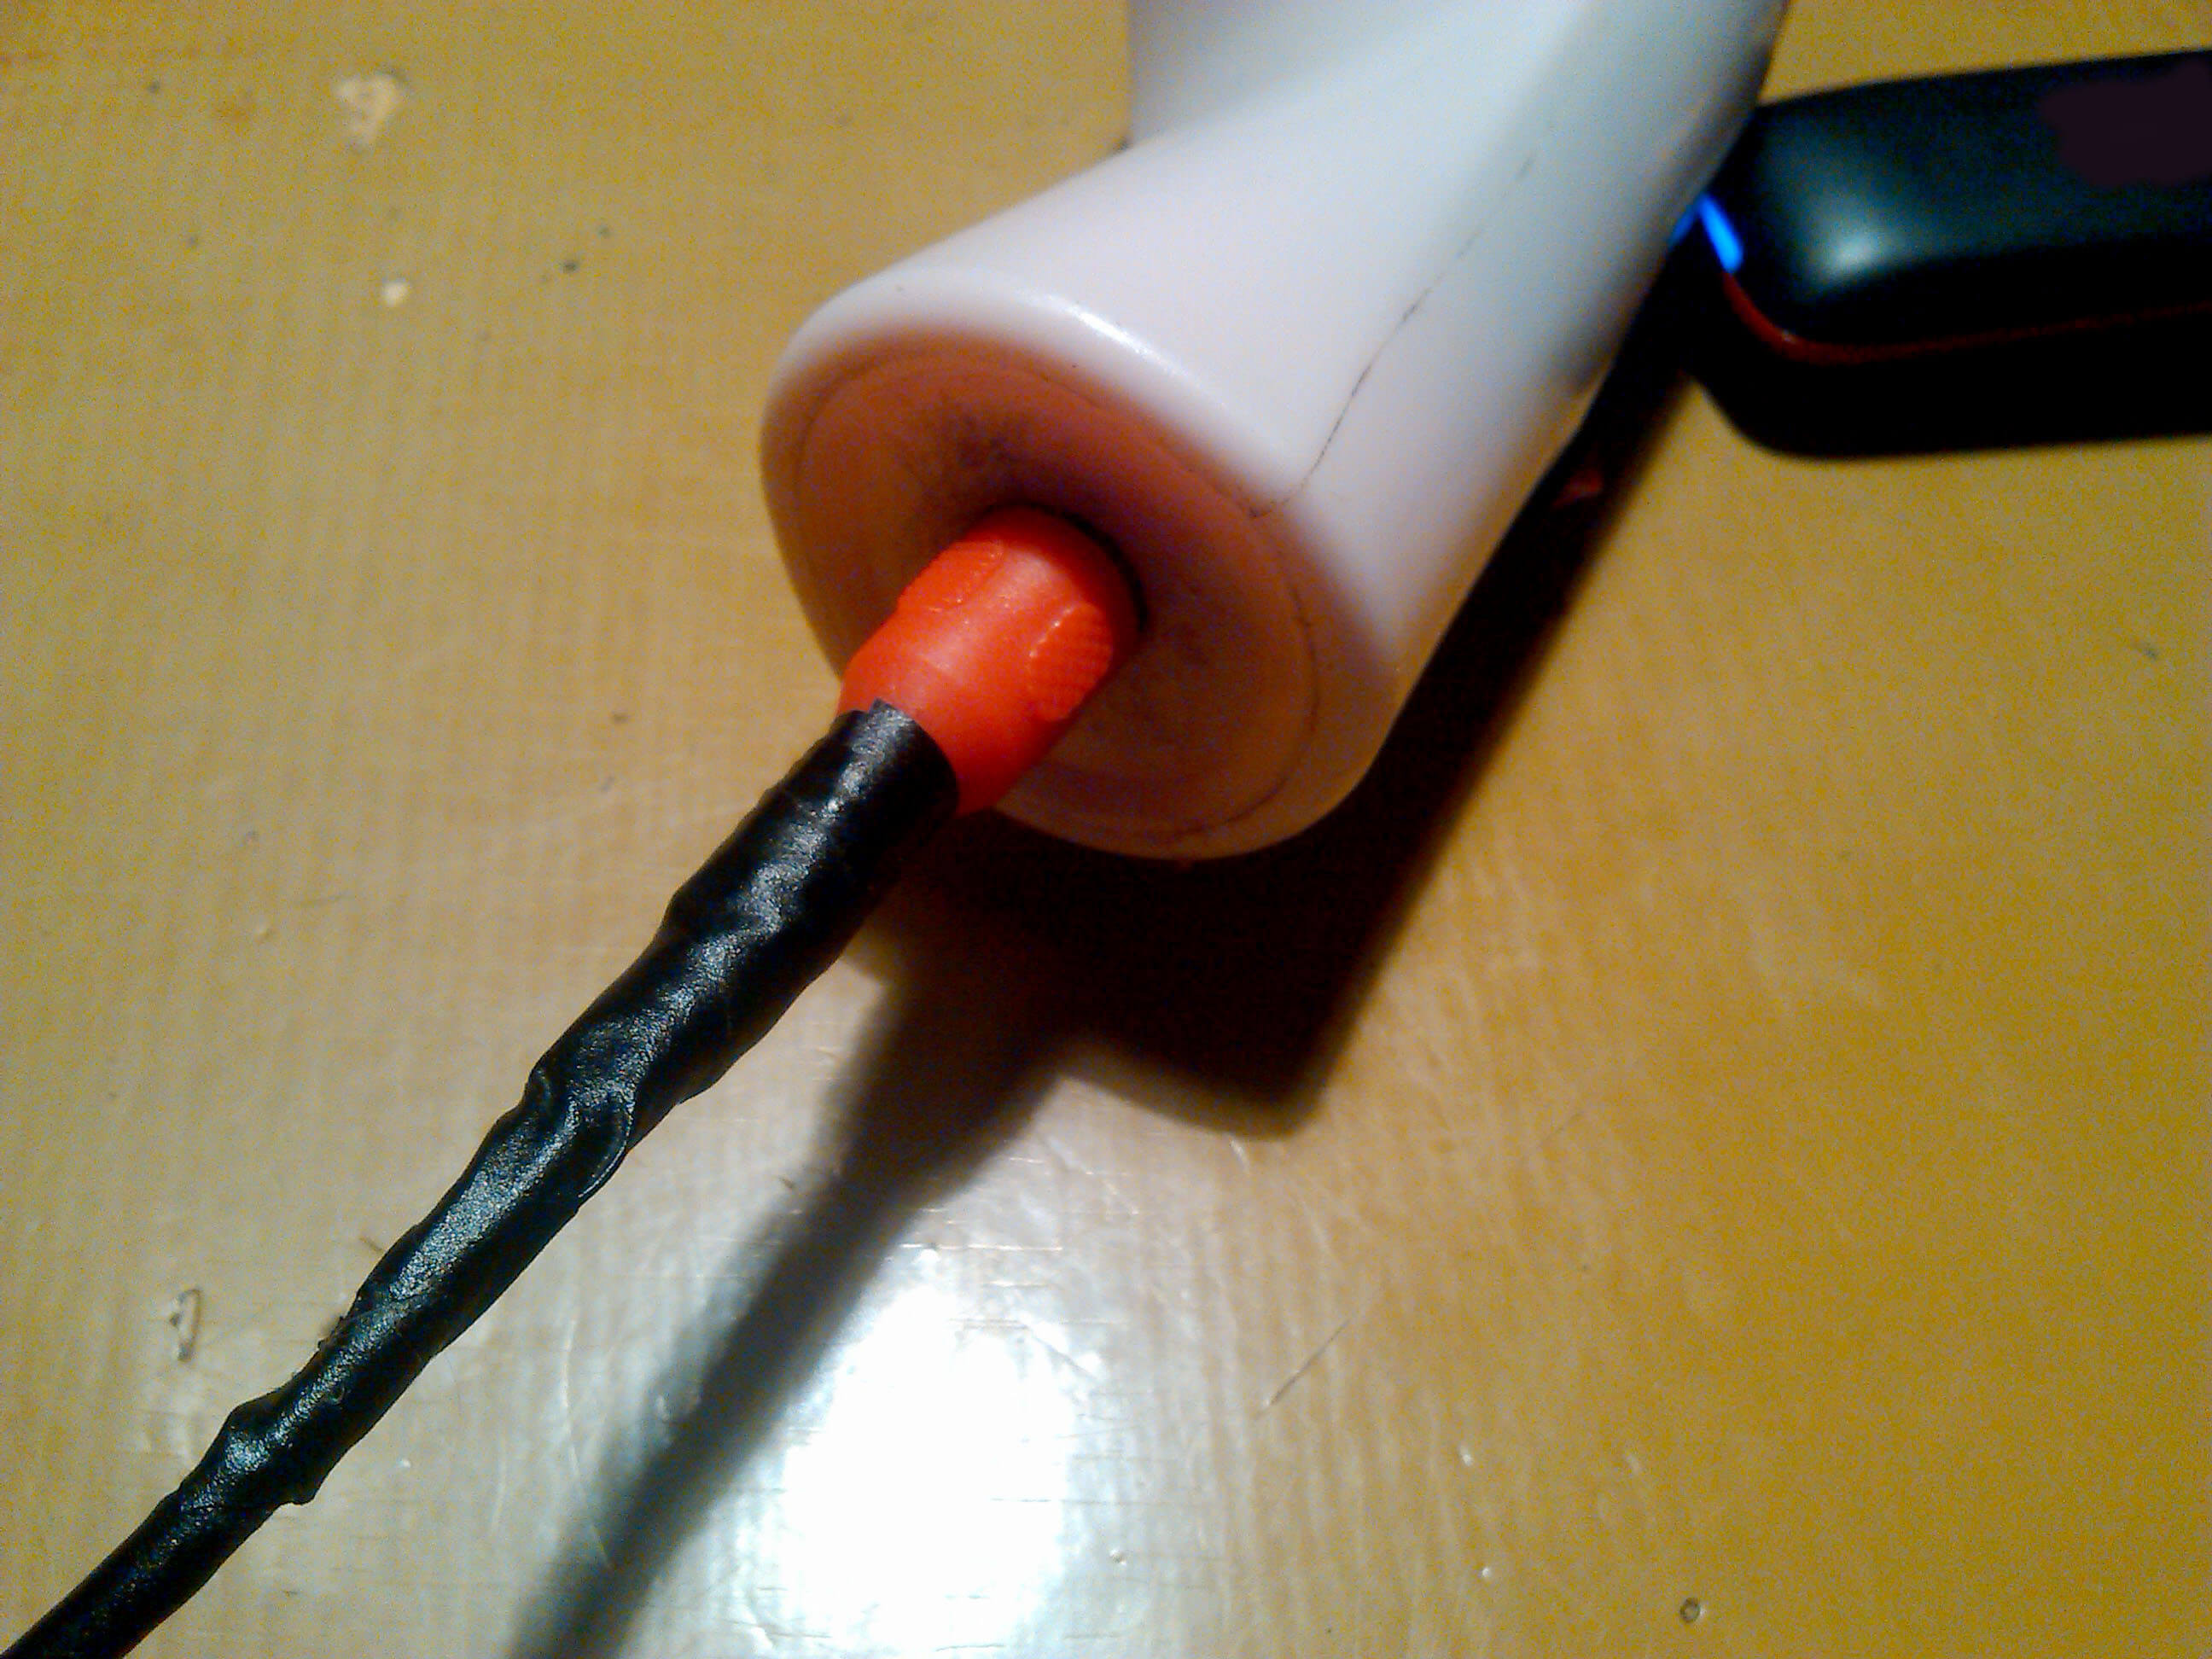
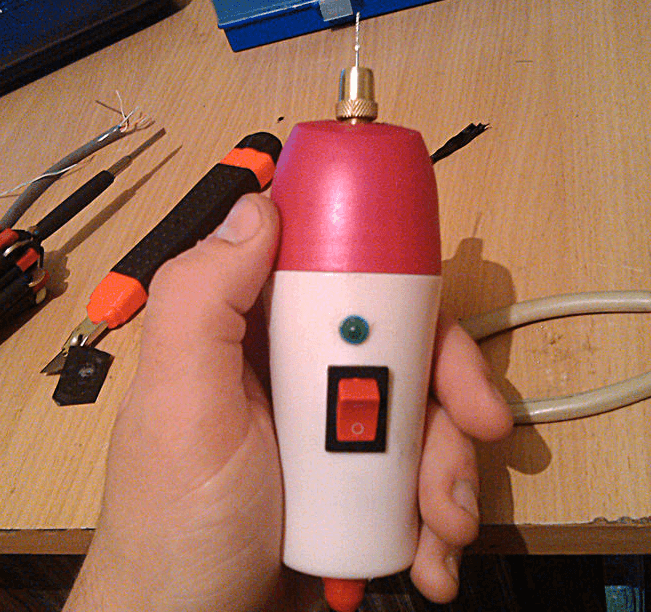
The advantage of this option of a homemade mini drill is its convenient operation, small size and stylish appearance. We recommend that you make this option at home, because it is the most convenient, safe and at the same time affordable.
Examples for inspiration
Above, we have provided the 3 most popular homemade micro drill options for drilling printed circuit boards. On the forums, we found some more original ideas that may inspire you to make your own unique home-made product.
So, to your attention a photo of the idea of spare parts for creating a mini drill with your own hands at home:
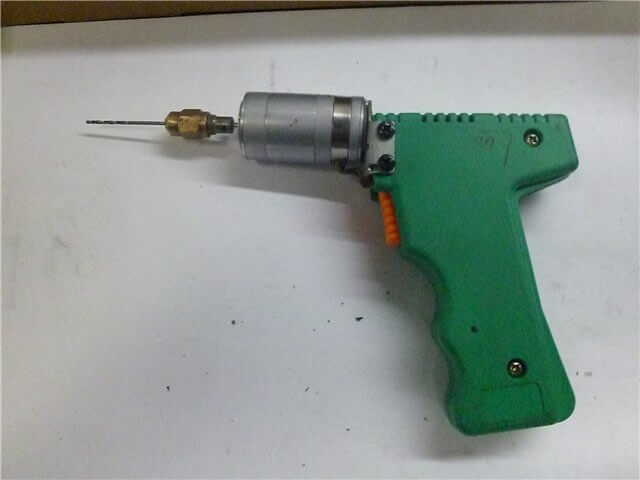
- Adhesive gun handle for easy operation. The motor is taken from an old Canon printer. Power is supplied from a conventional charger.
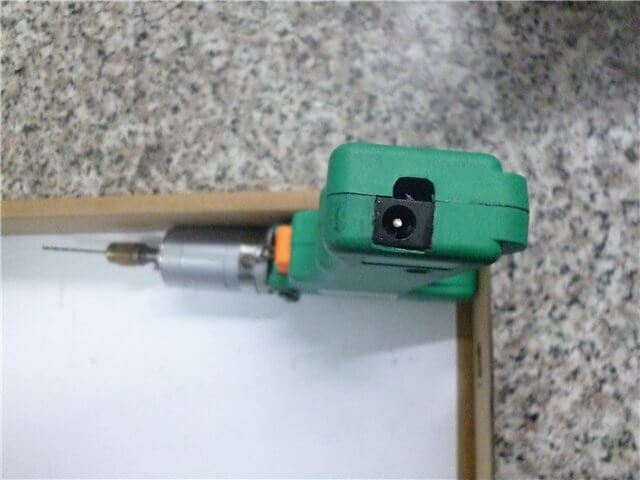
- The second life of Fenu. According to the inventor, this homemade product is assembled on the basis of a motor from an ordinary household hair dryer, which means it does not require special power supplies and has high power. However, do not forget about the dangers of mains voltage, therefore a reliable housing and insulation of all connections are required. Similarly, you can make the device from an old blender, and leaving the handle untouched.
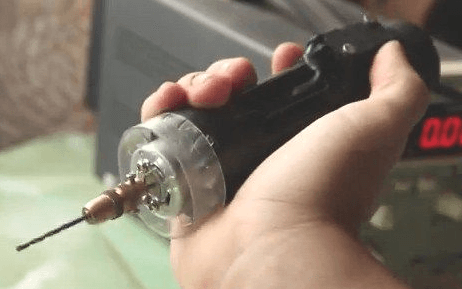
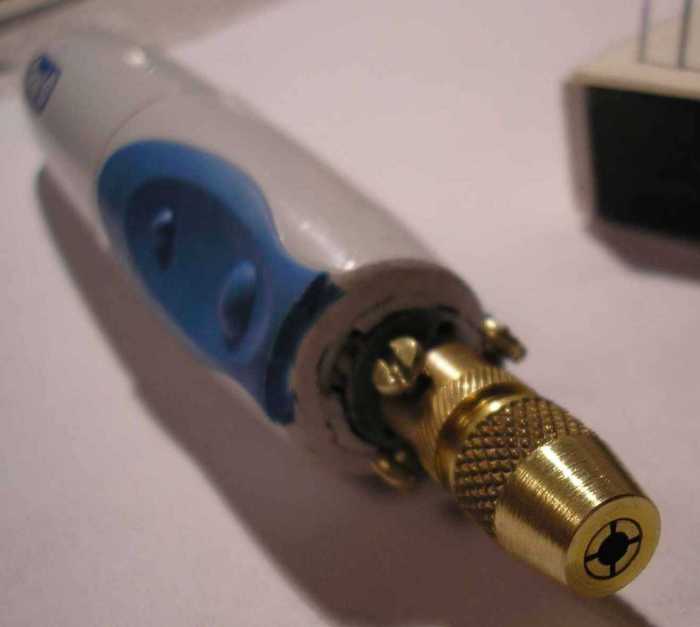
- Toothbrush for drilling boards. The next idea would be to use a toothbrush as a mini drill.There are already batteries and a motor, you just need to cut off the upper part and install the collet attachment.
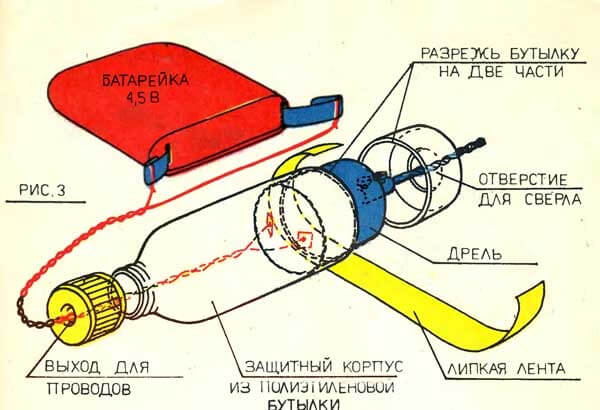
- A plastic bottle can also be successfully used as a body for a home-made drill, and the collet cartridge perfectly replaces a special sleeve, an analogue of which is in the terminal blocks for wires.
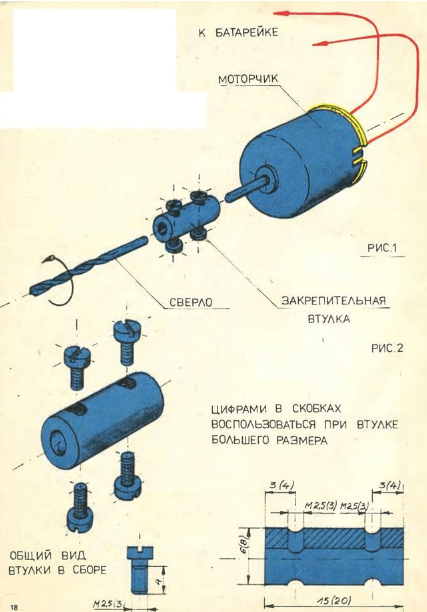
- Another option with a toggle switch for easy operation. In this case, to drill holes on the seals, you will not need to constantly plug the power plug into a power outlet. In addition, a convenient handle will make the drilling process more comfortable.
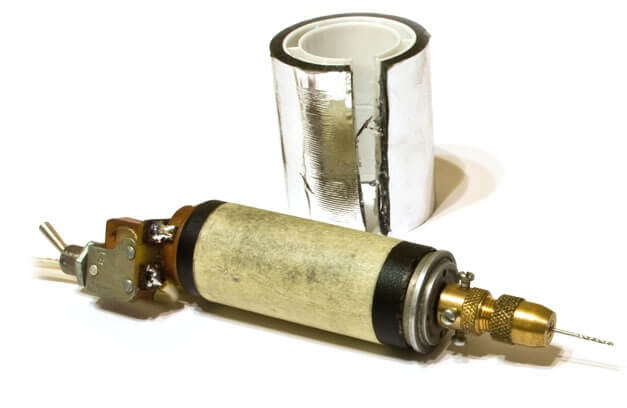
That's all I wanted to tell you about how to make a mini drill from a motor with your own hands. As you can see, there is nothing complicated, but there are an unlimited number of ideas for assembly. We hope that our photo examples and video instructions were useful and interesting for you. In addition, you can assemble a microdrill on your own using the old DVD drive, a screwdriver, an electric shaver and even a motor from a washing machine!
Related materials:




Kindly tell me how to correctly call this collet (marking)
I can’t find it on the internet ... if it's not difficult to write
Marking collet fit U3, U4, M2, M3, M4.