Homemade LED Spotlight - Assembly Instructions
Step 1 - Choosing a Case
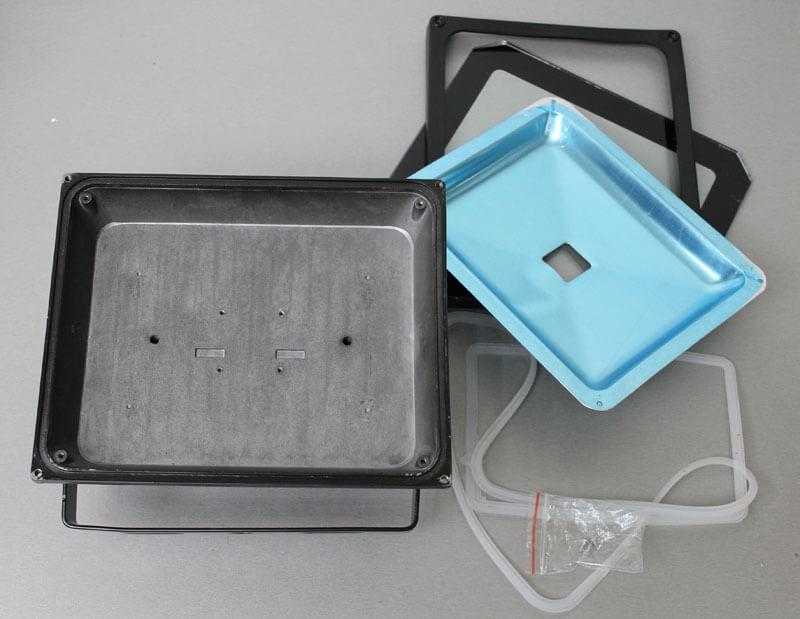
The easiest way is to assemble the LED spotlight from the Chinese halogen model yourself. This is due to the fact that it will not be necessary to reinvent the body and reflector. After spending 200 to purchase a low-quality street lamp, you will only have to replace the lamp with an LED. This will allow you to enjoy the bright glow of an economical and durable spotlight.
By the way, you can search for a separate case in a specialized store. Perhaps the cost of the product will be even lower than that of a halogen lamp.
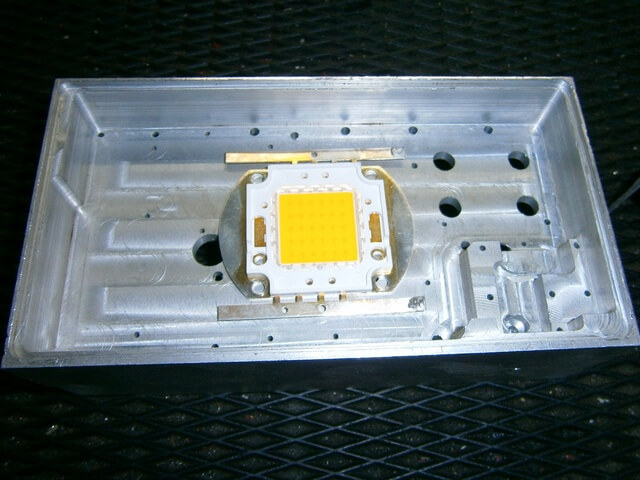
If you decide to make a powerful LED spotlight yourself, which will also get very hot, we recommend that you take additional care of heat dissipation. To do this, you can either find an aluminum radiator and fix it, or make a completely aluminum box, as in the photo below.
Step 2 - Pick Up the Lamp
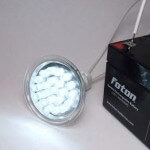
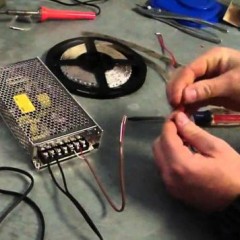
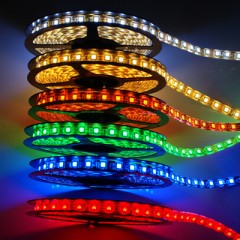
As for the lamp for a homemade LED spotlight, the easiest way to buy it. Power for street lighting must be at least 30 watts. However, a separate purchase of the housing and LED bulbs may come out not very cheap. That is why we recommend making the lamp yourself. The advantage is that you can assemble a light bulb with a power supply of 220 or 12 volts. In the first case, this will allow you to connect the lamp directly to the network. About, how to make an LED lamp at home We talked, we advise you to familiarize yourself. If you wish, you can also make a light bulb from an old energy-saving one, from individual LEDs or even from a single-color LED strip, as in the photo below.
We draw your attention to the fact that we also provided all assembly diagrams and video assembly instructions in the above article!
If you still decide to make a spotlight yourself from halogen, you will have to additionally find the base of the LED bulb.
Step 3 - Putting the Spotlight On
After all the elements are assembled, you can assemble homemade products without special efforts. All you need to cook is sealant. For a more understandable development of information, we provide you with step-by-step assembly instructions:
- We remove the ceramic cartridge from the old case.
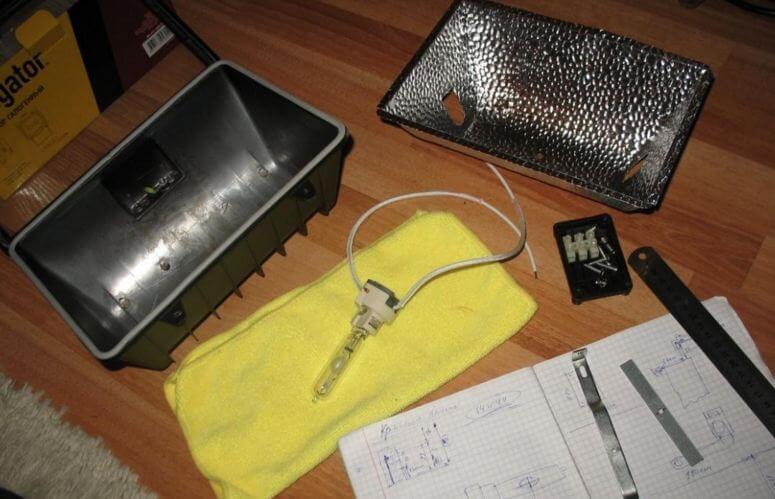
- We mount the cartridge for the LED lamp in place of the previous one. For this we use sealant. You can make a more rigid mount yourself, but as experience shows, the sealant is quite good at fixing the LED bulb in the housing.In addition, it is possible to adjust the direction of the glow of a home-made spotlight until the sealant has frozen.
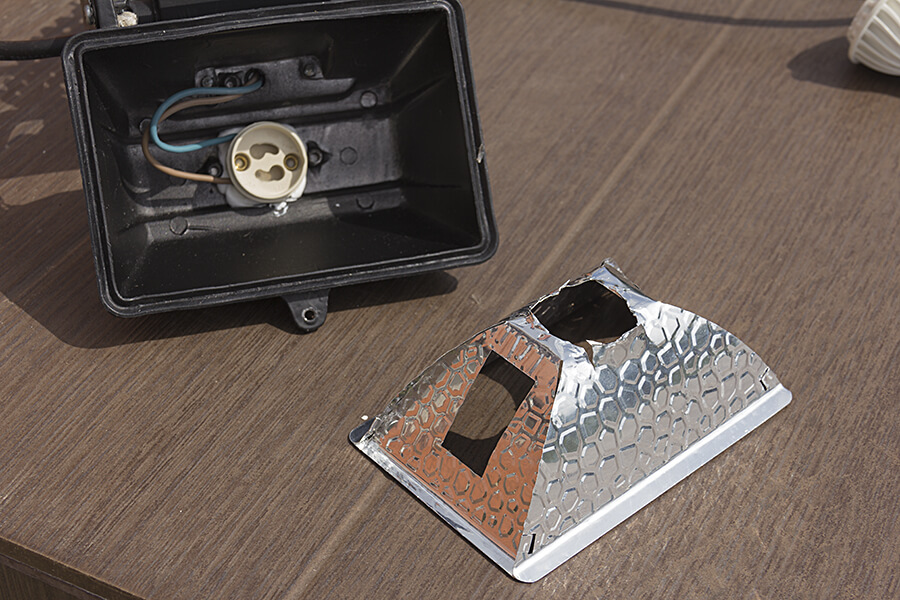
- We bring the wires into a special mounting box, as shown in the photo below.
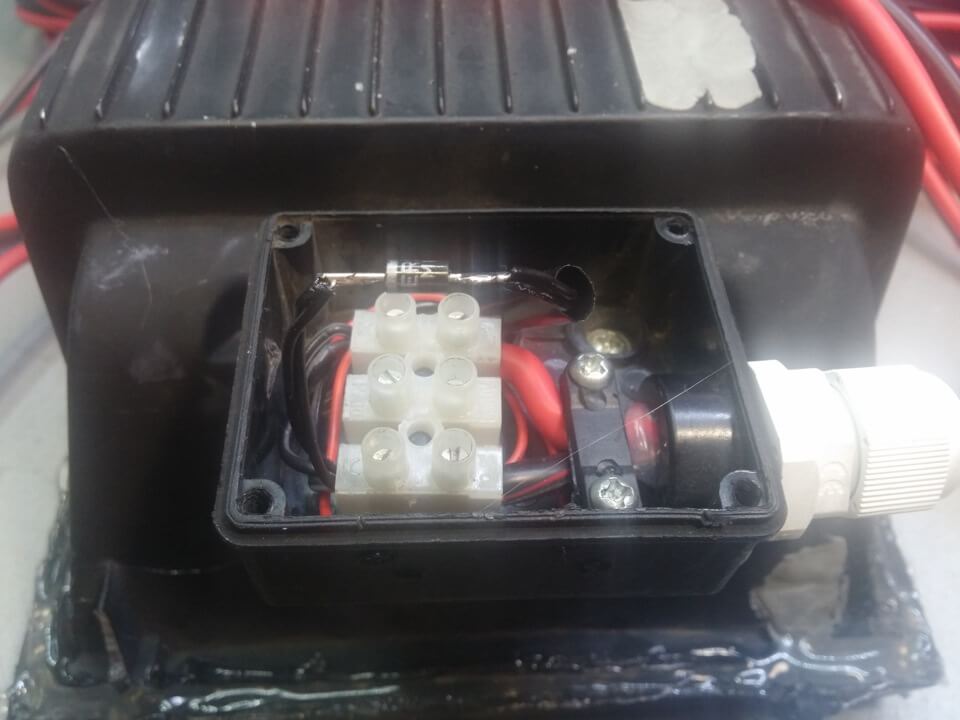
- We install a protective glass.
- If the device will not be used outdoors, additionally seal the contours of the protective glass, as well as all joints on the housing from moisture. In addition, we recommend equipping a protective visor that will extend the life of your LED homemade product.
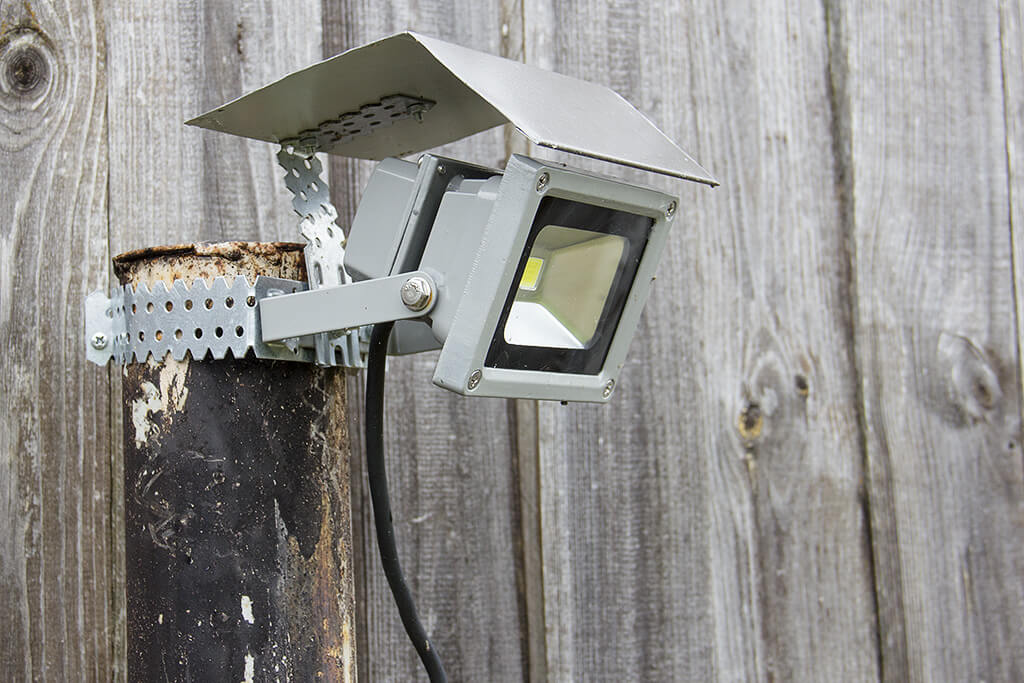
- Connect to the network to check the lamp operation.
This is how you can make a spotlight yourself at home. We recommend that you additionally equip your homemade motion sensor and photo relay, which will further save electricity and make lighting automatic. Connection scheme of a searchlight to a motion sensor we have already provided. Finally, we recommend watching a video that shows in detail how to assemble a 12-volt battery model:
And another idea that home electricians will surely like:
It will also be interesting to read:

