How to install a tumble dryer on a washing machine?
Today, machines for drying clothes are gaining more and more popularity. These devices can, in one approach, thoroughly dry the entire volume of washed items, while only half of the entire volume is capable of washing a machine. Not sure how the dryer is installed and connected to the network? Next, we will provide step-by-step installation instructions and photos of the most important stages of connecting to communications!
Mounting options
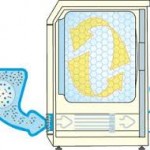
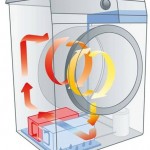
Manufacturers household appliances for home have in their lineup several types of machines for drying clothes: exhaust, condensation and with a heat pump. Connecting a dryer of each type has its own characteristics, which is caused by the principle of operation of the machines. For example, exhaust models produce drying by venting air and moisture into the ventilation system. Condensation products work as follows: heated air enters the chamber with the linen, collects moisture and passes through the installed heat exchanger. After this, moisture settles in a special tray, which must be emptied after each switching on. As for machines with a heat pump, they, in fact, work by analogy with the previous version. The only difference is that moist air does not pass through the heat exchanger, but through the evaporator.
In private houses and apartments, most often they install exhaust drying machines, which must be connected to ventilation and electricity. If there is no way to remove the duct, it is recommended to connect a condensation model, in which water outlets are made either in the tray or in the sewer. Consider two existing installation options: for ventilation and for sewage, but first we’ll talk about how to install a tumble dryer in a room.
You can see the functionality of these devices in a visual video example:
Placement Methods
There are several ways to install a do-it-yourself dryer. In apartments and private houses can carry out installation as follows:
- on top of a washing machine;
- next to the "washer";
- in a special niche or closet;
- under the countertop.
The most popular option is to install a tumble dryer on the washing machine, which is also called “in the column”. In this case, you can save free space, which is especially true in small one-room apartments. In order to install the “dryer” above the washing machine in the column, it is necessary to use special fasteners that are included.
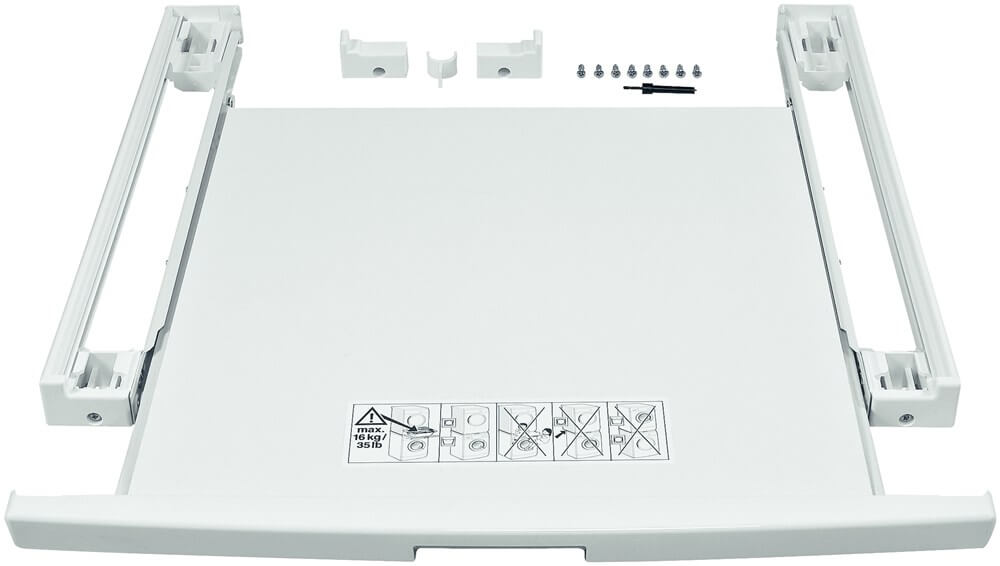 Installation is quite simple - anti-tipping mounts and special caps are installed on the washer housing. After that, the dryer body is attached to the caps, the legs are twisted and the equipment is set according to the level.There is also the option of attaching to the wall using special rails, but it is rarely used. The only important point is that the washing machine should not be narrow (meaning dryers already), otherwise the stability of the upper case will be doubtful.
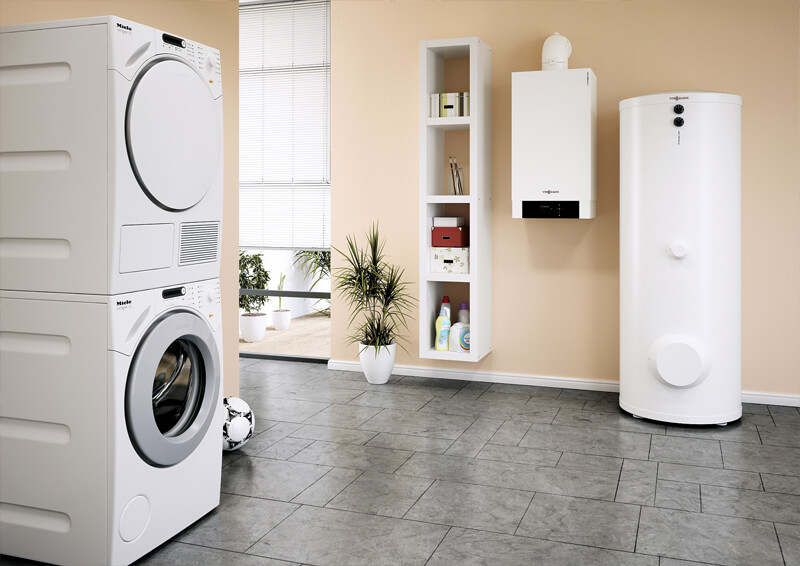
We draw your attention to the fact that it is strictly forbidden to install the dryer in a column without fasteners and anti-tipping elements. Firstly, these parts protect the washing machine from damage by vibration, and secondly they give stability to the dryer so that the equipment does not tip over from top to bottom during operation.
To your attention, a visual instruction for installing the dryer on the washing machine:
A simpler installation option is next to the washing machine. In this case, more space will be required, but at the same time, the equipment will be more stable and there will be no chance of the negative impact of the dryer on the washing machine during operation. Most often, this option is used in spacious houses and apartments with a large bathroom or a separate room, for example, a wardrobe or laundry room. Installation is not difficult, you just need to install the case in the right place and unscrew the legs so that the equipment is set strictly in level.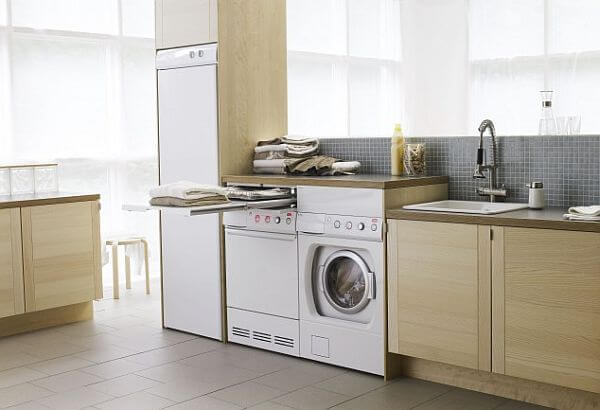
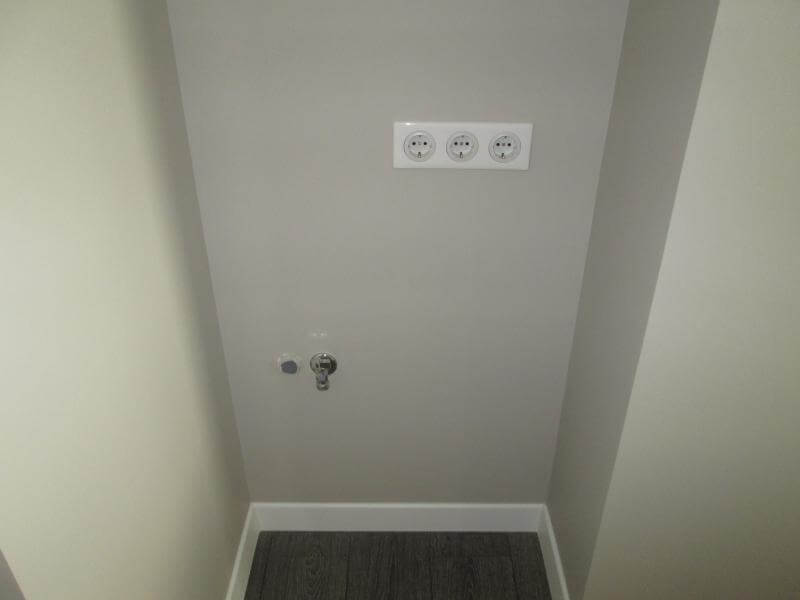
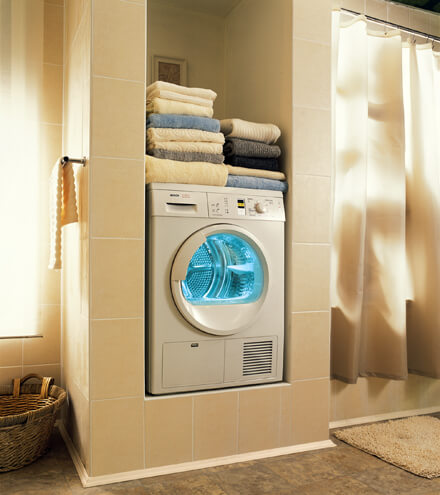
If you are just doing repairs in the apartment and thinking about installing a dryer, you can make a niche of drywall for it in advance. A more complex but convenient option is to make a special cabinet for installation in a column. We recommend looking at the first and second idea in the photo examples: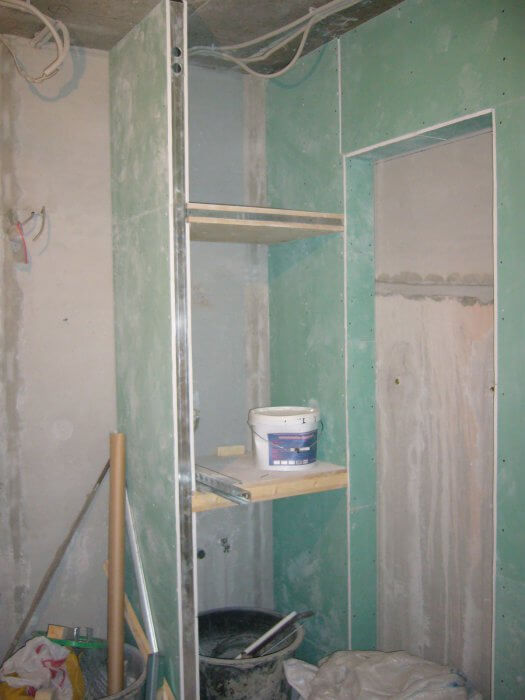
Well, the last installation option is under the countertop or sink. If the dimensions of the equipment are small, why not save space and install the case in the kitchen set? This idea is very popular, besides, if you have chosen a condensation model, the sewage system will be nearby, which will simplify the connection of the dryer to the drain.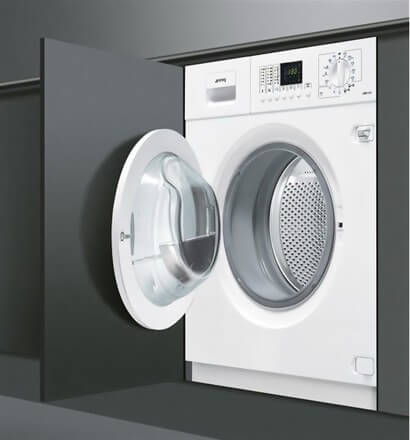
Connect to Communications
When you are finished installing the dryer in the column, you will need to switch to connecting it to ventilation or sewage, depending on what type of device you have chosen.
Ventilation
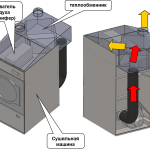
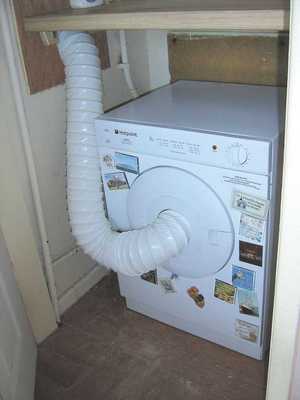
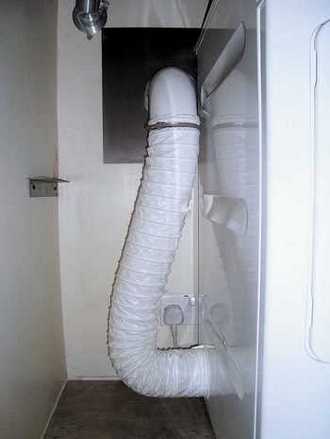
As for ventilation, everything is simple. On one side of the case there is a ventilation hole to which you want to connect a flexible duct. Mounting is carried out with a special clamp included in the kit. The second end of the corrugation must be brought either to the central ventilation system, or to the window, if there is no such system. We draw your attention to the fact that to bend the corrugation by 90about not recommended since in this case, the hood will work an order of magnitude worse. Try to remove the duct with minimal bends and turns.
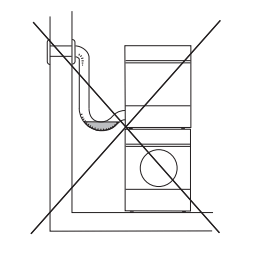
Another important nuance that you should remember is that if the dryer is to be connected in a room with an elevated temperature, it is not necessary to output a flexible duct through the top, as In this case, condensation will collect and impede the air outlet, as shown in the picture. In this case, it is necessary to consider another option, for example, to make a hole in the wall opposite the output from the machine, so that the section is horizontal.
Sewerage
If you bought a condensation type dryer, you can drain the tray of water after each drying, or you can make your life easier and connect the equipment to the sewer. For the latter installation option, a special drain hole is provided, which connects to the sewer with a regular hose. The connection in this case is similar. connecting a washing machine - It is only necessary to withdraw the hose either immediately to the drain, or temporarily to the sink / toilet.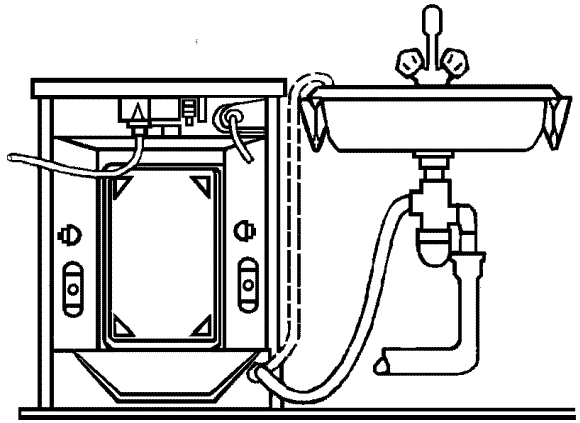
Electricity
Well, the last of the communications is the home power grid. To connect the dryer to the network with your own hands, you can draw a separate line from the distribution box, or you can use a power outlet.The last option for wiring is more logical to use, because the power of home appliances usually does not exceed 2.5 kW. The only nuance you need to consider is that the outlet must be earthed. In addition, the electrical network that serves the dryer must be protected by an RCD and a circuit breaker to protect the network from overload and current leakage. As a rule, there is enough connect an RCD on 16A and the same machine.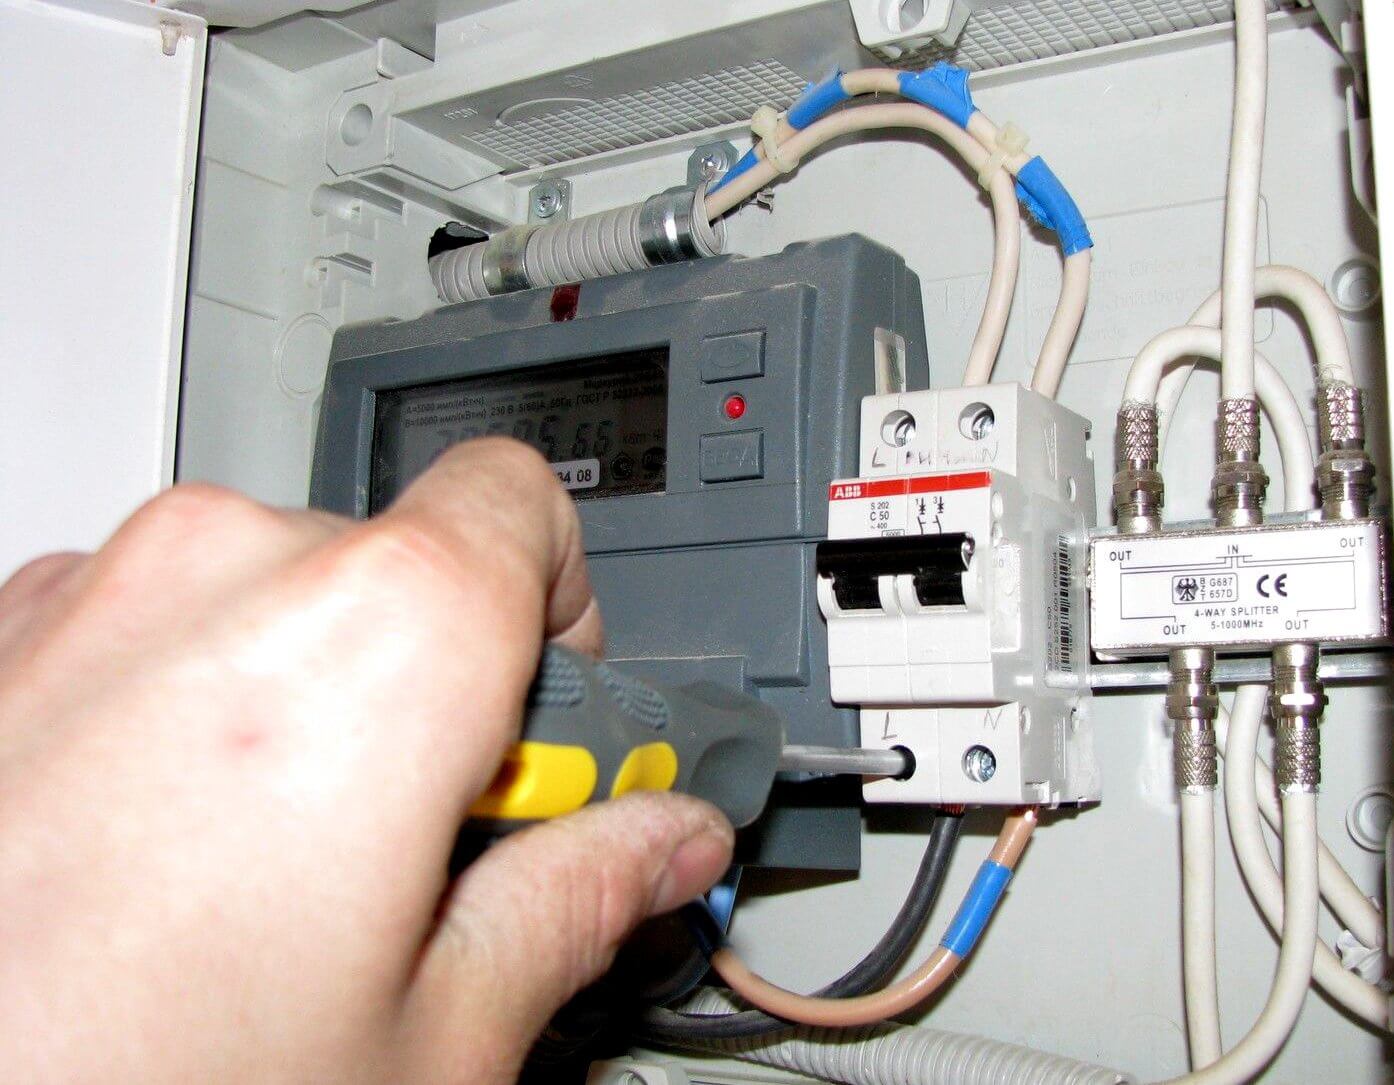
We draw your attention to the fact that you should not connect in the same double outlet and the washing and drying machines. With the simultaneous operation of both devices, overload of the outlet and its melting may occur, which will entail short circuit!
That’s all the instructions for installing the dryer and do-it-yourself connections. We recommend using the installation method - in the column above the washer, so as not to simply spend square meters of the room! As you can see, there are no difficulties in installation, so you can do everything yourself. At the same time, the cost of calling the wizard ranges from 1500 to 4000, depending on the complexity of the work. So why pay such a price if you can do everything yourself?
Related materials:

