How to install a built-in hob in the countertop?
Step-by-step installation instructions
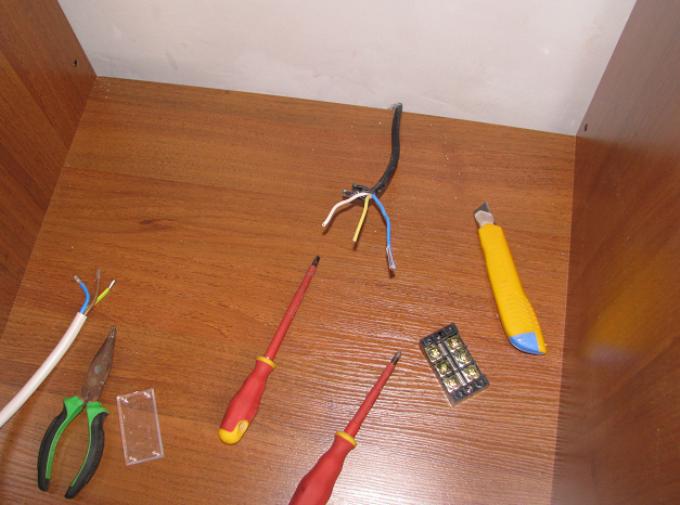
Speaking of tools, if the built-in panel is installed in a new headset, and the hole for mounting the case in the countertop has not yet been done, you must have a drill and an electric jigsaw. To make a connection to the mains, you will also need a screwdriver, pliers, voltage indicator.
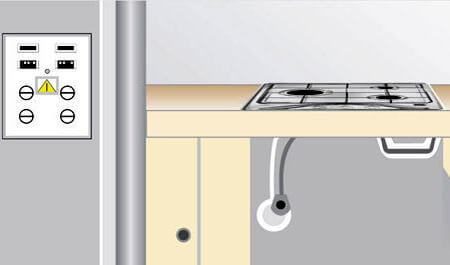
The first thing to take care of is the 220 volt electrical outlet, which will include the built-in hob. The choice of its location and installation should be performed before the installation of furniture. In addition to the panel, an oven is included in the set of the stove. If the first is installed without a cabinet, it can be plugged into one outlet. Install an electrical outlet lower than the built-in hob will be to prevent exposure to moisture and grease during cooking.
When outlet installation and the kitchen wall is completed, you can get to work. Install the built-in hob according to the following step-by-step instructions:
- First, you need to determine the dimensions of the mounting opening, which must be cut in the countertop. This information can be found in the instructions supplied by the manufacturer. If there is no manual, carefully measure the footprints. It’s good to make a cardboard model for these sizes (sometimes it is included), which then needs to be installed on the countertop and circled with a pencil. It is necessary to provide a gap between the landing parts of the case and the edges of the table from 1 to 2 millimeters.
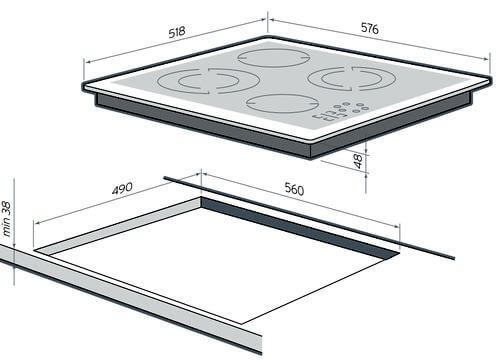
- Carefully mark the future hole. You will need a long ruler and a pencil. Do not forget that the countertop is made of pressed sawdust, and is decorated with a coating of artificial stone. For this reason, you should not cut a hole closer than 50 mm to the edge, as thin sections of the table may collapse.
- Carefully drill holes in the corners of the marked area with a drill, without going beyond it. We use a drill of 8 - 10 mm for this purpose. In the process of drilling it must be installed and held strictly perpendicular to the surface.
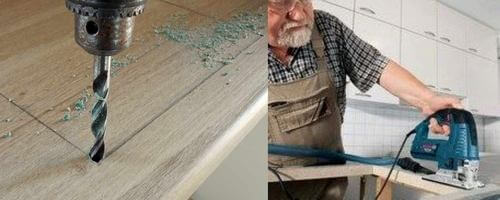
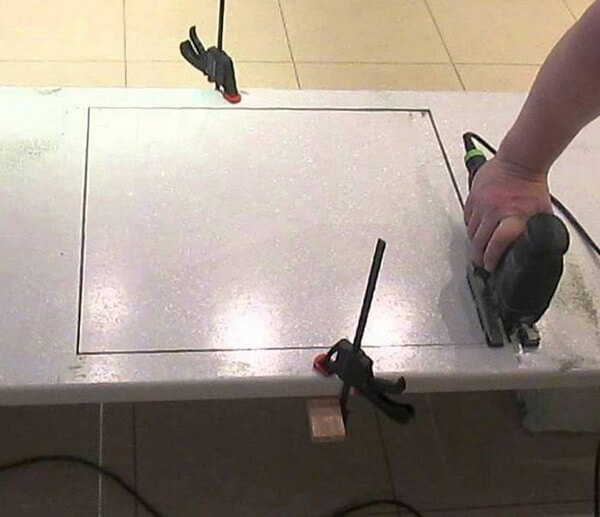
- We insert a woodwork with fine teeth into the electric jigsaw to avoid chipping the surface of the countertop at the border of the slot.Having inserted the canvas into one of the prepared holes, we carry out a cut along the marking, tightly pressing the jigsaw to the surface. After cutting, make sure that the built-in hob easily fits into the seat with a small gap. Otherwise, the edges of the hole should be cut.
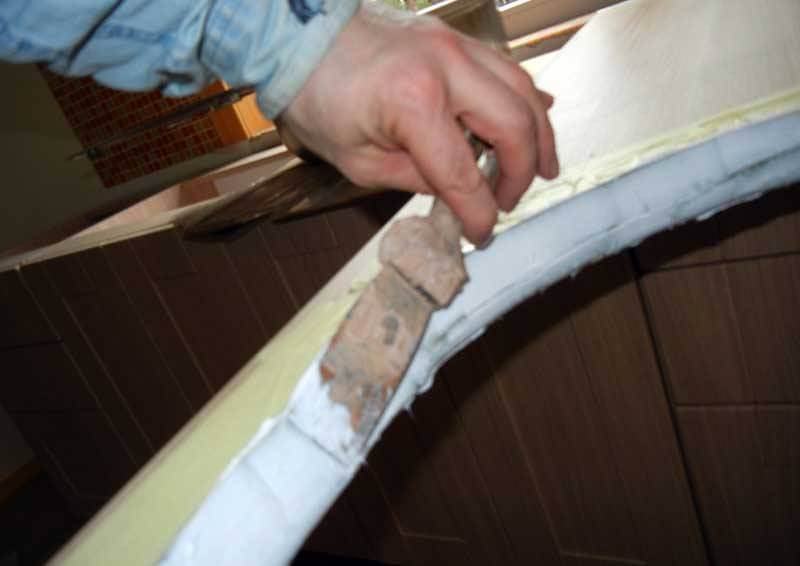
- The end sections of the slot made, it is desirable to protect from moisture. To this end, the edges are treated with sealant, as shown in the photo below. Then you can stick the seal included in the kit.
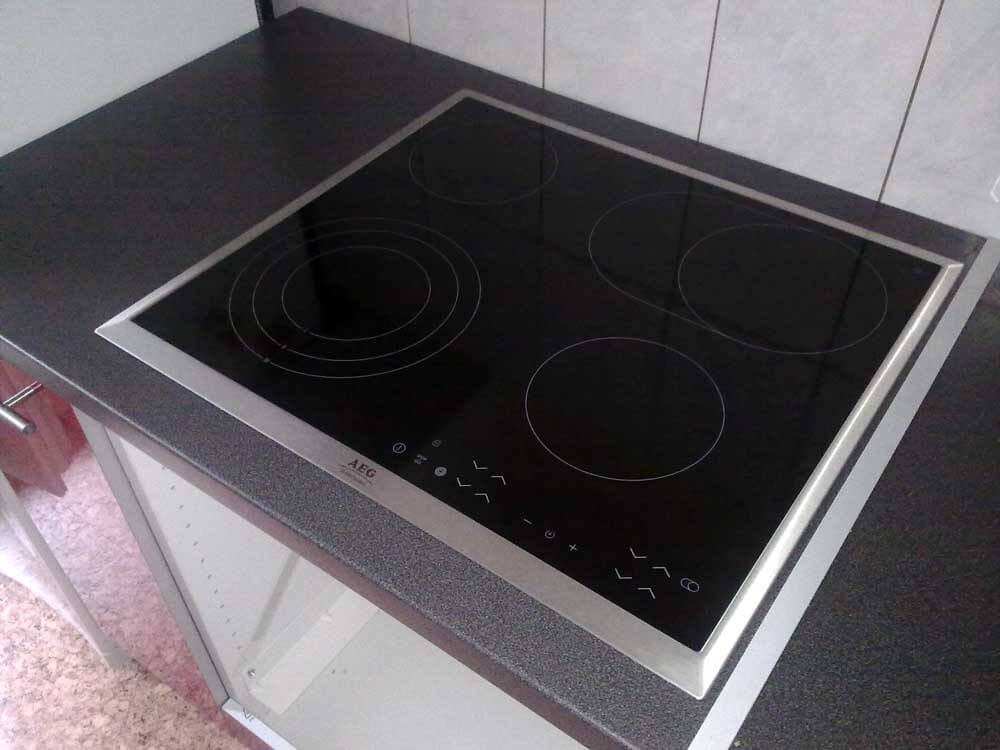
- Now the built-in hob is prepared for installation, after which it is installed and connected. Carefully insert it into the hole and gently push it up until the protruding edges fit completely to the surface of the countertop. Before that, you can apply a layer of silicone sealant on the surface, which then closes the built-in hob. This will ensure the sealing of the connection. When pressing on the surface, care should be taken, especially if it is glass. It is important that the built-in panel lies evenly on the surface of the countertop. Otherwise, installing a heavy pan on it can create a kink force.
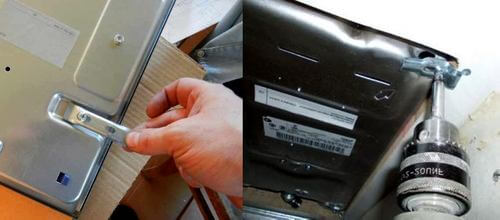
- The last stage of installation is that the built-in panel is fixed using special locking clips included in the kit. The clamps are installed from below, after which the case is fixed. Protruding excess sealant that has been applied to the surface of the countertop must be carefully removed. If an oven is installed under the hob, a layer of thermal insulation is laid between them.
The detailed process of installing an electric hob in a countertop is demonstrated in the video tutorials:
Mains connection
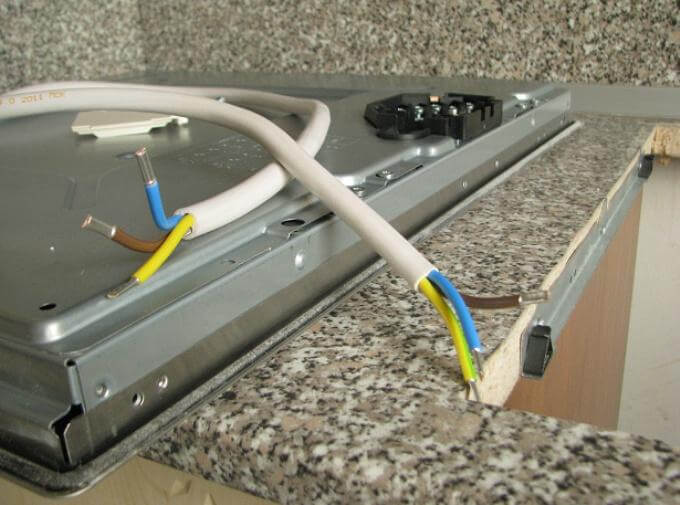
To connect the built-in hob to the network, it is enough to check the voltage and connect the plug to the outlet. In preparation for installation, you must make sure that the cross-section of the wires corresponds to the connected electrical power that the built-in panel has. Otherwise, you need to draw a separate line from the input shield to the stove. Then installation of the outlet may not be required. More about connecting the hob We told in a separate article, which we strongly recommend that you read.
The built-in hob can be connected to a separate line, provided that a separate circuit breaker for the stove with a suitable rating is provided on the distribution panel. If the power supply is 380 volts, that is, 4 wires, it should be evenly connected when connecting the electric stove distribute the load in phases.
You can find out about connecting an electric hob from the video:
Here, with this technology, the installation of the built-in hob and the connection to the electric network with your own hands is performed. We hope that our step-by-step instructions and the video examples provided helped you to complete the installation without involving a wizard!
It will be useful to read:




Your site is space! We are doing a repair with my wife (well, basically I, but she removes the wallpaper even though she does it later), so the question arose as to how to build in a brand new Hotpoint Ariston panel. I read it - I did it, everything is clear and understandable. Thanks as always.
I support, hotpoint have excellent panels. We also use this, just recently installed it.