Making LED mirror lighting in the bathroom
Features of material fastening
So, to make diode lighting a mirror in the bathroom, you must perform the following steps:
- Get a suitable length of LED strip (single or multi-color). If the length of the material is more than 5 meters (for lighting a large mirror), buy special connectors - connectors. In addition, you need a power supply unit of suitable power (at least 50% more than the power of the entire tape) and connecting wires. If you bought a RGB model of the lamp, you need to additionally purchase a controller.
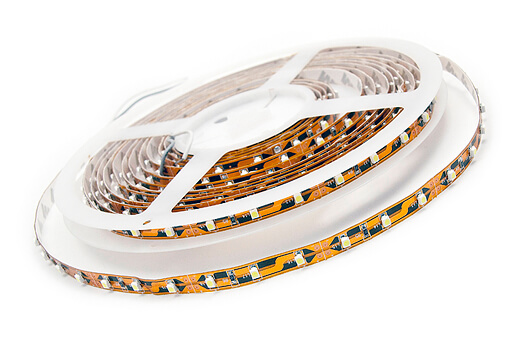
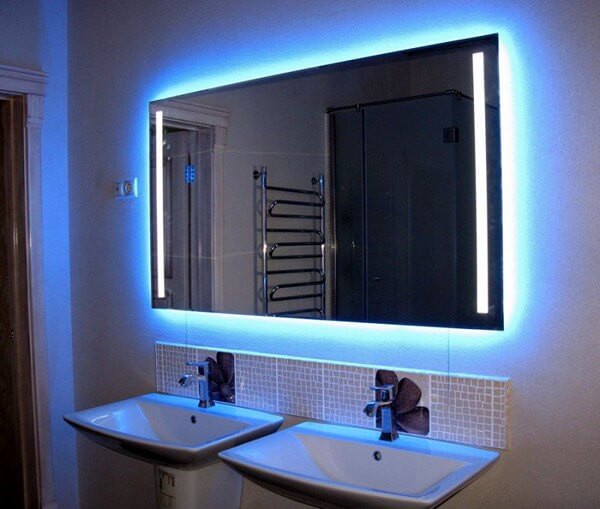
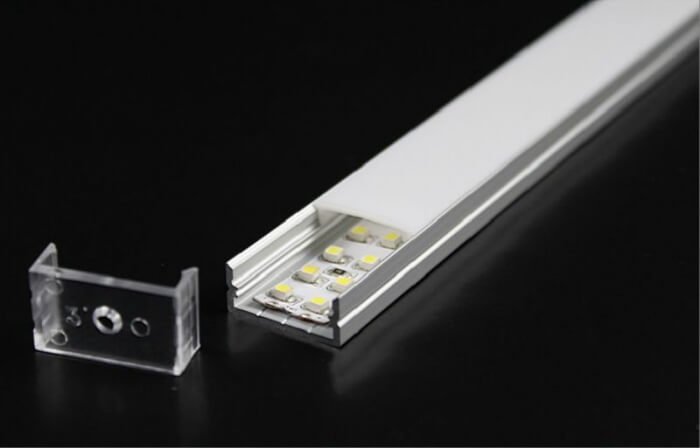
- Choose the appropriate way to mount the backlight to the mirror. You can stick the material on your own from the inside, which will allow you to make an original and at the same time hidden lighting of the contours of the object, as shown in the photo at the beginning of the article. The second way is to additionally purchase an aluminum LED profile and fix it on the mirror surface from the back, which will not be difficult.
- Degrease the surface thoroughly before gluing, otherwise such lighting will not be fixed for a long time.
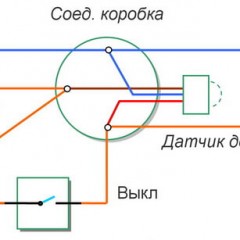
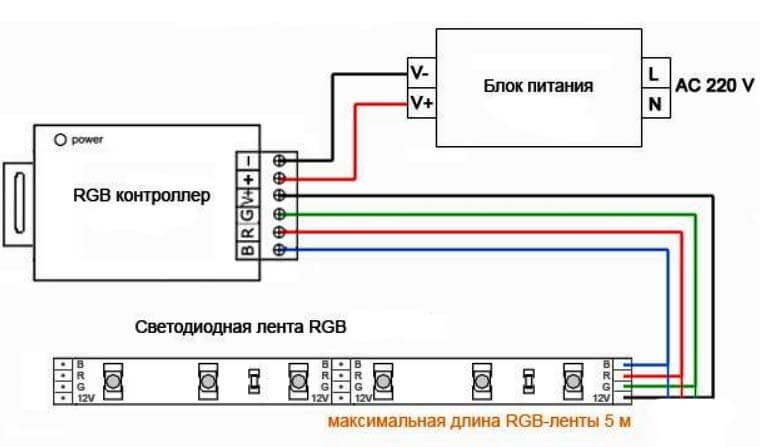
- Lock the backlight and go to connecting led strip. Difficulties at this stage should not arise. You need to connect the lamp according to the following scheme: tape - power supply unit - 220 Volt network. If you decide to make the backlight a multicolor (RGB) model, you need to connect a controller between the power supply and the LEDs, as shown in the diagram below:
After connecting the LED illumination of the mirror, you can turn on the finished lighting and check the correctness of all the work done. As you can see, there is nothing complicated and anyone can make decorative highlighting on their own. However, there are several important points that we highlighted:
- The power supply, controller and backlight switch is best taken outside the bathroom for reasons of electrical safety. By the way, it is also recommended to buy a tape for lighting waterproof, as the mirror is most often located above the washbasin, and as you know, the contact of electricity and water is extremely dangerous.
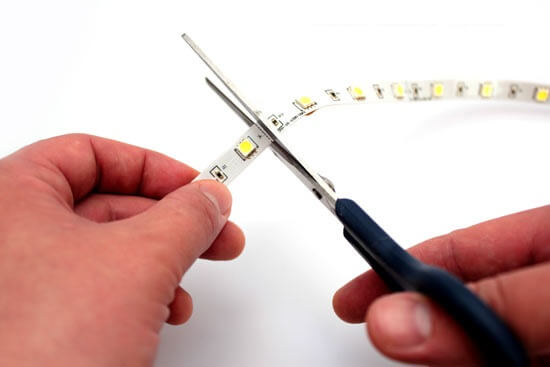
- You need to cut the material only in special places that are marked by the manufacturer, as shown in the photo below:
- If for some reason you cannot stick the lamp on the back of the mirror surface, you can stick on the tile under the mirror. The main thing is to thoroughly degrease the surface.
The video below clearly shows how to make the mirror backlight with an LED strip:
Alternative lighting options
If it’s not fundamentally important for you to make a built-in illumination of the mirror in the bathroom around the perimeter of the object, you can organize another, no less comfortable lighting option. This task is well handled by spots - spotlights on brackets, which can be manually directed to either side. A very good idea that allows you to change the lighting zone depending on what you do - shave near the mirror (or apply makeup) or take a bath.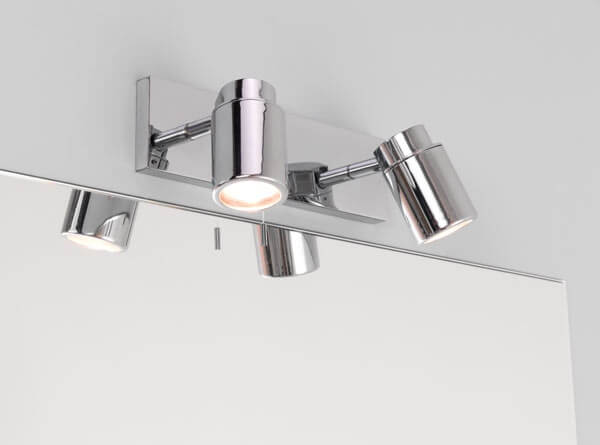
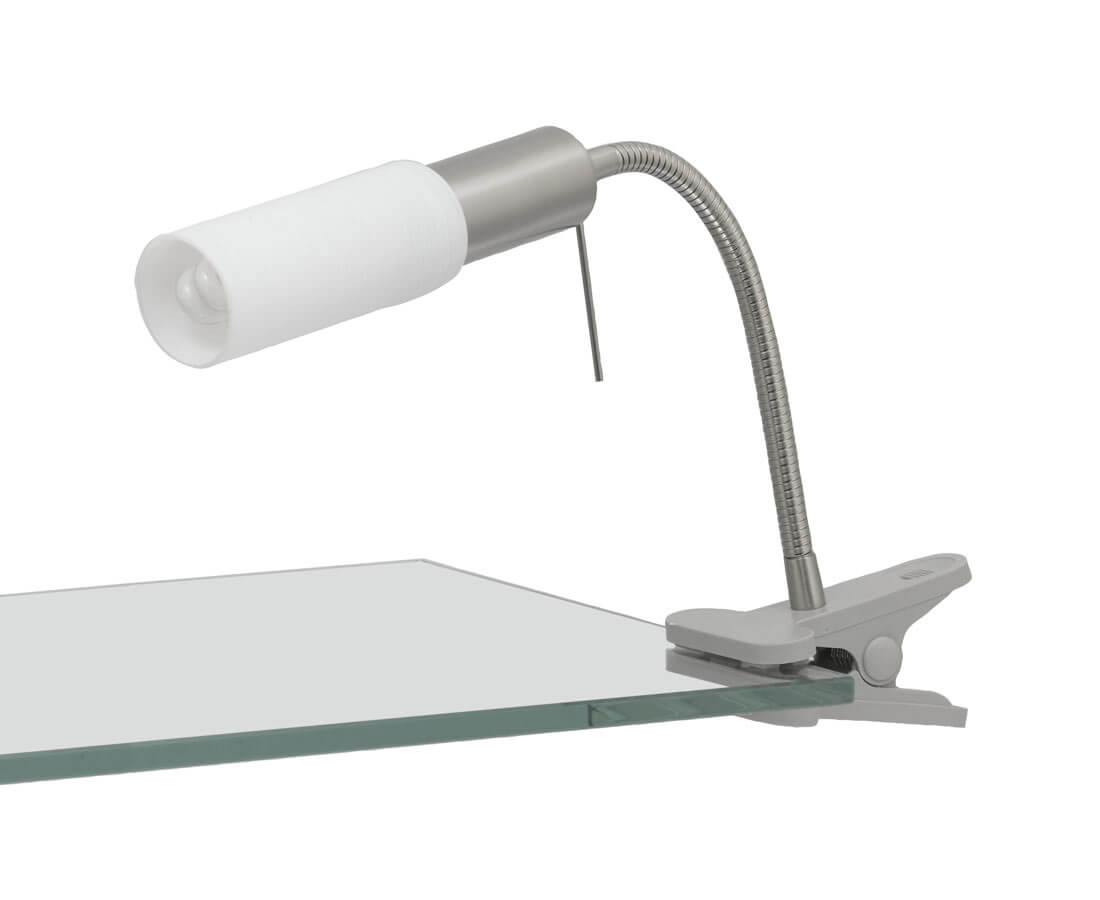
Another highlight idea is the use of special fixtures for the bathroom. There is a wide range of lamps that can be mounted on suction cups and clothespins to a mirror surface or tile. In addition, there are lamps that can be easily installed in a horizontal position above the mirror or in a vertical position on both sides, which allows you to make high-quality lighting of the entire area nearby.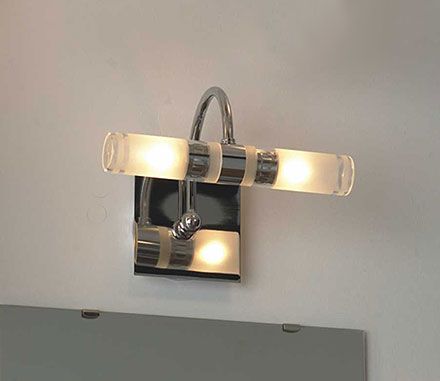
Nevertheless, if you are simply interested in the option of making the bathroom mirror yourself, the LED strip will certainly benefit, because LEDs are economical, bright and at the same time, installation does not take more than an hour. We hope that our instruction with photo and video examples was useful and interesting for you!
Recommended reading:

