How to install spotlights in drywall?
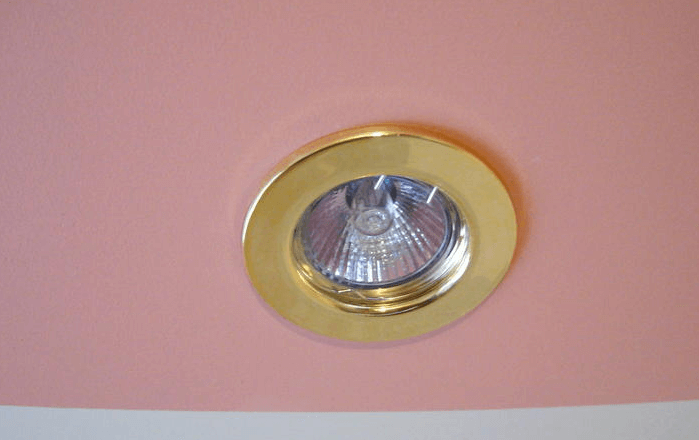
The installation of spotlights in a plasterboard ceiling has many advantages, namely:
- it’s not a big deal, even a novice electrician can handle it;
- takes very little time (1 pc to fix no longer than half an hour, if everything is prepared);
- high-quality lighting of the room, especially if you use economical LED lamp;
- bulbs hide in the ceiling, without spoiling the interior of the room.
We draw your attention to what to use as light sources LED lamps are recommended because they have a sufficiently high luminous flux and a resource of work. In addition, these products can save more than 30% of electricity!
Preparatory work
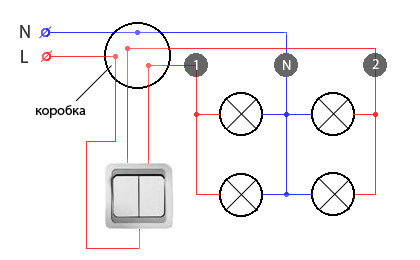
To begin with, the cable is drawn in a protective corrugation through a structure of profiles to an approximate location for the installation of spotlights in drywall. The wire itself is conducted from the main panel to the junction box fixed in the room itself. You can find out more about this event in the article: installation of electrical wiring in the house.
From the junction box, it is necessary to bring along one route of wires to the installation site of the spotlights in the plasterboard ceiling. To do this, it is recommended to use one of the following conductors: VVGng 3*1,5; PVA or RKGM. To select the most suitable conductor, it is recommended that cable section calculation. Usually, a 1.5 mm copper core is sufficient for the lighting line.
We draw your attention to the fact that many self-taught electricians try to facilitate their work and connect the lamps in order from one line, simply connecting the products to each other by cables. We do not recommend using this installation method, as in this case, the load will increase markedly and “fall on the shoulders” of the very first connection to the home wiring. As a result, overload can occur, leading to spontaneous combustion of the wiring and short circuit.
When the wiring is divorced, you can proceed to the main process.
Main process
So, the installation of spots in drywall includes the following steps:
- Wall preparation
- Product Connection
- Verification check
Consider each of the stages of installation of a spotlight in more detail.
Cooking the walls
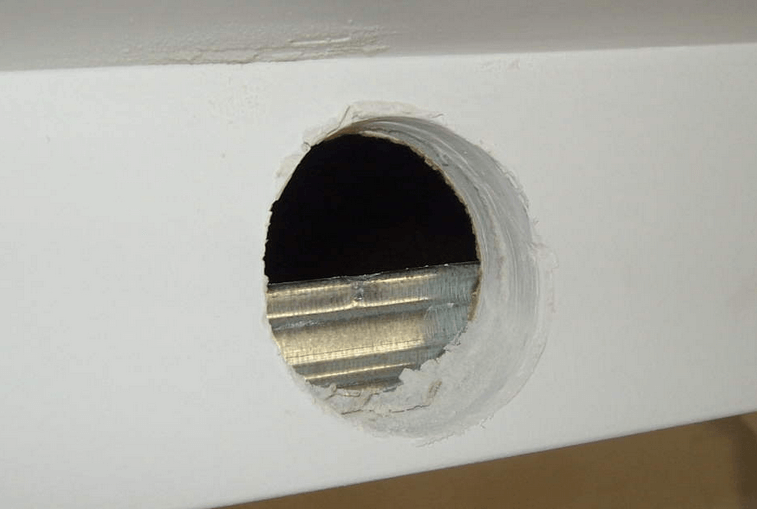
In this article, we consider installation work if the ceiling is plasterboard. All you need is to cut the strobes in the ceiling. Strobes are the seats for installing the lamp.They can be square or round, depending on the shape of the product.
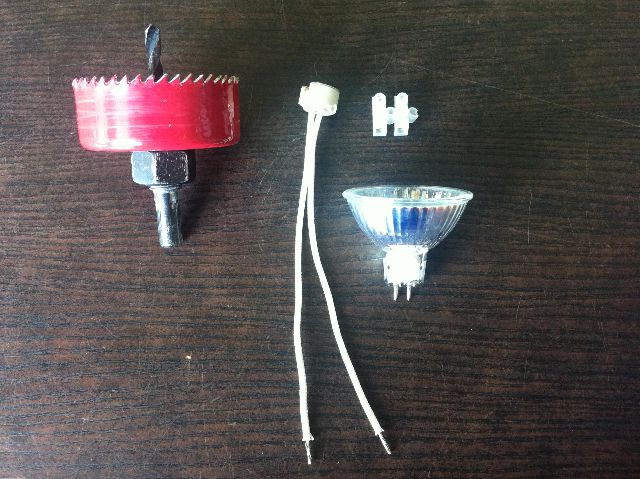
In one case or another, to install a spotlight in drywall, you will need the following materials and tools:
- electric drill;
- crown for working with wood;
- thin and indicator screwdriver;
- terminal blocks
- pliers.
First of all, be sure to turn off the electric power in the network and check its presence with the help of an indicator screwdriver (it can be used in the socket or on the contacts connected to the ceiling). Next, drill a hole in the drywall. The diameter of the crown must necessarily coincide with the diameter of the body (maximum take-off no more than 3 mm).
We draw your attention to the fact that it is possible that your chosen hole on the frame of the profiles. In this case, you only spoil the ceiling, because to install a spotlight under drywall does not work. To avoid such a problem, we recommend that you pre-mark the places where the profiles are installed, or using homemade metal detector check their availability in the right place.
We connect contacts
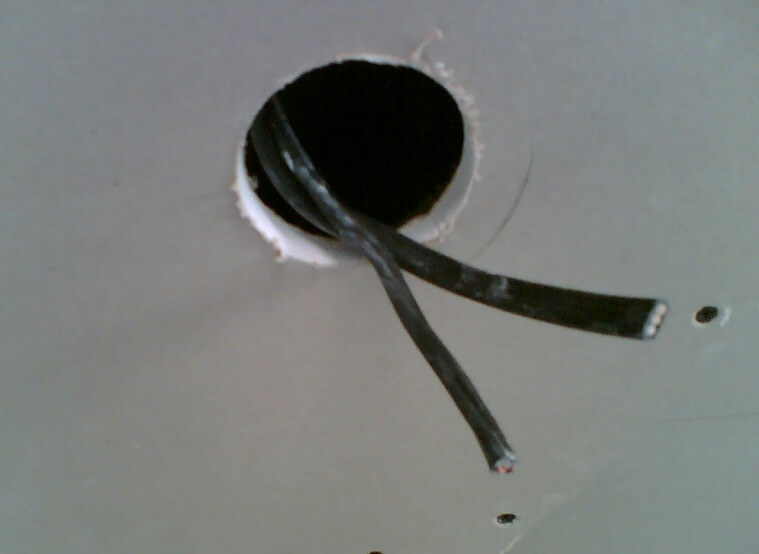
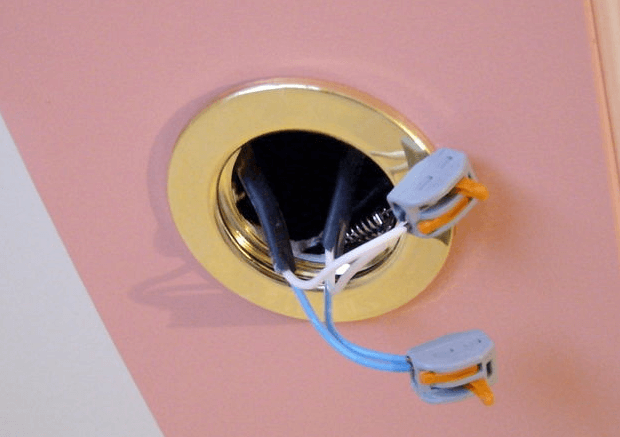
When the hole in the drywall is cut out, you need to find the input wires that you brought from the distribution box and connect them to the lamp. Most effective wire connection method - car terminals or conventional terminal blocks. Their advantage is a good fixation and insulation of the cores, as well as a high installation speed. In addition, with the help of these connectors, it is possible to fix the cores of various sections and manufacturing materials.
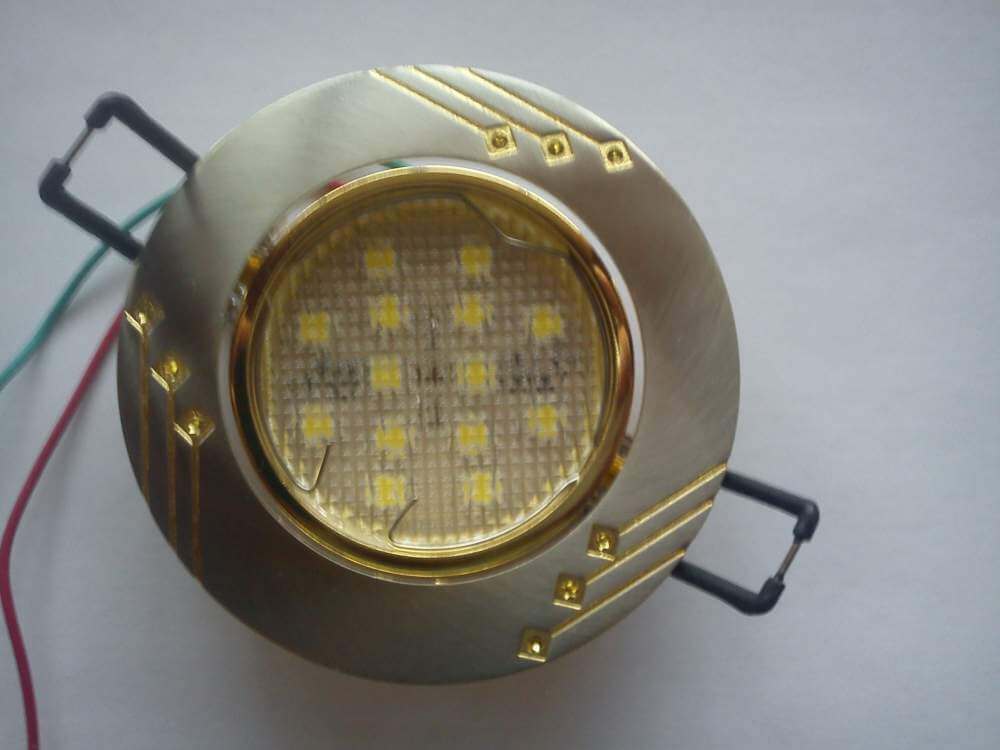
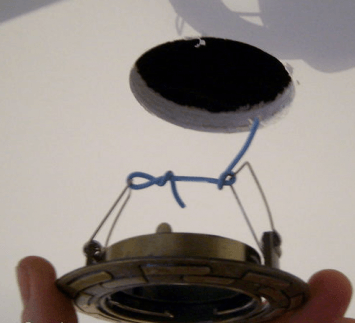
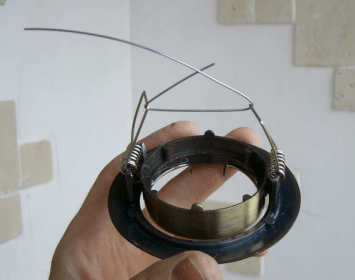
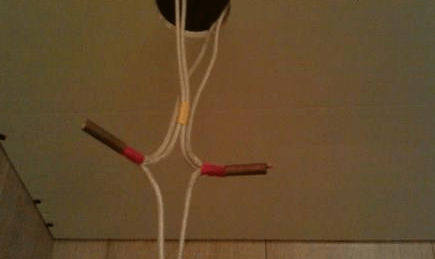
After the connection, it is necessary to fix the spotlight in the plasterboard ceiling. To do this, hold the spring paws with your hands and carefully insert the body into the shtroba. There is a so-called electric trick: Pre-fix the tabs with wire (as shown in the photo) and after installation, bite the wire with wire cutters. It’s wise to use this trick when fragile ceilings and expensive products are used, because if you fail to fix it the first time, the legs can damage the ceiling material.
After the case sits in the seat, it is necessary to screw in the bulb if cap type threaded and proceed to check.
Verification of the work is quite simple. All you need is to turn on the circuit breaker so that the voltage is supplied to the home network. If nothing sparks, and the lamp burns, as it should, you have installed and connected correctly!
Rules and Tips
To make the installation of spotlights in drywall quick and safe, here are some useful tips from electricians:
- Before installation, read color coded wires. Sometimes it can be non-standard. If you confuse the phase with zero and connect the contacts incorrectly, you can not avoid problems.
- If you decide to connect spotlights through a dimmer, be sure to buy dimmable led bulbsbecause conventional bulbs will quickly fail when used with a dimmer.
- Be sure to take care of high-quality grounding of the wiring, because it can save you life.
- Instead of terminal blocks, you can use crimping the cores with sleeves. Efficiency will be the same, only spend more time.
- It is necessary to carry out electrical installation when the walls are already completely finished.
- Do not be afraid to independently connect spotlights. There is nothing complicated here, besides this event will allow you to save at least 400 (the average cost of installing one spotlight by a master).
- Using fluorescent tubes Do not touch them with your hands, otherwise the life of the lighting will be noticeably reduced.
- If the body of the product is square, still create a round stroba with a crown, and then cut the corners with a knife (plasterboard ceiling).
- In the event that you decide make lighting in the bathroom spotlights, you need to purchase products operating from a step-down transformer at 12 volts. This voltage is safe for humans and if a current leak occurs, the consequences will not be dangerous for you.
- Before installing the spots, it is important to place them on the ceiling correctly so that they effectively illuminate the room and at the same time look beautiful. About, how to place spotlights on the ceilingWe talked in a separate article!
That's all I wanted to tell you about how to install a spotlight in a drywall with your own hands. We recommend using this lighting option in the kitchen and in the bathroom, where directional lighting of functional areas is required!
Related Material:

