The main methods of attaching the cable channel to the wall
Method number 1 - Self-tapping screws
If you decide to comply installation of electrical wiring in a wooden house or an apartment with plasterboard partitions, then the installation of the cable channel should be done with special wood screws. The fastening step depends on what kind of load will occur on the plastic box, or rather, how many wires need to be drawn inside, and what section they have. As a rule, to securely fix the cable channel on a wooden wall or drywall, it is enough to screw the screws every 40-50 cm. If the walls are uneven, it is better to reduce the fastening step, this will hide all defects and gaps.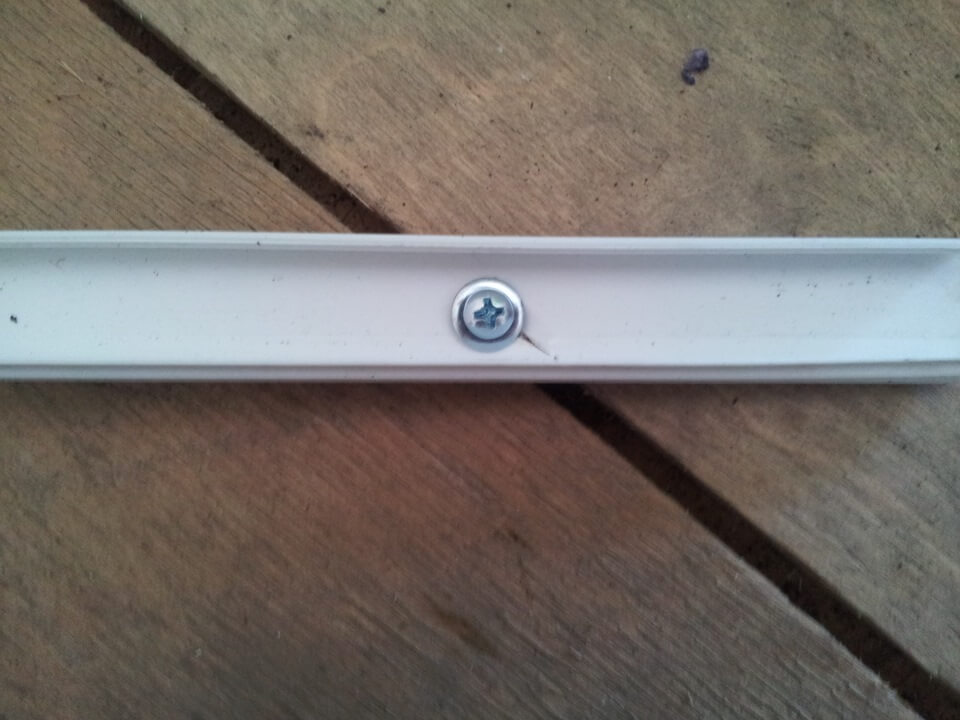
Do not choose too long self-tapping screws for installing the cable channel with your own hands. To securely fasten the box in the wall, it will be enough to screw fasteners about 40 mm long. For screwing it is best to use a screwdriver with a cross bat. About, how to choose a screwdriver for home repairs, we told in the corresponding article!
Method number 2 - dowel-nails
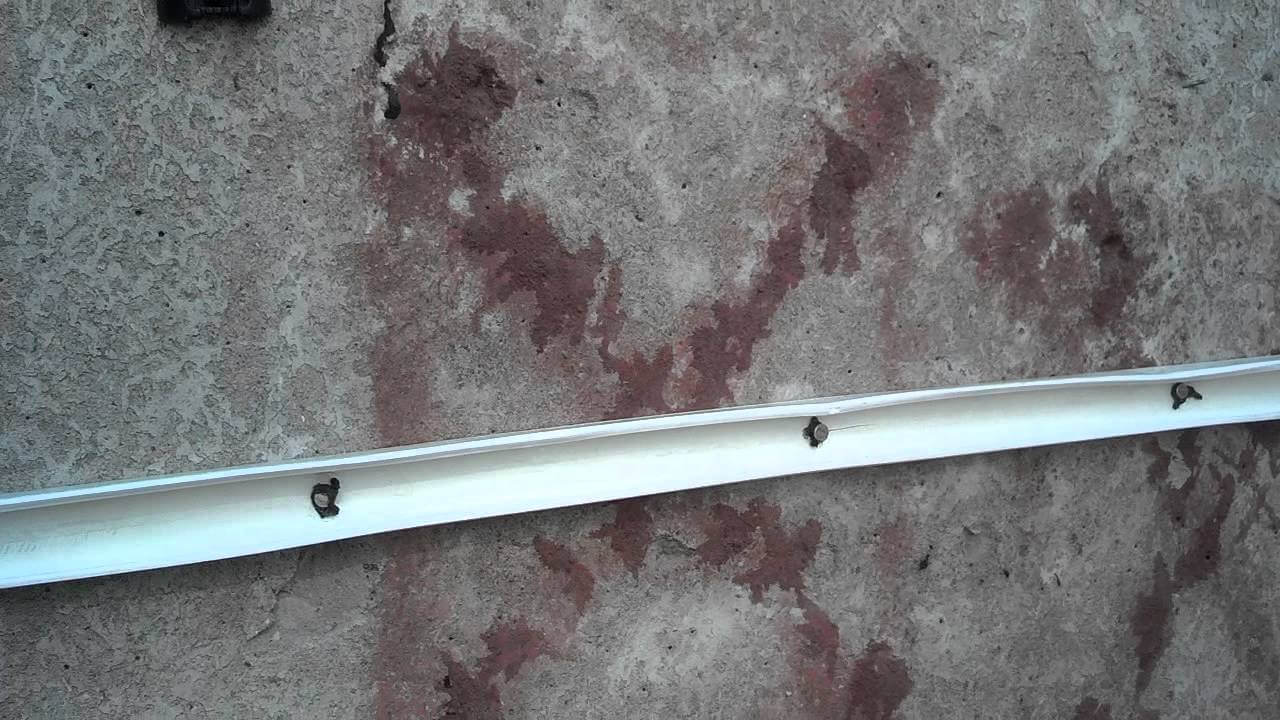
If you need to fix the cable channel to a concrete or brick wall, which is a typical situation for an apartment and a house, then you can not do without dowel nails, also called “quick installation”. In addition, a hammer with a 6 mm drill will be required for fastening. So, in order to fix the electrical box for the cable on a wall of concrete or brick, you need to perform the following steps:
- Drill 6 mm holes in the bottom of the cable channel in advance every 40-50 cm.
- Attach the box to the wall according to the marking (more on this later) and mark the drilling points that coincide with the finished holes in the cable channel.
- Drill holes according to the marks on the wall.
- Attach a plastic box and drive into the appropriate places on the dowel.
- Hammer in nails.
Here, according to such simple instructions, you can fix the cable channel yourself in a wall of concrete or brick. We draw your attention to one very important point - you should not drill holes with a drill, leaning the box against the wall. The impact mode during drilling of plastic can provoke the appearance of cracks, which can be negatively displayed both on the visual side and on the durability of the finished wiring.
Method number 3 - "Self-tapping screws with a press washer"
If there is a need to fasten the cable channel to a metal with a thickness of less than 2 mm or an aluminum profile, then for fastening we advise you to use self-tapping screws for metal, also called "bugs". By the way, the correct name for bugs is self-tapping screws with a press washer. For them, you do not need to pre-drill a hole. There is nothing complicated in installing an electrical box on a metal surface, the main thing is to choose good screws and charge the screwdriver.
There is also a special gun with which you can independently mount the cable channel to concrete. The video provides a detailed description of the installation:
Method number 4 - Liquid nails
Well, the last way to fix the cable channel in an apartment or house is with special glue “liquid nails”. The need to glue the cable channel to the wall occurs if another installation option is not possible. Most often, liquid nails are used when installing an electrical box on a tile in the bathroom or on a smooth metal surface. However, it is unlikely that it will be possible to fix the box well only with glue. The adhesive mixture is often used as an additional fixation option. It can be combined with self-tapping screws or even quick installation.
There is a very important nuance of attaching the cable channel to the glue - first you must put the adhesive mixture on the surface of the box, and then lean it against the wall according to the marking. As soon as the back wall is leaned against the wall, remove it and wait a few minutes for the glue to thicken slightly on both glued surfaces. After the liquid nails “clutch” at least a little, press the cable channel to the wall as much as possible, the main thing is not to break it. In this simple way, you can fix the cable channel to the glue with your own hands.
Installation tips
So that you can correctly and at the same time quickly mount the cable channel, we recommend that you familiarize yourself with the following installation nuances:
- First of all, carefully align the wall with the ceiling and prepare it for fastening the plastic box. The smoother the surface, the greater the step between the fasteners. In addition, the absence of gaps is positively displayed on the interior of the room.
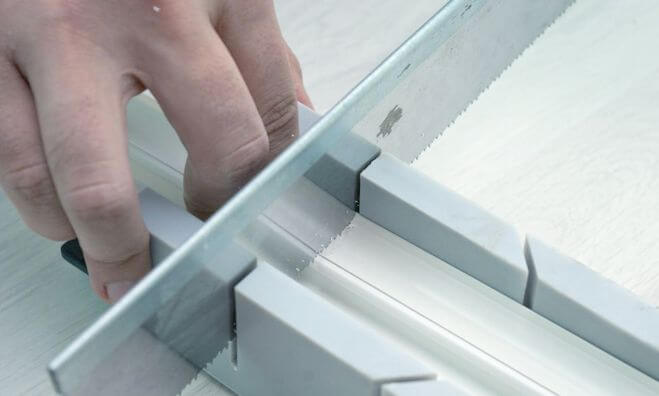
- To connect the cable channel at the corners (external, internal, the junction of the vertical route with the horizontal), make special angles at 45about. To do this, you can use the miter box, as shown in the photo.
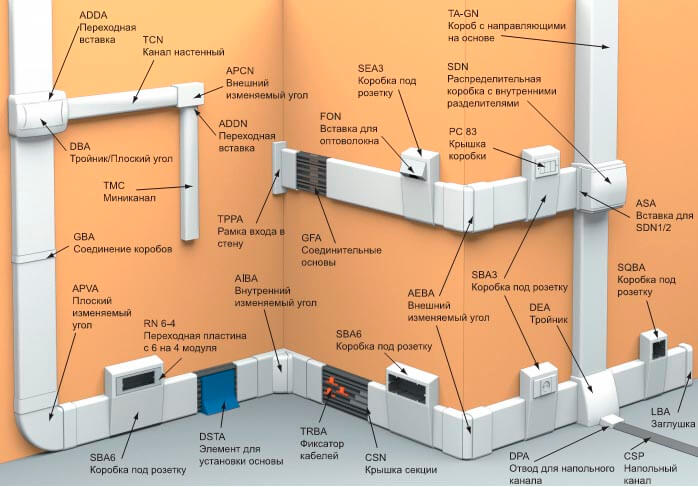
- In addition to paragraph 2, in order not to bother with cutting the same angles, use ready-made accessories from the manufacturer: internal and external plastic corners, T-shaped connectors, plugs, etc.
- The cable channel must be fixed exactly, both in the vertical and horizontal plane. To attach the box horizontally evenly, use the building level. To align the track vertically, it is best to use a plumb line.
- Before installing the cable channel on the wall with your own hands, you need to mark these walls. There are certain norms on this issue, which we examined in detail in the article - how to comply installation of open wiring.
- If you need to fix a plastic electrical box on a plasterboard or wooden wall, do not drill holes in the surface in advance. Self-tapping screws will go into the wall well without it. As you know, with concrete and brick, such an option for attaching a cable duct will not work.
- If possible, start laying the cable channel from the corner, so that later it is easier to join the sections and cut them if necessary.
- There is not much difference when you decide to install a cable duct - before or after decorative wall decoration. We recommend laying the product in the last turn, because installation of the cable channel to the wallpaper is much simpler than sticking the wallpaper, cutting them because of the already completed route.
- If you decide to put plastic protection for the wire on the ceiling, do not forget to prepare the ceiling surface by analogy with the walls. The cable channel is mounted on the ceiling as well as on the walls.
That's all you need to know about how to fix the cable channel to the wall with your own hands. We hope that the provided detailed description with photos and video examples was useful to you!
Also read:

