Installation and connection of a fan in the bathroom
Checking for natural ventilation
First of all, you need to find a stuffing box - a ventilation shaft and examine it for the absence of obstacles to the outflow of air. Also, before connecting a household fan, it is recommended to clean the ventilation, remove cobwebs, debris and dust accumulated there.
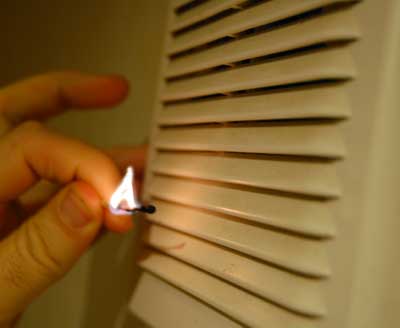
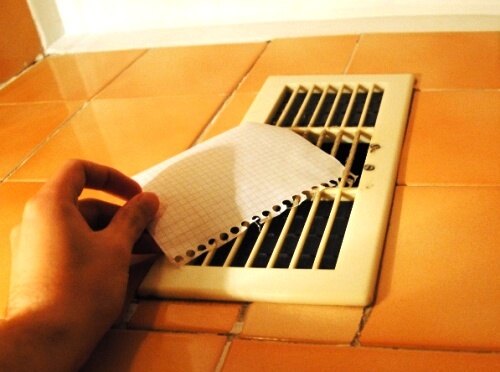
Using a lit candle, we check for air flow, the flame should deviate towards the shaft when it is brought to the ventilation hole. To find out if there is sufficient ventilation without special devices, you can attach a sheet of paper to the stuffing box and release. If it continues to hang, a stream of air is present. Fell, it means the stream is very weak or absent. The verification methodology is provided in the photo below:
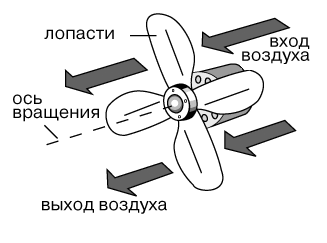
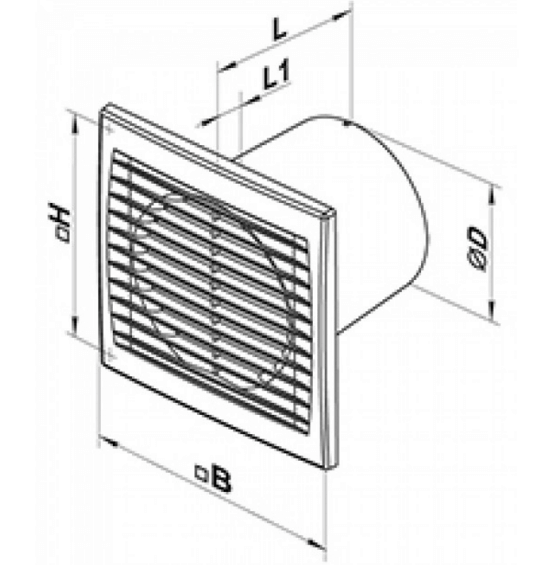
If there is no natural ventilation, you must contact a special service or housing office. If there is, but it is not enough, it makes sense to install an additional fan in the air duct. Today, the market has a huge assortment of all kinds of fans for every taste and color, which differ in principle and appearance. For domestic operating conditions, an axial cooler is most often installed.
Having decided on the size and manufacturer, we proceed to install the fan ourselves. Immediately we draw your attention to the fact that this instruction is suitable both for installation in the bathroom and toilet, and for the kitchen, where a small cooler is often used instead of an exhaust hood.
Choose a connection scheme
First of all, you need to bring power to the future unit. This is best done during the repair phase by hiding the cable in the wall. Otherwise, the conductor will have to be hidden in a decorative box, and then connected to the outlet through a plug.
There are several schemes for connecting a fan in the bathroom to a 220 volt network:
- parallel to lighting;
- separate switch;
- through a timer or sensor.
From the light bulb
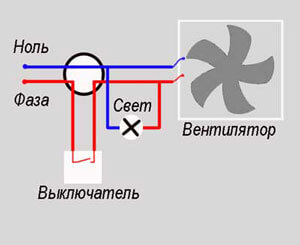
The most budget option is to connect to the lamp. In this case, the cooler turns on simultaneously with the light, and works as long as the light is on.
A huge plus of such a connection scheme is its simplicity of execution and relative cheapness, but there is a drawback, this is the operation of the fan when it is not required, a draft is created during water procedures, insufficient ventilation time of the room, as a result of which it is necessary to leave lighting for extra time.In addition, this mode of operation reduces the life of the engine, since starting the motor is accompanied by wear on the electrical and mechanical parts. And frequent on and off reduce it.
From switch
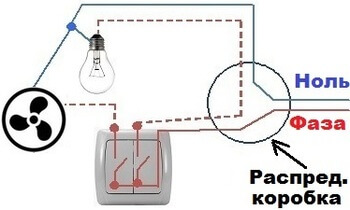
To exclude the stupid operation of the hood - you need to connect the fan through a separate switch, which can be located either on the hood grille itself or as a separate key on the wall. This option for connecting a fan is more expensive than the previous one, since the cable length increases and the circuit becomes more complicated. In addition, the connection does not need to be made from the lamp, it is enough to make the same circuit as for the lighting, only an extract will be in place of the bulb.
Connecting the fan as a separate line through the two-gang switch is better on the operational side, as the hood motor works only when needed, while the bathroom light can be turned off, you can independently adjust the hood's operating time. The disadvantage is that there is a chance to forget about the cooler and it will work unreasonably long.
Through automation
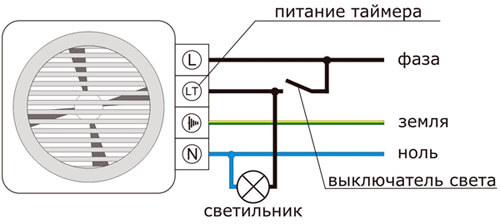
Recently, in the struggle for the buyer, manufacturers began to supply their devices with automation elements - timers and humidity sensors. A very good solution, as it seems to us, is a hood with a timer. The wiring diagram is comparable in complexity to the wiring diagram for the fan through a switch.
You need to connect the device through three wires, two 220 volt power, and the third signal wire from the light bulb. The operation algorithm is reduced to turning on with the lighting, and turning it off after a specified time (3-30 minutes) after turning off the light. This time should be enough for flow ventilation of the bathroom.
Also on the market are models with a reverse mode. The motor will not turn on while the light is on, and starts to work after the lights are turned off, for the time specified by the timer.
We make installation
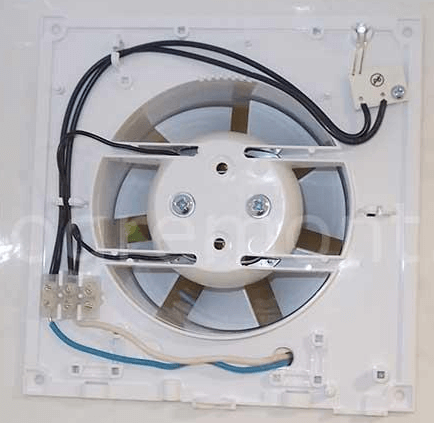
Manufacturers worried about the ease of connecting and installing a fan in the bathroom. Having removed the front grill, the fastening and switching elements are opened to us. You can connect the fan to the 220 V network through the terminal block. When connecting, be sure to comply color marking wires. Zero is always blue, and the phase is usually white, red or black.
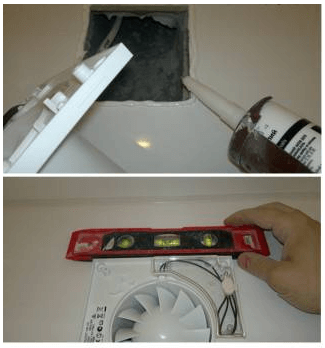
As you can see, connecting the wires is quite simple and it’s hard to mix something up. You can install the fan in the bathroom or toilet both on the dowels that are included in the kit, and on building sealant or glue, if it is not possible to drill holes in the ceramic tile.
You can learn more about how to install a fan in the bathroom with your own hands by watching the video that we provided below:
We hope you enjoyed our article and you learned everything you need to connect a fan in the bathroom with your own hands!
It will be interesting to read:

