Proper garage lighting
Primary requirements
The first thing to consider is the main requirements for garage lighting.
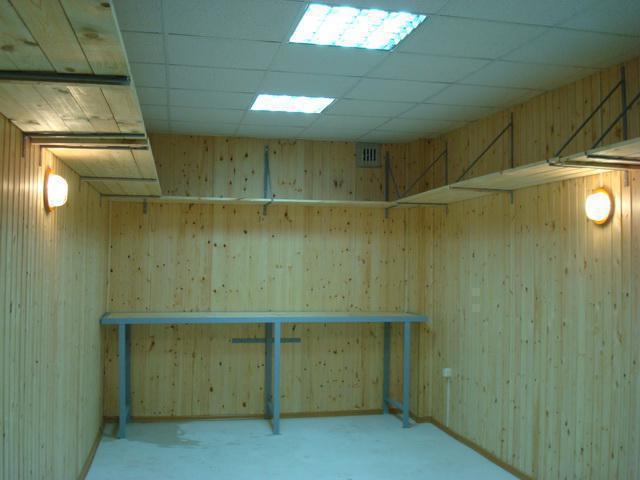
As a rule, an inspection pit is provided for car repairs, in which dampness forms due to poor heating and ventilation. In connection with this problem, care must be taken to ensure that the lamps in it are reliably protected from moisture. The most suitable option would be low voltage sealed products with degree of protection not less than IP 45.
The second requirement relates to the installation of switches in the garage. Again, the main point is that there should be no switches inside the inspection pit. It is best to transfer these products to the main shield or next to the doorframe of the front door.
Since most of the time you have to “mess around” with the repair of the machine, the lighting should be of high quality. The bulbs should be installed so that no object casts a shadow on the working area.
Take the settlement work seriously. You must not only choose the right power of the bulbs, but also the place of their installation. The classic installation method - “one lamp in the middle of the ceiling” is strictly prohibited. Proper lighting in the garage should consist of several functional areas, which we will talk about later.
Another important requirement is that the light should not blind your eyes. That is why light sources must be equipped with special reflectors and shades.
Backlight Options
Another important factor is the proper placement of the fixtures. There are several popular options for lighting the garage, which can be used for high-quality illumination of the entire room, but the most effective is considered multi-level.
In this case, the lamps are placed in four main levels of the room: upper (ceiling), medium (1.8 meters from the floor), low (0, 75 meters from the floor) and minimum (0.4 meters from the floor).
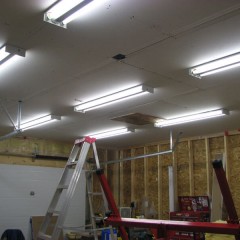
As for the ceiling, it is recommended to install the products in such a way that the light falls strictly vertically, without creating shadows. This level is used for general lighting of the garage.
The middle level is responsible for highlighting the working area - above the workbench. Here, as we have said, it is best to use directional lamps.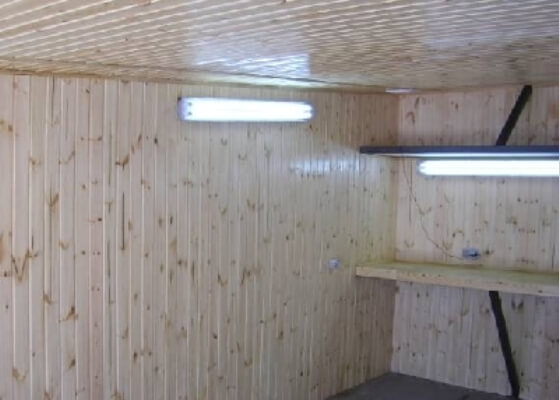
Low level is useful for car repair. When there is a need to fix a wing or a door, a lamp at a low height will allow to qualitatively illuminate the entire working surface.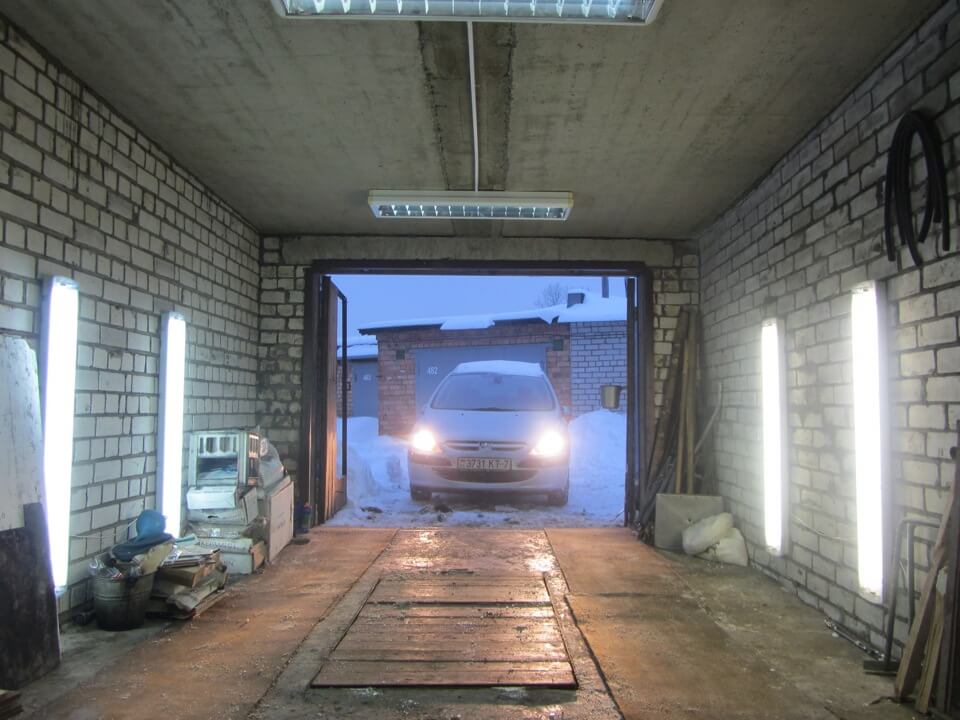
Lights installed at a height of 40 cm from the floor, make it safe to move, because very often spare parts and tools can lie on the floor through which you can trip over.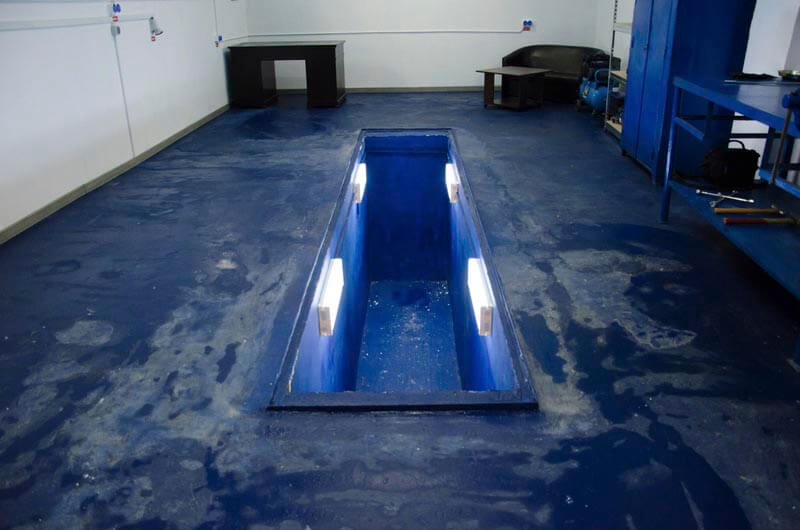
An alternative option for lighting in the garage is to use only three levels: the ceiling, the working area and the local lighting with a portable lamp. This option is simpler and in practice is much more common.
You can also watch an overview of the effective lighting system in the video:
I would also like to note that the number of simultaneously working lamps in one group also affects the lighting option. For example, you can place 3 products on each wall and control them using a two-key switch. In this case, when repairing one part of the car, it will be possible to turn on the light only in that side of the room where the repair is made. At the same time, the opposite side of the room will be darkened, which allows save electricity.
Here you can add another option - use passage switch. In this case, the lighting in the garage can be controlled from several points (for example, from different sides).
Useful Tips
And finally, I would like to provide you with tips for connecting lighting in the garage:
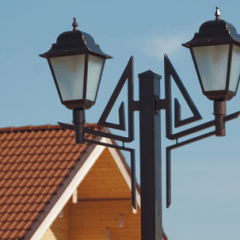
- If you decide to install a street lamp in front of the front door, add a motion sensor to it. In this case, the flashlight will not work all night, and turn on only when you approach it. The result is energy savings. An alternative to a motion sensor can be a photo relay that responds to street illumination (turns on the light after dark).
- If the room is heated - use fluorescent lamps, if not - opt for LEDs. This is due to the fact that luminescent light sources do not work at low (and especially minus) temperatures. It is better to use LEDs to illuminate a cold garage.
- Be sure to take care of grounding all electrical wiring, otherwise injuries and accidents can not be avoided.
- Give preference to quality goods, rather than cheap Chinese fakes. By saving on the purchase of fakes, you endanger your own health.
- Be sure to protect electrical appliancescircuit breaker and RCD. These devices will protect the network from overloads, current leakage and short circuit.
- Do autonomous garage lightingby connecting the LEDs from the 12 volt battery. If suddenly you are left without electricity and urgent repair is required, with a charged battery, the light can burn for up to 10 hours (depending on the power of the bulbs). You can also make backup and alternative sources of electricity in the form of a generator or solar panels on the roof. Battery powered lights can also be added here.
That's all I wanted to tell you about the competent lighting options for the garage. We hope that the information was understandable to you, and most importantly - useful.
Also read:


