How to replace the cartridge in the lamp?
So, in order to correctly replace a failed element, you must perform the following steps:
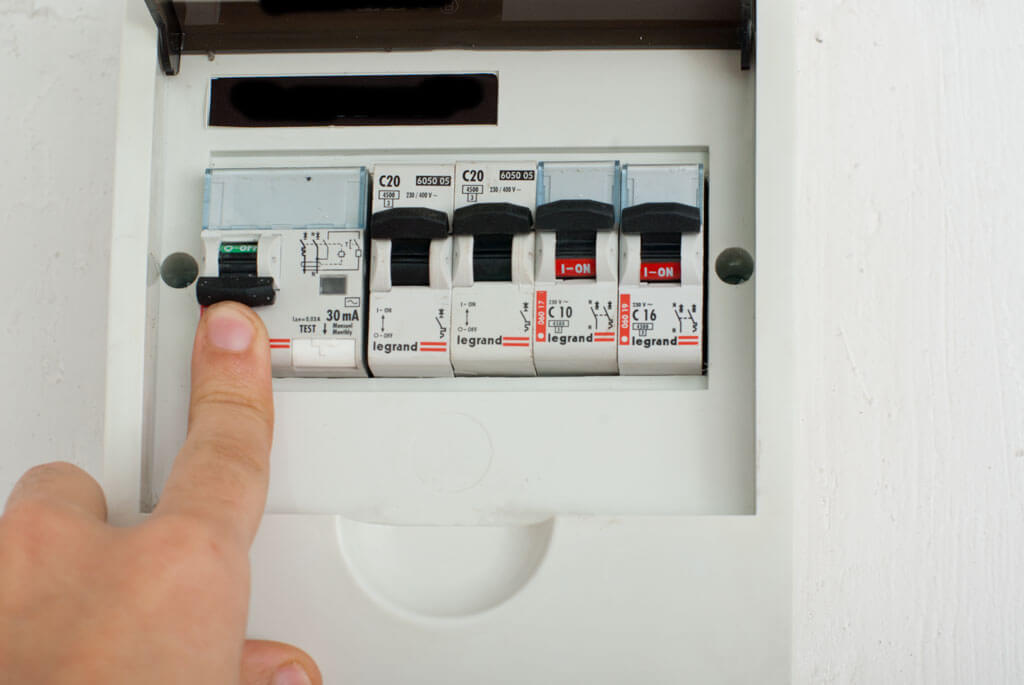
- Turn off the light on the shield. It is strictly forbidden to carry out live replacements!
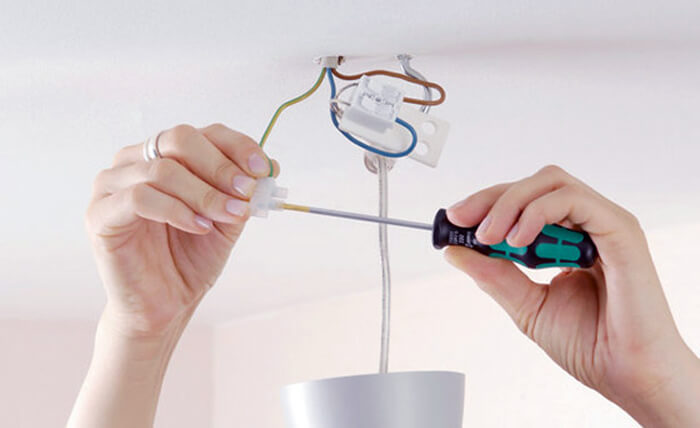
- Remove the chandelier from the ceiling. You can, of course, change the cartridge without removing the lamp, but it will be much more difficult. All you need to do is disconnect the connection of conductors (usually a twist or terminal blocks, as in the photo) and remove the chandelier from a hook or strap.
- Disassemble the lighting device by removing the glass shades and unscrewing all the bulbs (the usual one is e27 or e14 is a minion) so that they do not crash during the repair process.
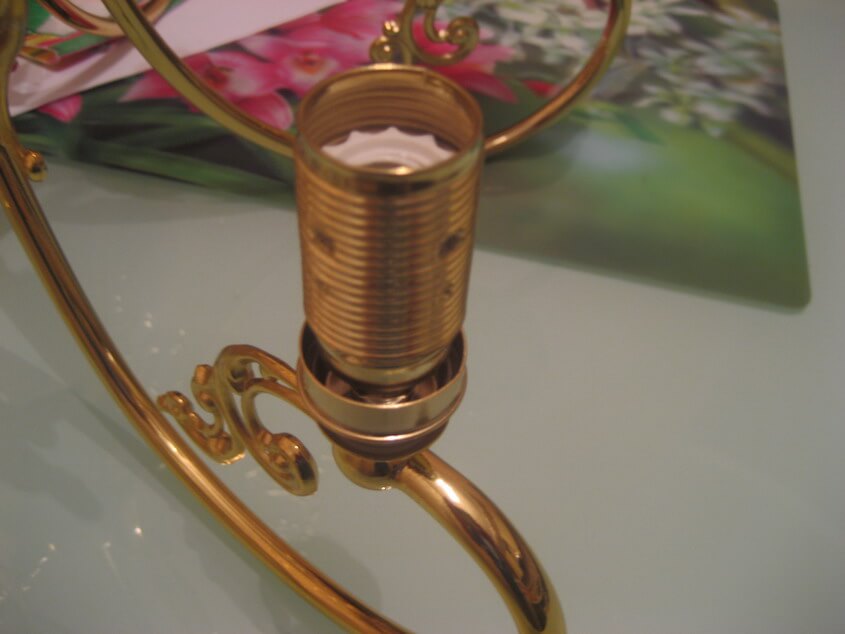
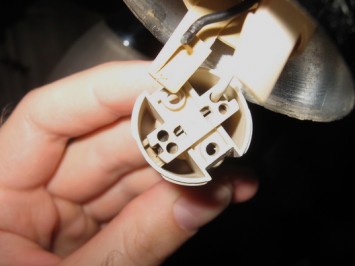
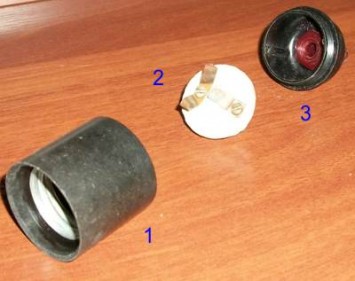
- Unscrew the visible part of the electrical cartridge and disconnect the wires. In some models, the contacts are on the base. In this case, you will need to unscrew the clamping screws.
- Remove the ceramic base of the product.
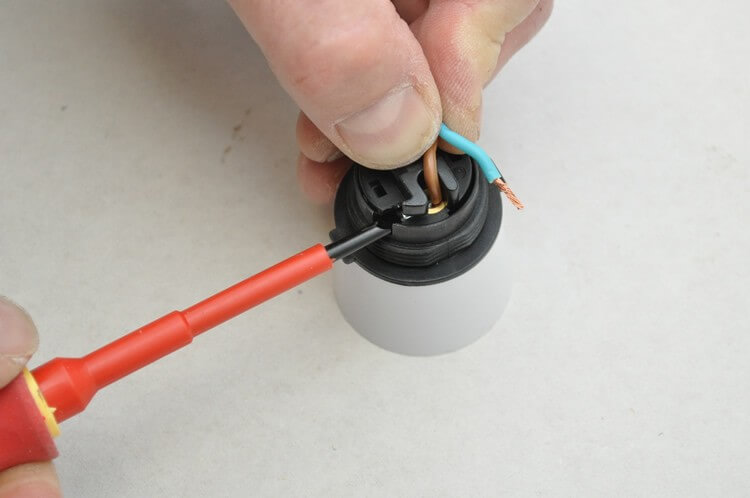
- Replace the lamp holder by connecting the phase to the center contact of the base and zero to the remaining free one. You can determine the wires by color, having read color coded wires.
- Assemble the chandelier in the reverse order.
You can clearly see how to change the cartridge in this video tutorial:
By the way, sometimes there is no need to change the electric cartridge, but simply repair it. For example, in the video below, the master was able to solve the problem without removing the chandelier and without changing the cartridge:
If you have a lighting device with halogen lamps, we recommend that you review this lesson:
That's all I wanted to tell you about how to change the cartridge in the chandelier with your own hands. We hope that the provided replacement technology with photos and video examples was useful and interesting for you! By the way, this method can be suitable not only for a ceiling lamp, but also for a table lamp if it breaks.

