How to disassemble the light switch?
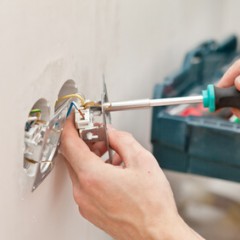
So, in the starting position, you have a key switch that is securely fixed inside the strobes. To get started, prepare a tool in order to quickly disassemble the case - an indicator screwdriver, which will be quite enough.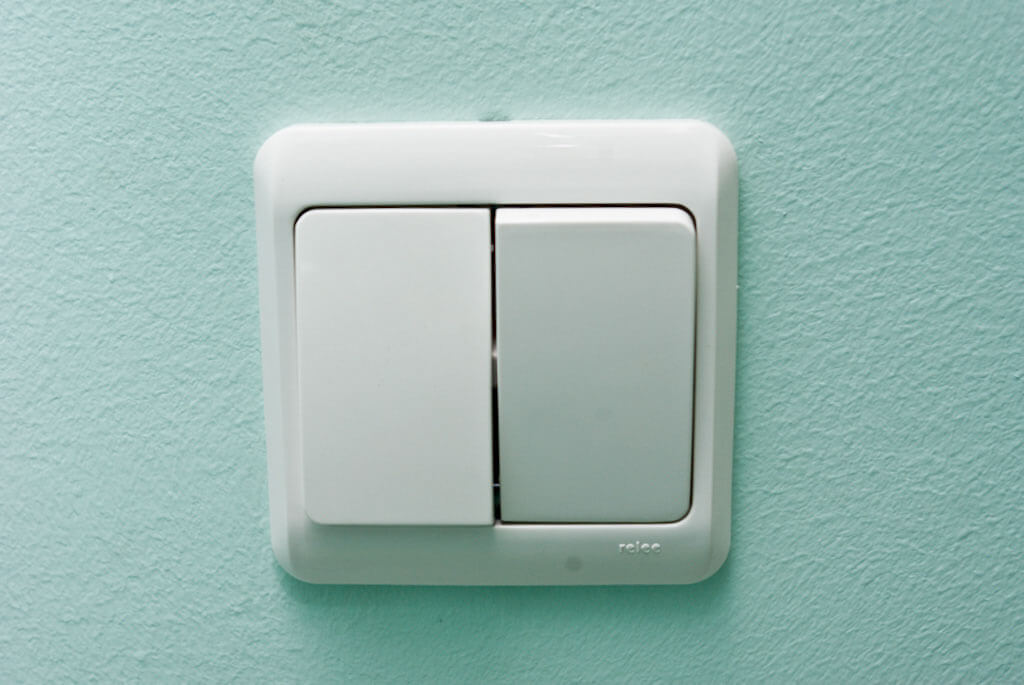
Instructions for disassembling the light switch in the apartment are as follows:
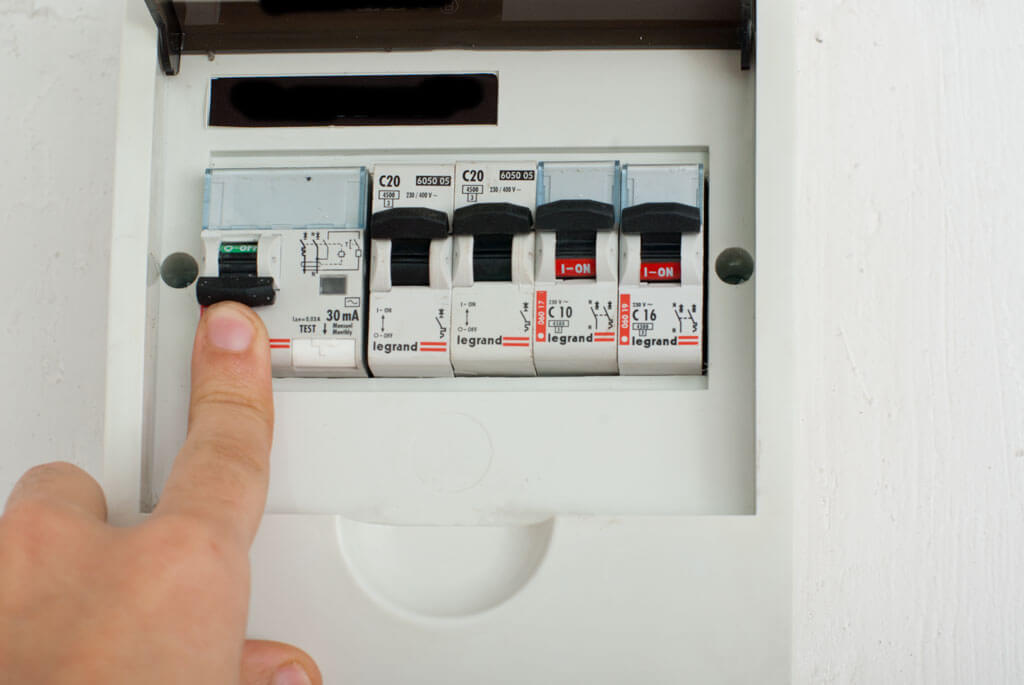
- Disconnect the circuit breaker that protects the wiring from network congestion and short circuit.
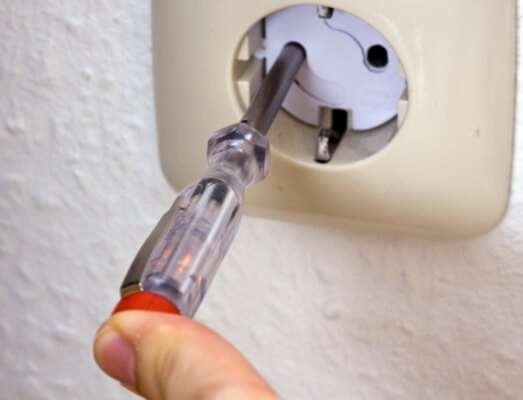
- Make sure there is no electricity in the room using the indicator screwdriver.
- Remove the key (s). No matter which type of switch You use: single-key, double or with three keys. To remove the key, you need to squeeze it with your fingers on the sides (in the middle) and carefully remove it from the body (as shown in the photo). Sometimes the part is firmly “sitting” inside the case and in order to get it it is necessary to pry one of the edges with a screwdriver.
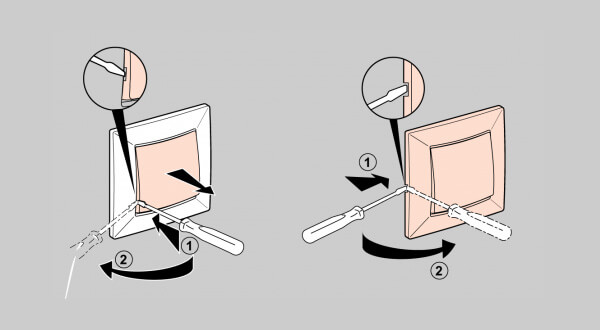
- Remove the decorative frame. In some cases, the frame is fixed with two bolts from the inside, less often the part is held by the grooves, on which you need to slightly press the screwdriver to disassemble the electrical accessories. Another option for fixing the frame is with the help of an additional element that is mounted in the grooves of the caliper.
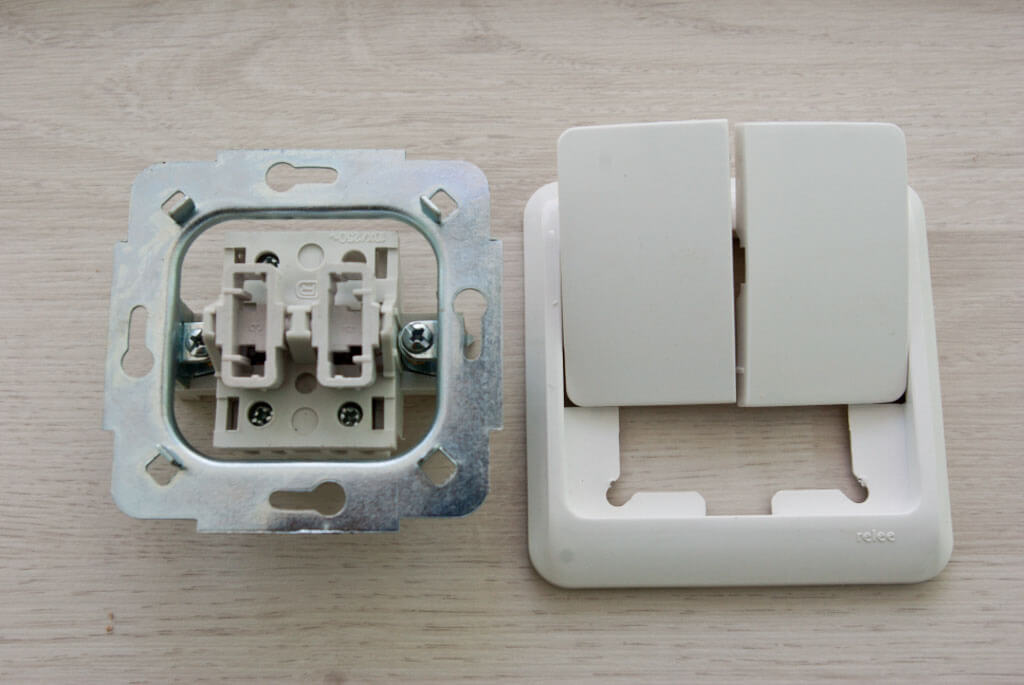
- Remove the “core” from the socket. On the sides of the case there are two screws that fix the mechanism to the wall. All you need to do is unscrew them with a screwdriver. There is another option for holding the body in the socket — bursting legs. They need to be loosened by unscrewing the bolts on the sides that adjust the angle of thrust.
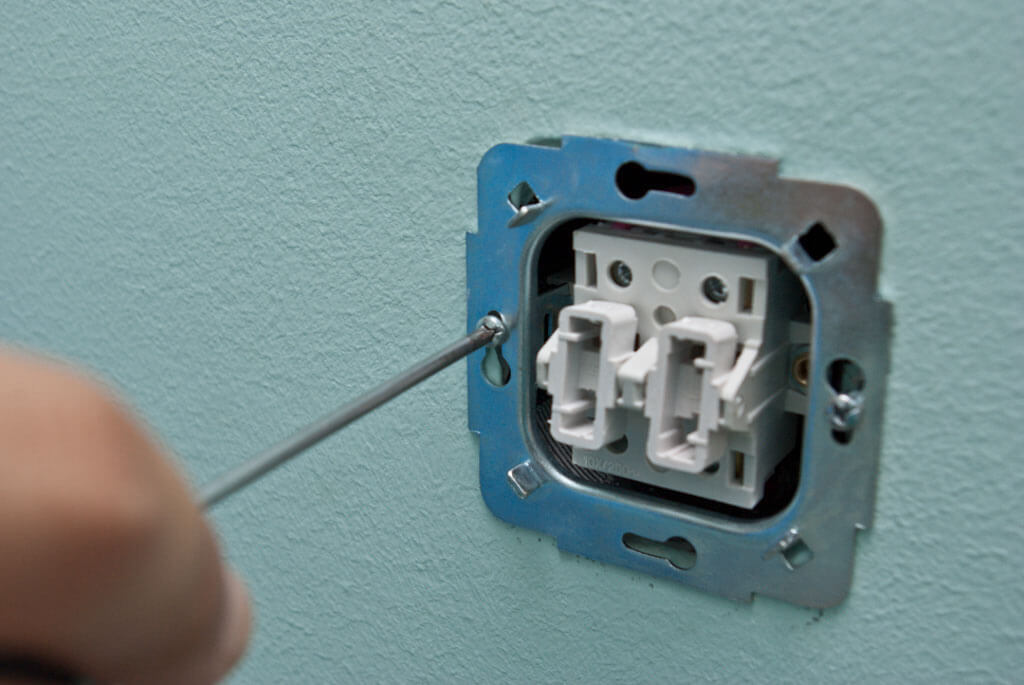
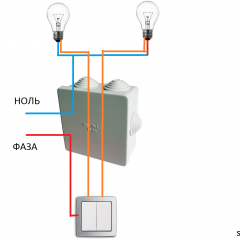
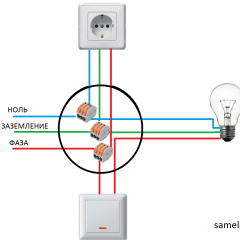
- Disconnect the lead wires. Phase, earth and zero can be fixed by self-locking terminals or screw clamp. In the first case, you just need to click on the locking levers and pull the cores from the connectors. The screw clamps must be loosened with a screwdriver and the wires carefully removed.
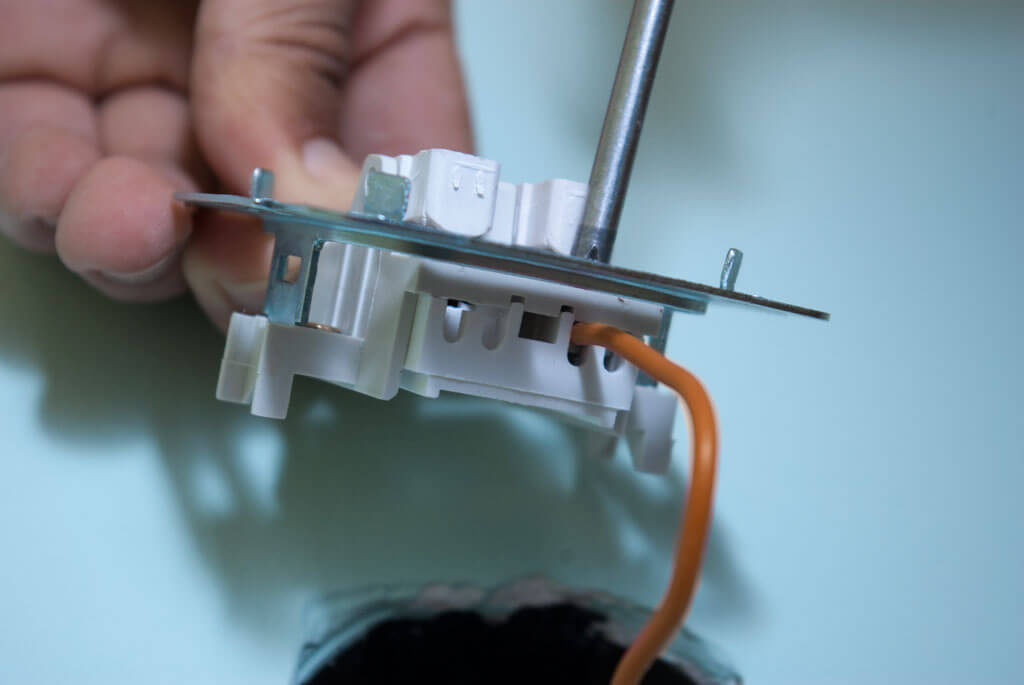
That's the whole disassembly instruction for the light switch. As you can see, there is nothing complicated in such an event.
Visual video lessons will allow you to see in more detail all the stages of unwinding:
As for the repair (for which it was necessary to disassemble the light switch), then it all comes down to the following actions:
- If the effects of melting the mechanism are visible inside the case (the plastic has turned yellow, some zones are charred), you can without hesitation throw the product away and go to the store to buy a new one. Today, the cost of the key switch is not too high, but safety is much more important!
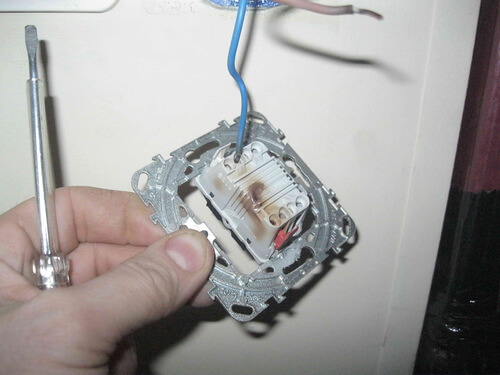
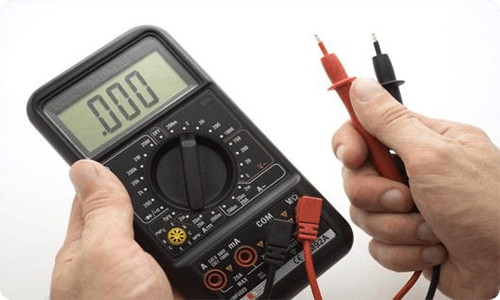
- If there is no visible damage, try reinserting the cores and tightening them carefully, as Perhaps the contact simply weakened, as a result of which the switch stopped working. If it doesn’t help, most likely the reason is in the wiring, try ringing it with a multimeter, on the basis of which draw conclusions.
After finding the cause of the failure, and most likely it is a weak contact, the assembly is carried out in the reverse order. We hope that now you understand how to disassemble the light switch with your own hands!
Also read:


