How to check the varistor: external inspection and dial multimeter
Reasons for the malfunction
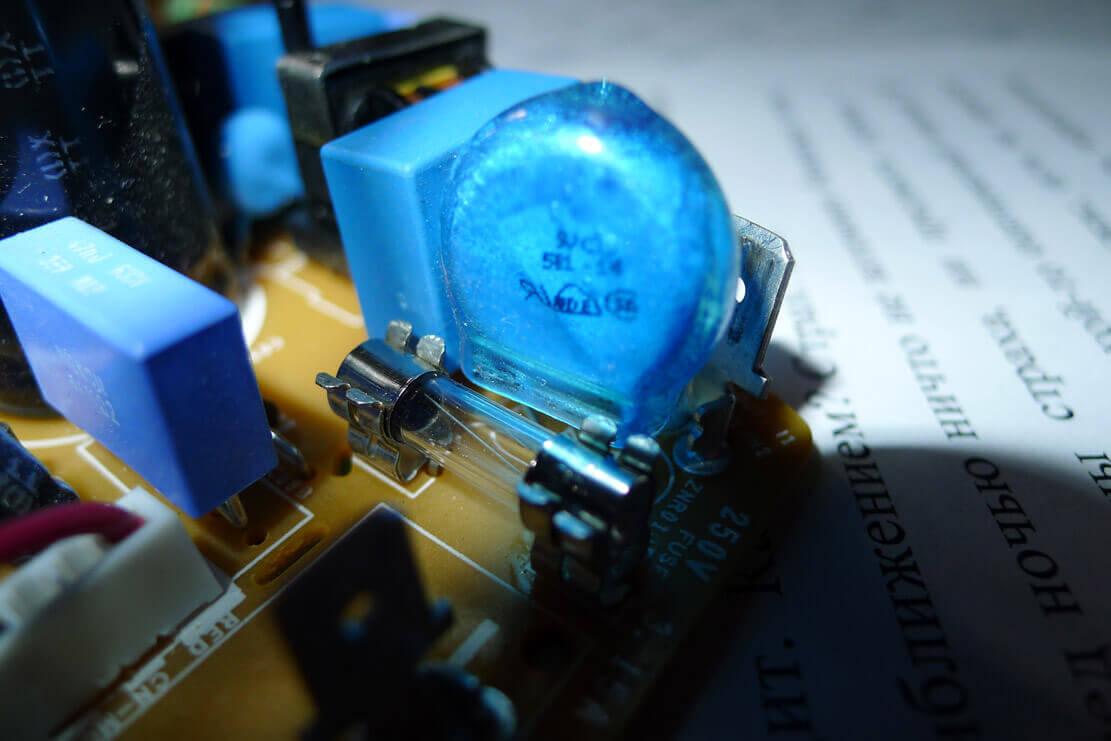
Varistors are installed in parallel to the protected circuit, and in series with it they put a fuse. This is necessary so that when the varistor burns out, if the overvoltage pulse is too strong, the fuse will blow, and not the circuit board tracks.
The only reason for the failure of the varistor is a sharp and strong mains surge. If the energy of this jump is greater than the varistor can dissipate, it will fail. The maximum dissipated energy depends on the dimensions of the component. They differ in diameter and thickness, that is, the larger they are, the more energy the varistor is able to dissipate.
Power surges can occur during accidents on power lines, during thunderstorms, when switching powerful devices, especially inductive loads.
Verification Methods
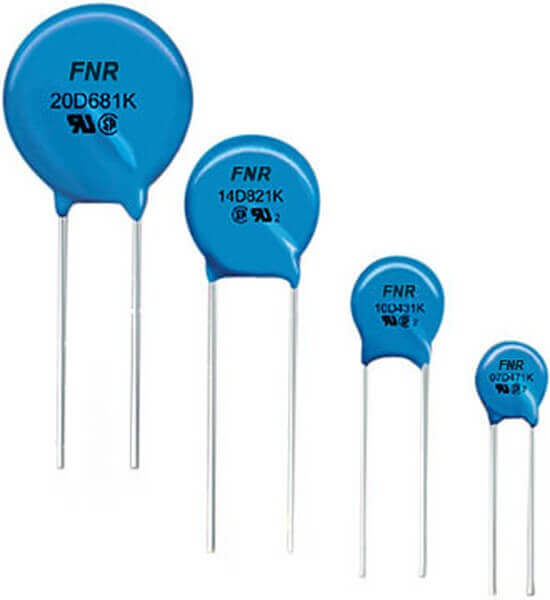
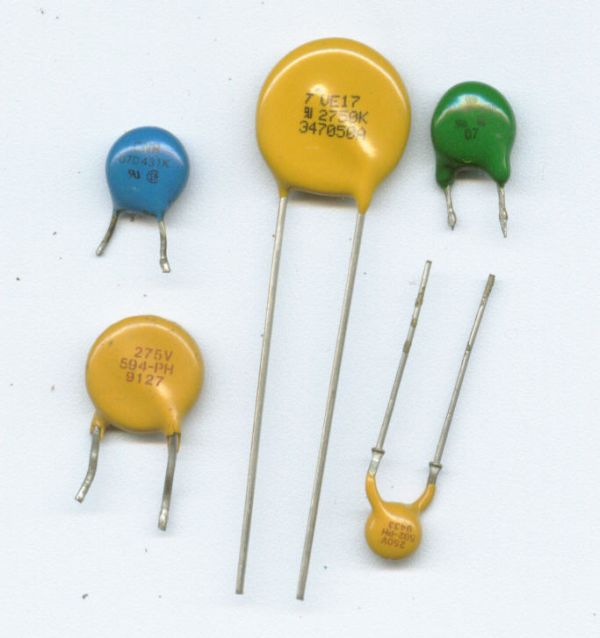
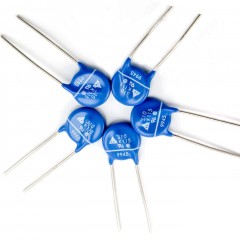
Any repair of electronics and electrical equipment begins with an external inspection, and then proceed to the measurements. This approach allows you to localize most of the faults. To find the varistor on the board, look at the figure below - this is how varistors look. Sometimes they can be confused with capacitors, but can be distinguished by marking.
If the element burns out and it is impossible to read the markings, look at this information on the device diagram. On the board and in the circuit, it can be indicated by the letters RU. Conditional graphic designation looks like this.
There are three ways to test a varistor quickly and easily:
- Visual inspection
- Make a call. This can be done with a multimeter or any other device where there is a function of continuity of the circuit.
- Resistance measurement. This can be done with an ohmmeter with a large measurement limit, a multimeter or a megohmmeter.
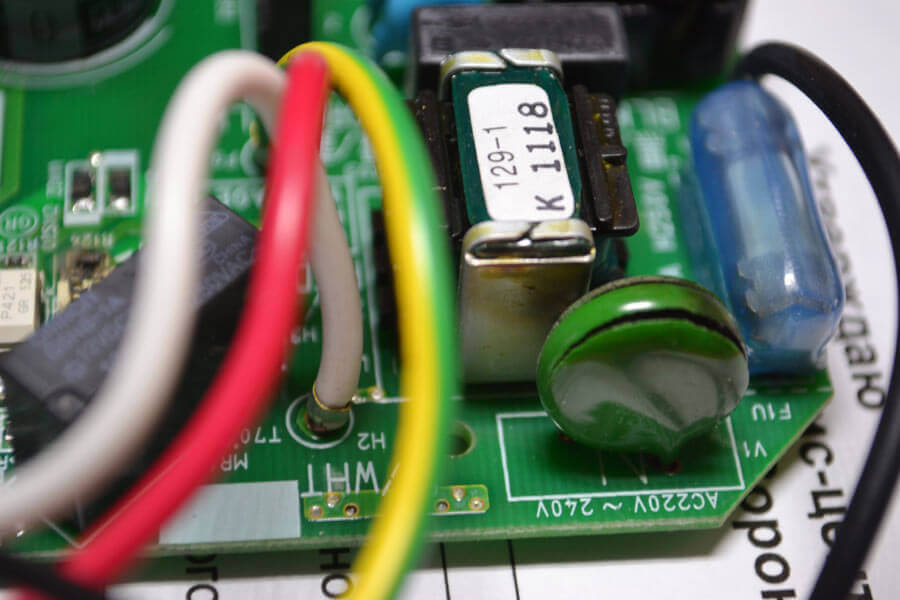
A varistor fails when a large or continuous current passes through it. Then the energy is dissipated in the form of heat, and if its amount is greater than a certain design - the element burns out. The housing of these components is made of a solid dielectric material, such as ceramic or epoxy coating. Therefore, when a failure occurs, the integrity of the outer coating is most often damaged.
You can visually check the varistor for operability - there should be no cracks on it, as in the photo:
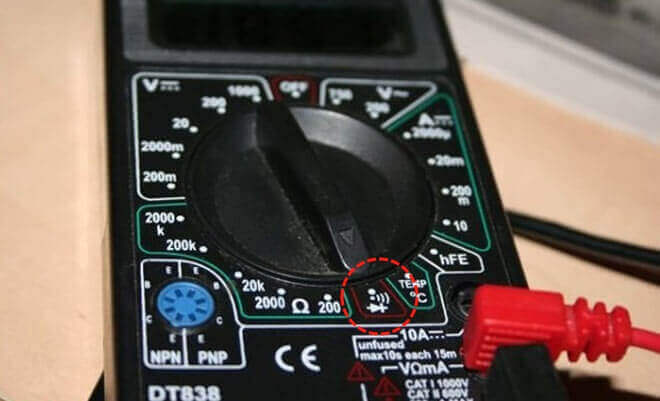
The next way is to test the varistor with a tester in the dialing mode. This can not be done in the circuit, because the dialer can work through elements connected in parallel. Therefore, at least one of its legs should be removed from the board.
Important: it is not necessary to check the elements for serviceability without evaporating from the board - this can give false readings of measuring instruments.
Since in the normal state (without voltage applied to the terminals), the varistor resistance is large - it should not be dialed. The call is performed in both directions, that is, two times swapping the probes of the multimeter.
On most multimeters, the dialing mode is combined with the diode test mode. It can be found by the diode icon on the scale of the mode selector. If there is a sound indication sign next to it, it probably also has a dial tone.
Another way to test a varistor for breakdown with a multimeter is to measure resistance. It is necessary to set the device to the maximum measurement limit, in most devices it is 2 MΩ (megaohms, designated as 2M or 2000K). Resistance should be equal to infinity. In practice, it can be lower, within 1-2 megohms.
Interesting! The same can be done with a megaohmmeter, but not everyone has it. It should be noted that the voltage at the terminals of the megohmmeter should not exceed the classification voltage of the component under test.
This ends the available varistor test methods. This time, the multimeter will help the radio amateur find the faulty element, as in a large number of other cases. Although in practice a multimeter is not always needed in this business, because it rarely goes beyond visual inspection. Replace the burned-out element with a new one, designed for voltage and with a diameter no less than the burned one, otherwise it will burn even faster than the previous one.
Related materials:

