How to protect your home wiring with a voltage stabilizer
Step 1 - Decide on the type of protection
Today, there are stationary voltage stabilizers, the installation of which is carried out on the whole house and mobile models that are capable of servicing one or more individual electrical appliances. In addition, stationary equipment can be three-phase or single-phase, depending on the conditions of use. Do-it-yourself connection in this case has its own differences: either you will connect the device to 220 V, or to 380.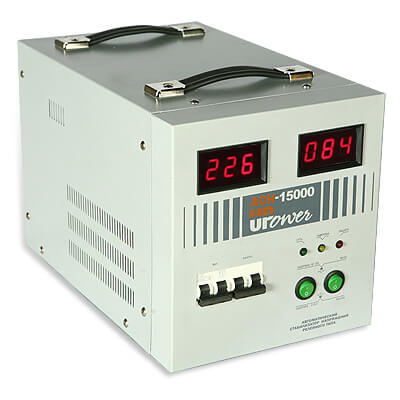
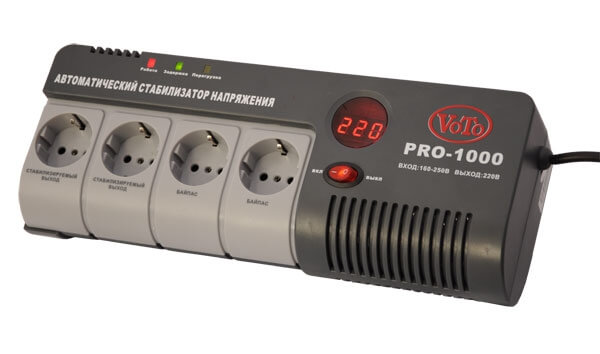
As a rule, in private houses and apartments, it is best to connect a single-phase voltage stabilizer to the network near the distribution panel, which will protect the entire network from overloads. That is why the connection instructions will be provided for a single-phase stationary electrical appliance.
Step 2 - Choosing an Installation Location
When installing on your own, things are much more complicated, because if you improperly install the enclosure in the house, at best the protective device may fail, not to mention consequences such as a fire.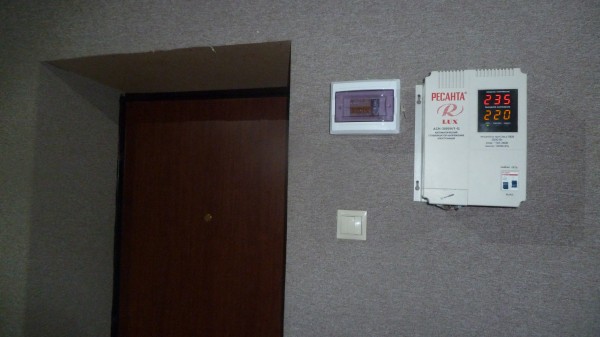
So, in order to install the voltage stabilizer in the room yourself, consider the following recommendations:
- the room should be dry and well ventilated, as One of the main causes of device failure is the appearance of condensation inside the case;
- when installing the product in a niche, make sure that the finishing materials are fireproof - brick, concrete, metal or fiberglass;
- observe the air gap between the body of the equipment and the walls, on all sides the indent should be no less than 10 cm;
- If you decide to install a voltage stabilizer on the wall with your own hands, make sure that the stand (or anchor) can support the weight of the wall case.
We also recommend that you watch visual video instructions for installing and connecting the device to a wall in the house:
Step 3 - Connect to the mains
In fact, it is quite simple to connect a voltage regulator to the network in the house. At the back of the device is a terminal block with 5 connectors. Typically, the order of connecting the wires is as follows (from left to right): input phase and zero, grounding, phase and zero, going to the load.In the photo below you can see the location of the connectors: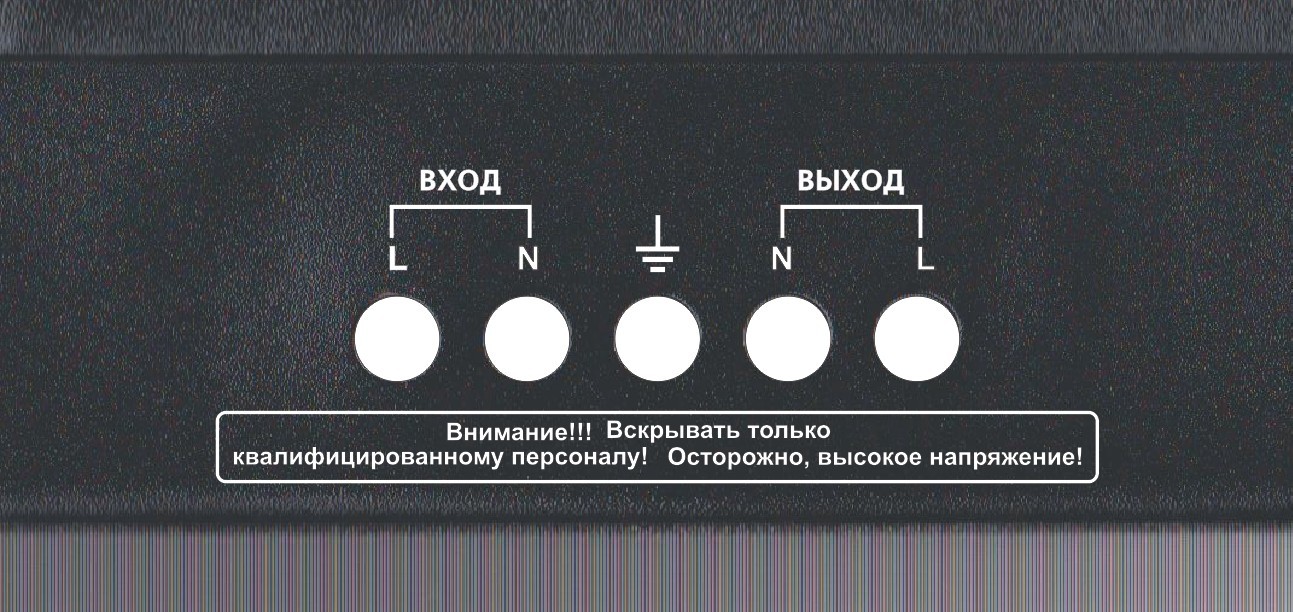
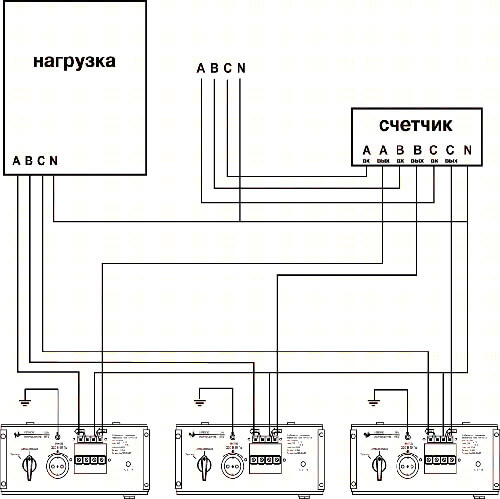
All you need is right choose cable cross-section by power and current, then make the installation yourself, according to the diagram (for a single-phase device):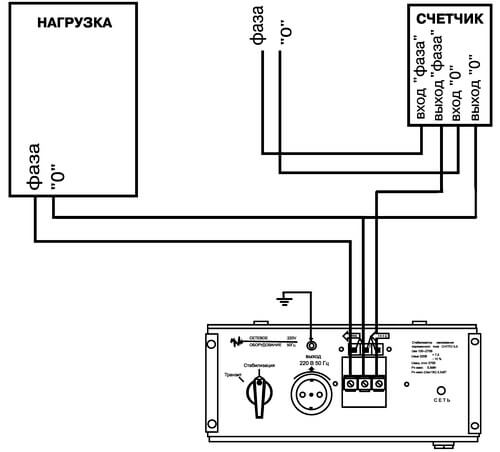
Requirements and recommendations for connecting a voltage stabilizer with your own hands:
- Be sure to turn off the electrical power at the input shield before electrical work.
- Protect the product furthercircuit breaker and RCDthat will extend its service life. It is recommended to install automation after the counter, but before overvoltage protection.
- Household power must have a ground loop. It is forbidden to make a connection without grounding for reasons of electrical safety.
- Installation of a voltage stabilizer in the house in front of the meter is prohibited, and it is very difficult to achieve the placement of protection before the meter. It is better to install as shown in the diagram above.
- You cannot connect the device immediately after you bring it into the house from the cold. Let the electronics “move away” and all the condensate inside evaporate, otherwise, as we said above, the device's service life will be drastically reduced. This also includes a ban on connecting the product on the street.
- Protection with a power of less than 5 kW is connected directly to the outlet. This option is ideal for a garage, a country house and a summer house. Some install the mobile voltage stabilizer separately on a computer, TV, boiler, air conditioning, generator or washing machine, which allows you to protect only a certain type household appliances.
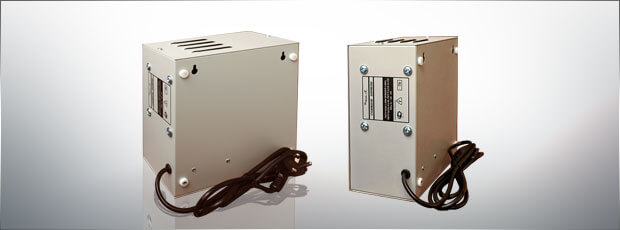
- If you need to connect an overvoltage protection device in a three-phase network, it is better to buy three single-phase devices for 220v and connect them in a star circuit than one for 380 Volts. So you will save money not only on the purchase of a stabilizer, but also on its repair (repairing a single-phase device is much cheaper than a three-phase one).
- After electrical work, check that the connection and installation are correct by turning on the input devices on the switchboard. If nothing buzzes, bursts, or sparks, then you did everything right.
- Do not connect the device to a load of higher power. The safety margin should be between 20 and 30%.
- The correct installation diagram is usually indicated on the product enclosure. First of all, focus on it, but if there is no prompt from the manufacturer, we recommend making the connection in accordance with this instruction. All popular models (from Resanta, Leader) should be connected using this technology.
That's the whole technology of installing and connecting a voltage stabilizer with your own hands. As you can see, there is nothing complicated, the main thing is to consider all the requirements and recommendations. In conclusion, I would like to note that every year you must check the reliability of the connection of wires in the terminal block and, if necessary, tighten the screws.
Also read:


